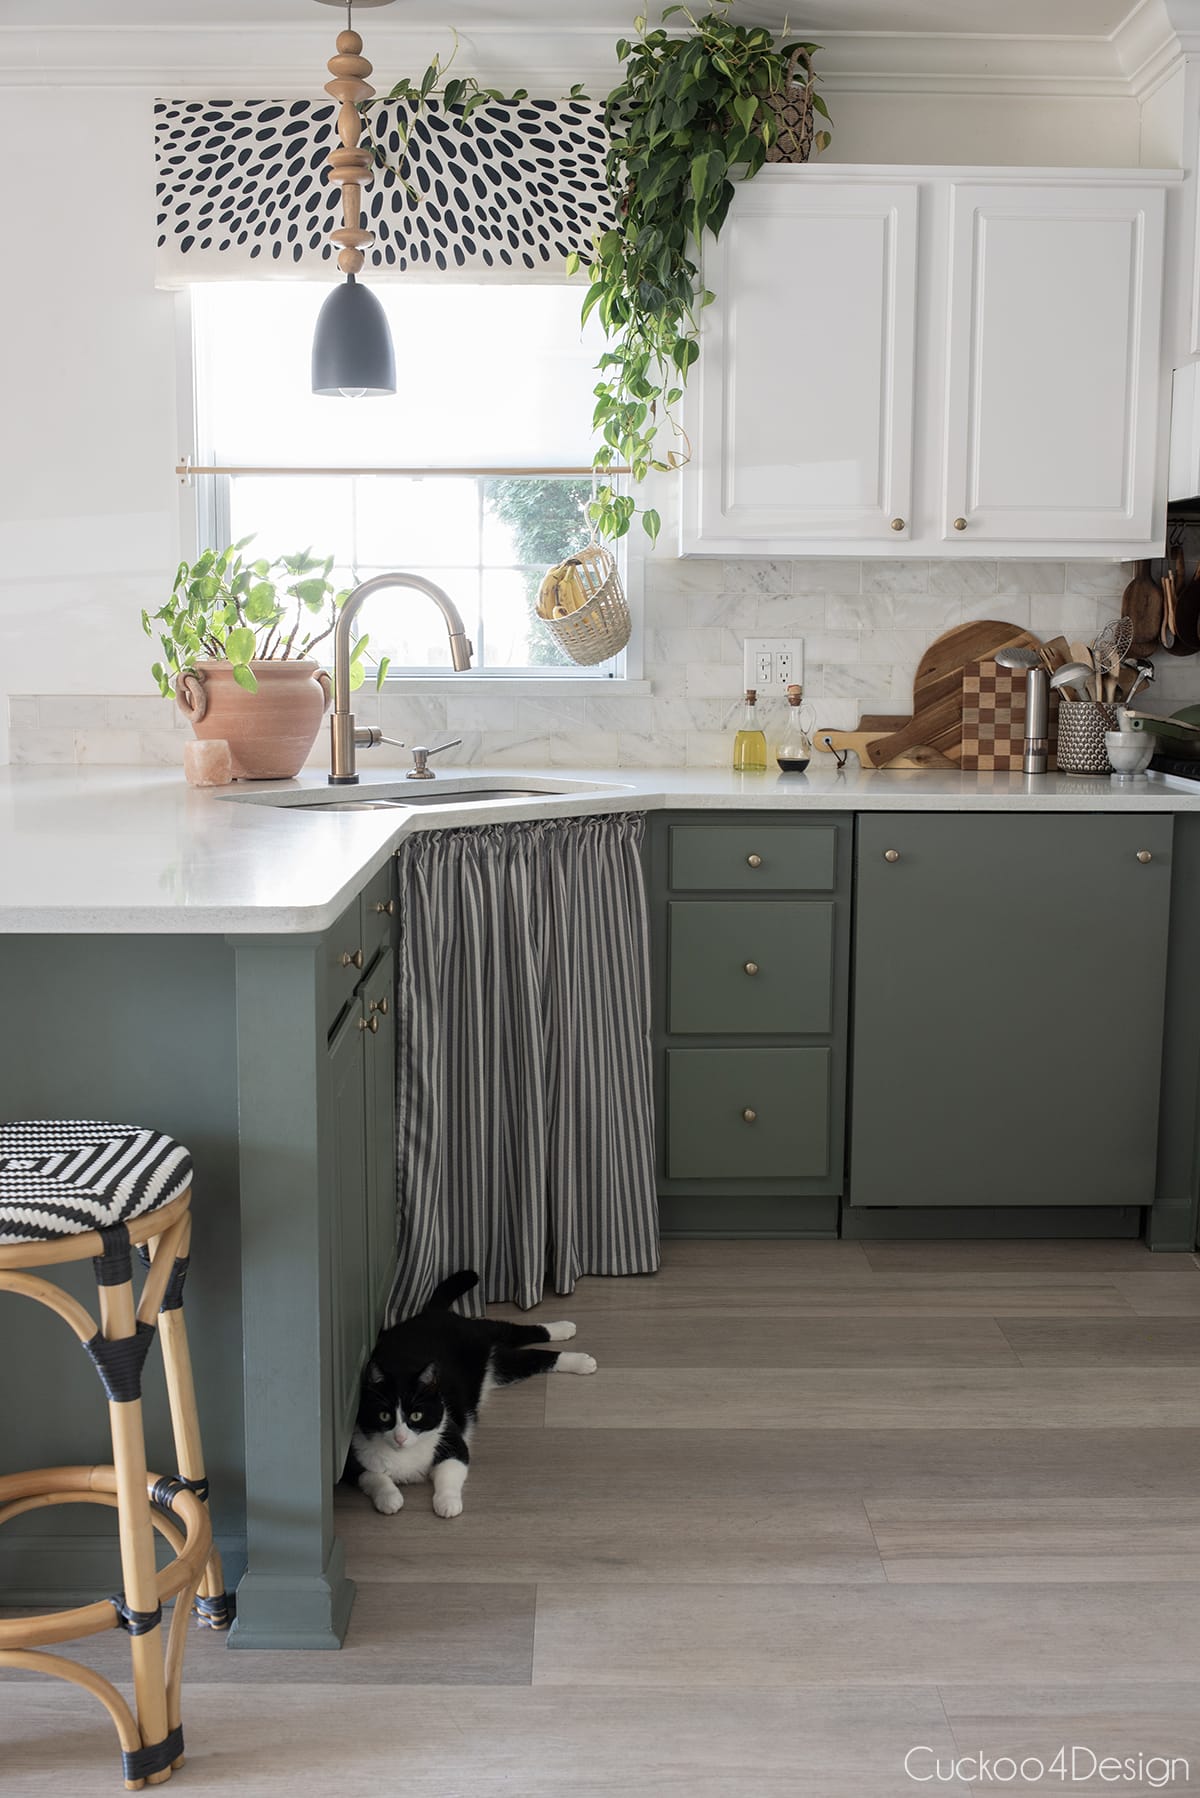
My kitchen sink cabinet door gets a ton of use and abuse from my family. I’ve had to repaint it about 8 times already and I’m sick of it. Since cottage core is in full trend right now, I’m embracing the look of cabinet curtains and sink curtains. So I wanted to figure out how to make a sink skirt without sewing to change the look of my kitchen quickly without much work.
I’m happy to report that I accomplished that and I feel bad calling this a tutorial because it’s just such an easy DIY.


What is a sink skirt?
A sink skirt is a curtain that is hung underneath a kitchen sink, bathroom sink, powder room sink, utility sink, or laundry room sink to conceal any unsightly storage or unsightly plumbing pipes instead of using a cabinet door.
You can use the same concept of a sink skirt for your entire bottom row of kitchen cabinets instead of cabinet doors called kitchen cabinet curtains.
How to make a sink skirt curtain without sewing
I hate sewing and I try to avoid it whenever I can. Sewing sink curtains isn’t hard either. It’s probably one of the easiest sewing projects but if there is no need to do it I’ll still definitely avoid it. I also don’t own a sewing machine anymore so I’d have to go borrow one from my neighbor.
The trick to making these simple sink curtains or cabinet curtains is to buy finished café curtains. There is a chance that you can find the perfect length for your cabinets already. I ordered slightly longer because I didn’t know how long/short I wanted them to be.
Instructions on how to make a sink skirt without sewing
I made a quick video to show you what I did and also check out the written instructions below. In case it doesn’t load for you check out the same video on my YouTube Channel.
Hang your hardware
This post may contain affiliate links from which I will earn a commission at no extra cost to you. View my full disclosure policy.
First of all, you need to attach your curtain rod and hardware which is super easy in this case. Determine where you want it placed, mine is placed right under the molding of the countertop and 1 inch in from each side. Then you only have to peel off the backing from the self-adhesive café curtain rod hardware and place it in that spot.


I recommend holding a level under the small curtain rod to attach the second piece of hardware to make sure the sink curtain hangs straight.


(UPDATE: In case you are wondering if the adhesive ruined my paint. It actually has not! The hooks/hardware fell off a couple of times because the glue wasn’t strong enough and the paint was undamaged. I ended up using the command strips cut to size which worked much better.)
Determine how you want to hang them
Hang your cafe curtains onto the rod by sliding it through the rod pocket panels. You have to decide if you either want to slide it into the sewn first top rod pocket of the curtain or the second rod pocket.
Then attach the rod to the self-adhesive café curtain rod hardware so you can determine what length you want at the bottom.


The left option looks more ruffled than the other. For my situation, the ruffles were better because I couldn’t hang the rod right against the top of the cabinet because of the molding. Otherwise, I would have liked the right option better.


Or you can use curtain rings but they didn’t work for me. Below I’m showing you why. Had I been able to attach the hardware right under the countertop, I could have used the rings. Since that wasn’t possible, you can see the opening from the removed fake kitchen drawer. I also wasn’t able to leave the fake drawer on the cabinet because it was in the way of the hardware.


Pin your curtain length
Now shorten your curtains. Use sewing pins to determine the length of the sink curtains. I wanted mine to be almost hitting the floor. Simply fold up the bottom hem and push the needles through the folded-up fabric.


Set curtain length in place with iron on adhesive
Use HeatnBond UltraHold Iron-On Adhesive or fabric glue instead of sewing to permanently keep the folded-up fabric in place. I like ironing the folded-up fabric down before adding the tape to the fold. That way you don’t mess up the length. Then simply lay the strip of iron-on adhesive on your fabric inside the fold, fold it back up, and use a hot iron to activate the adhesive and keep the fabric in place.
(This is the same iron-on fabric adhesive that comes with a lot of the Ikea curtains and is the same process.)


Hang your finished curtains
Hang your curtains and you are done. I used two panels so there would be an opening in the middle for easy access.


How to hang cabinet curtains or how to attach a sink skirt
There are several different ways how you can hang/attach a cabinet curtain or sink curtain. My version is basically a self-adhesive fabric sink skirt. You can use similar hardware that gets drilled into your cabinetry which is more permanent. This outside-mount cafe rod set would work well.
You can also use Velcro strips. Glue one side of the velcro to an apron sink or a pedestal sink in a bathroom. You can buy sticky back velcro or staple the velcro to your cabinets. The other velcro piece gets sewn or fabric glued to the curtain panel.
You could also use a tension rod inside the cabinet door opening.
Or you can use small curtain rings like I showed you earlier. They add extra detail and elegance.
My finished sink skirt
This type of farmhouse kitchen sink curtain is making a comeback with the popular cottage-core aesthetic trending on social media right now and I’m here for it. Years ago I would have said “absolutely not” but some rustic charm just keeps creeping into my home and I am loving it. I just mix it all with some modern details and accessories.
My daughter does not like this look at all and wants me to bring the cabinet door back. That one needs to get painted again though. Putting cabinet curtains up is a great way to make your kitchen look nice while you are painting the doors too.


Walter thinks the best part is that he can just enter the cabinet now to get treats without having to push the door open. Believe me, he knew how to! Looking at this makes me think this is a great solution for a hidden litterbox as well. Maybe just not in a kitchen and using a bathroom or laundry room instead.


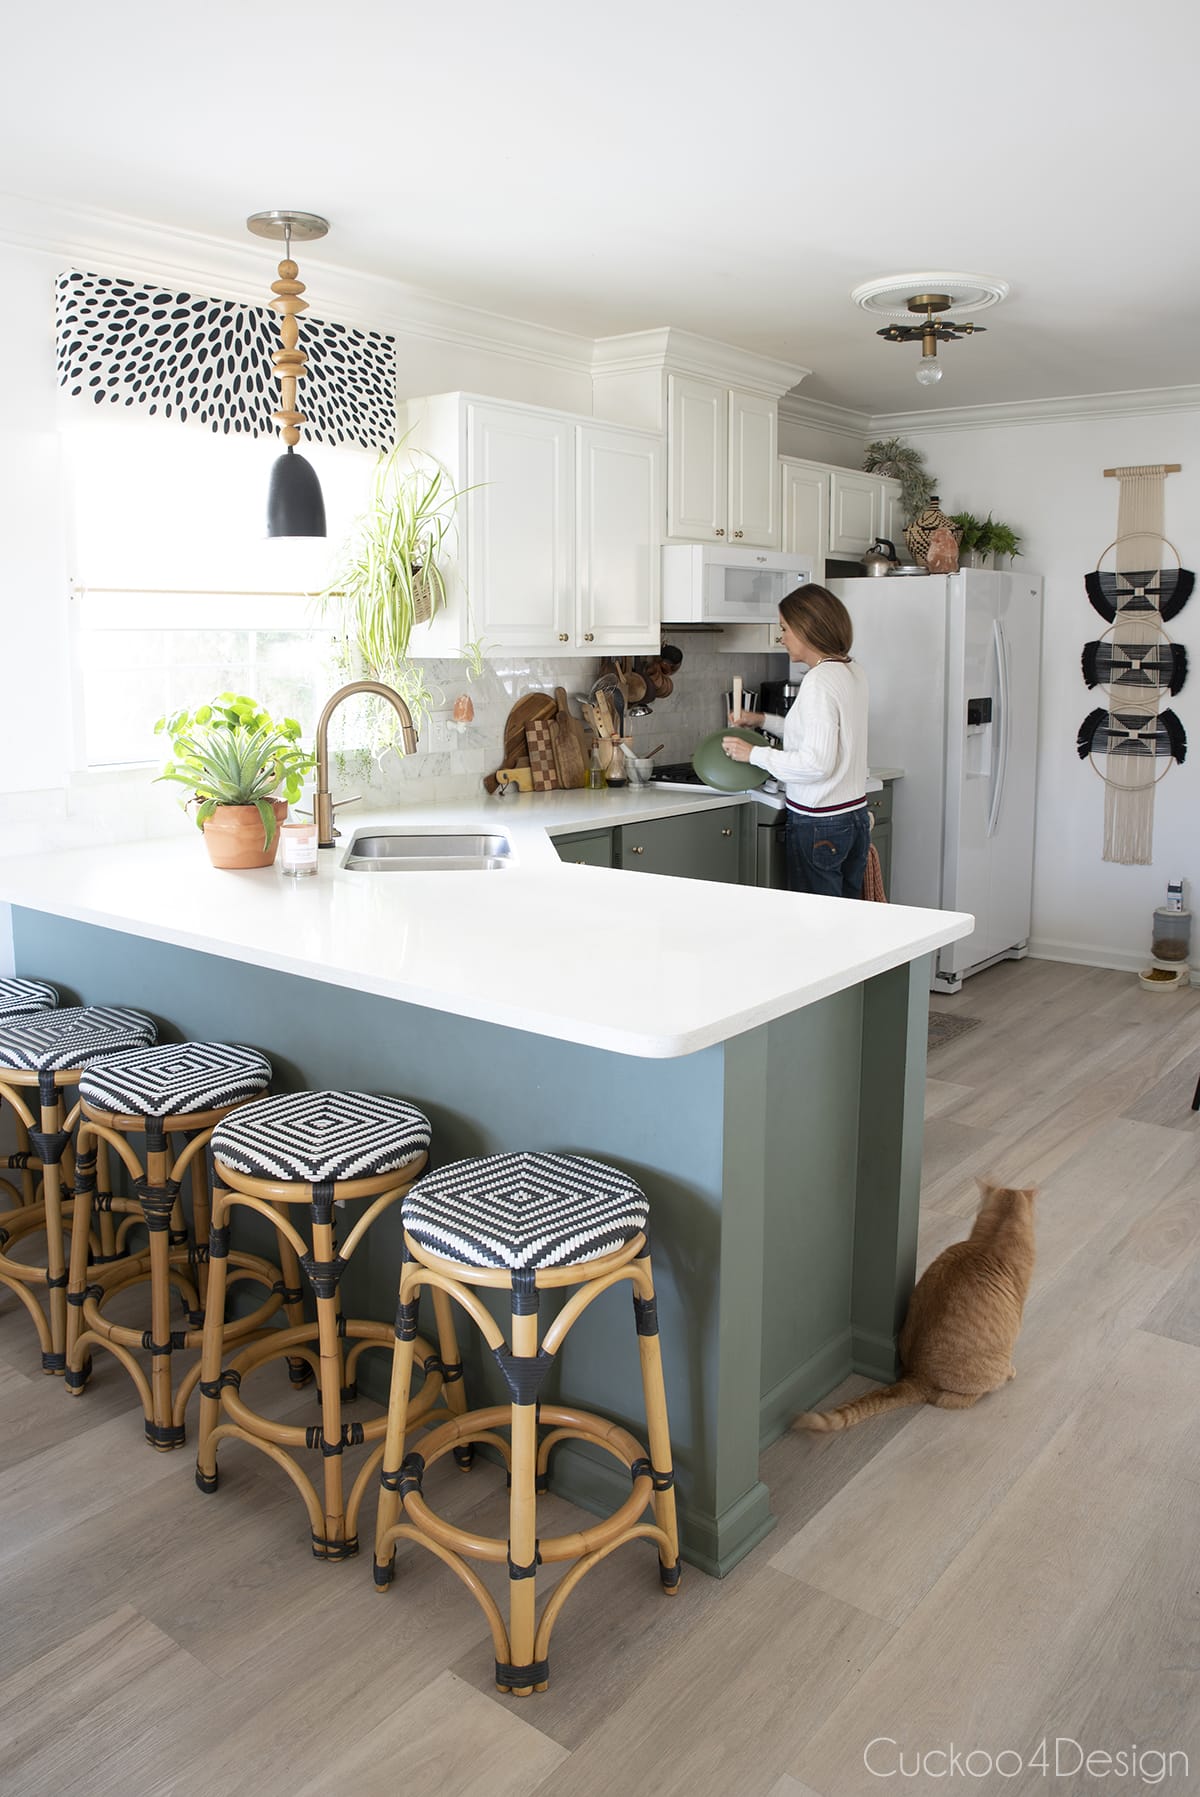
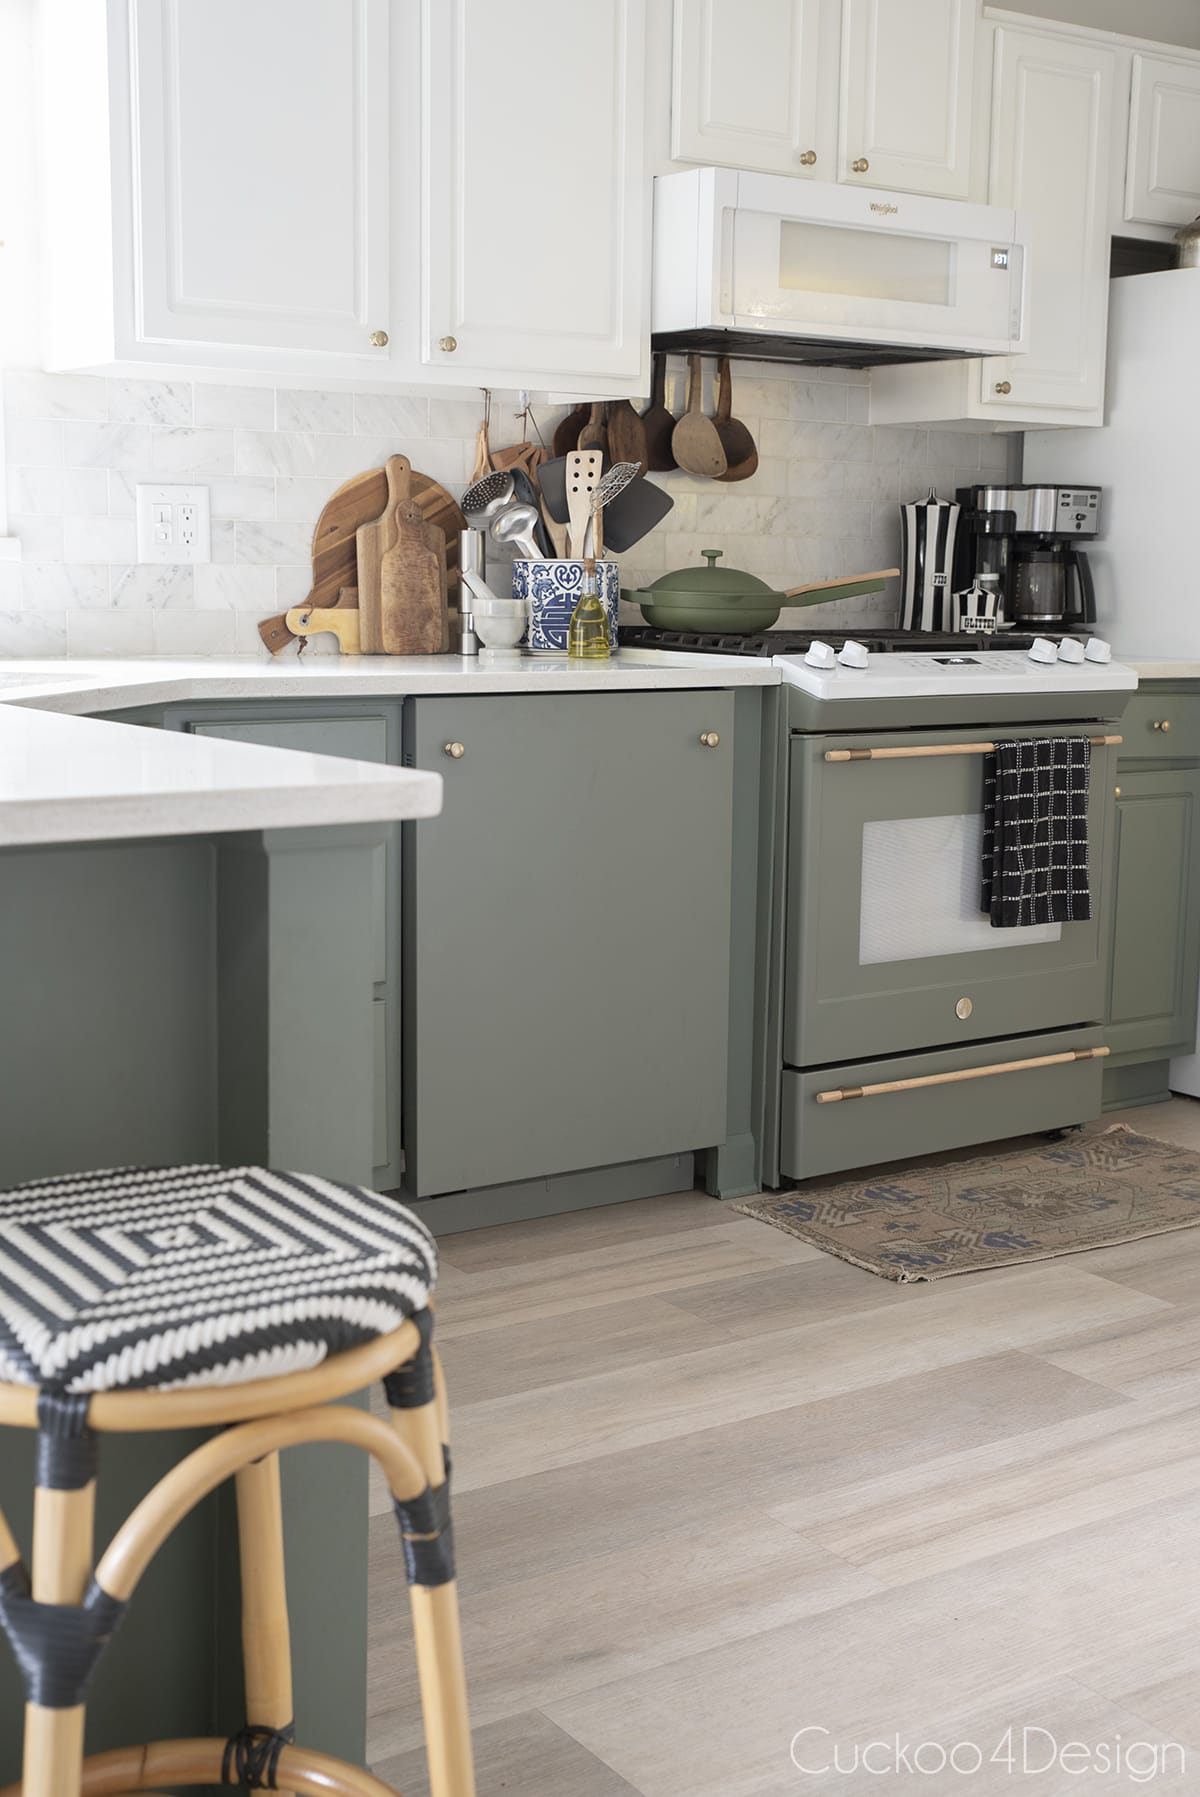
RELATED: My entire kitchen consists of DIY projects. I vinyl wrapped my appliances to match my cabinets. The colored stove also looks so much better instead of the white.
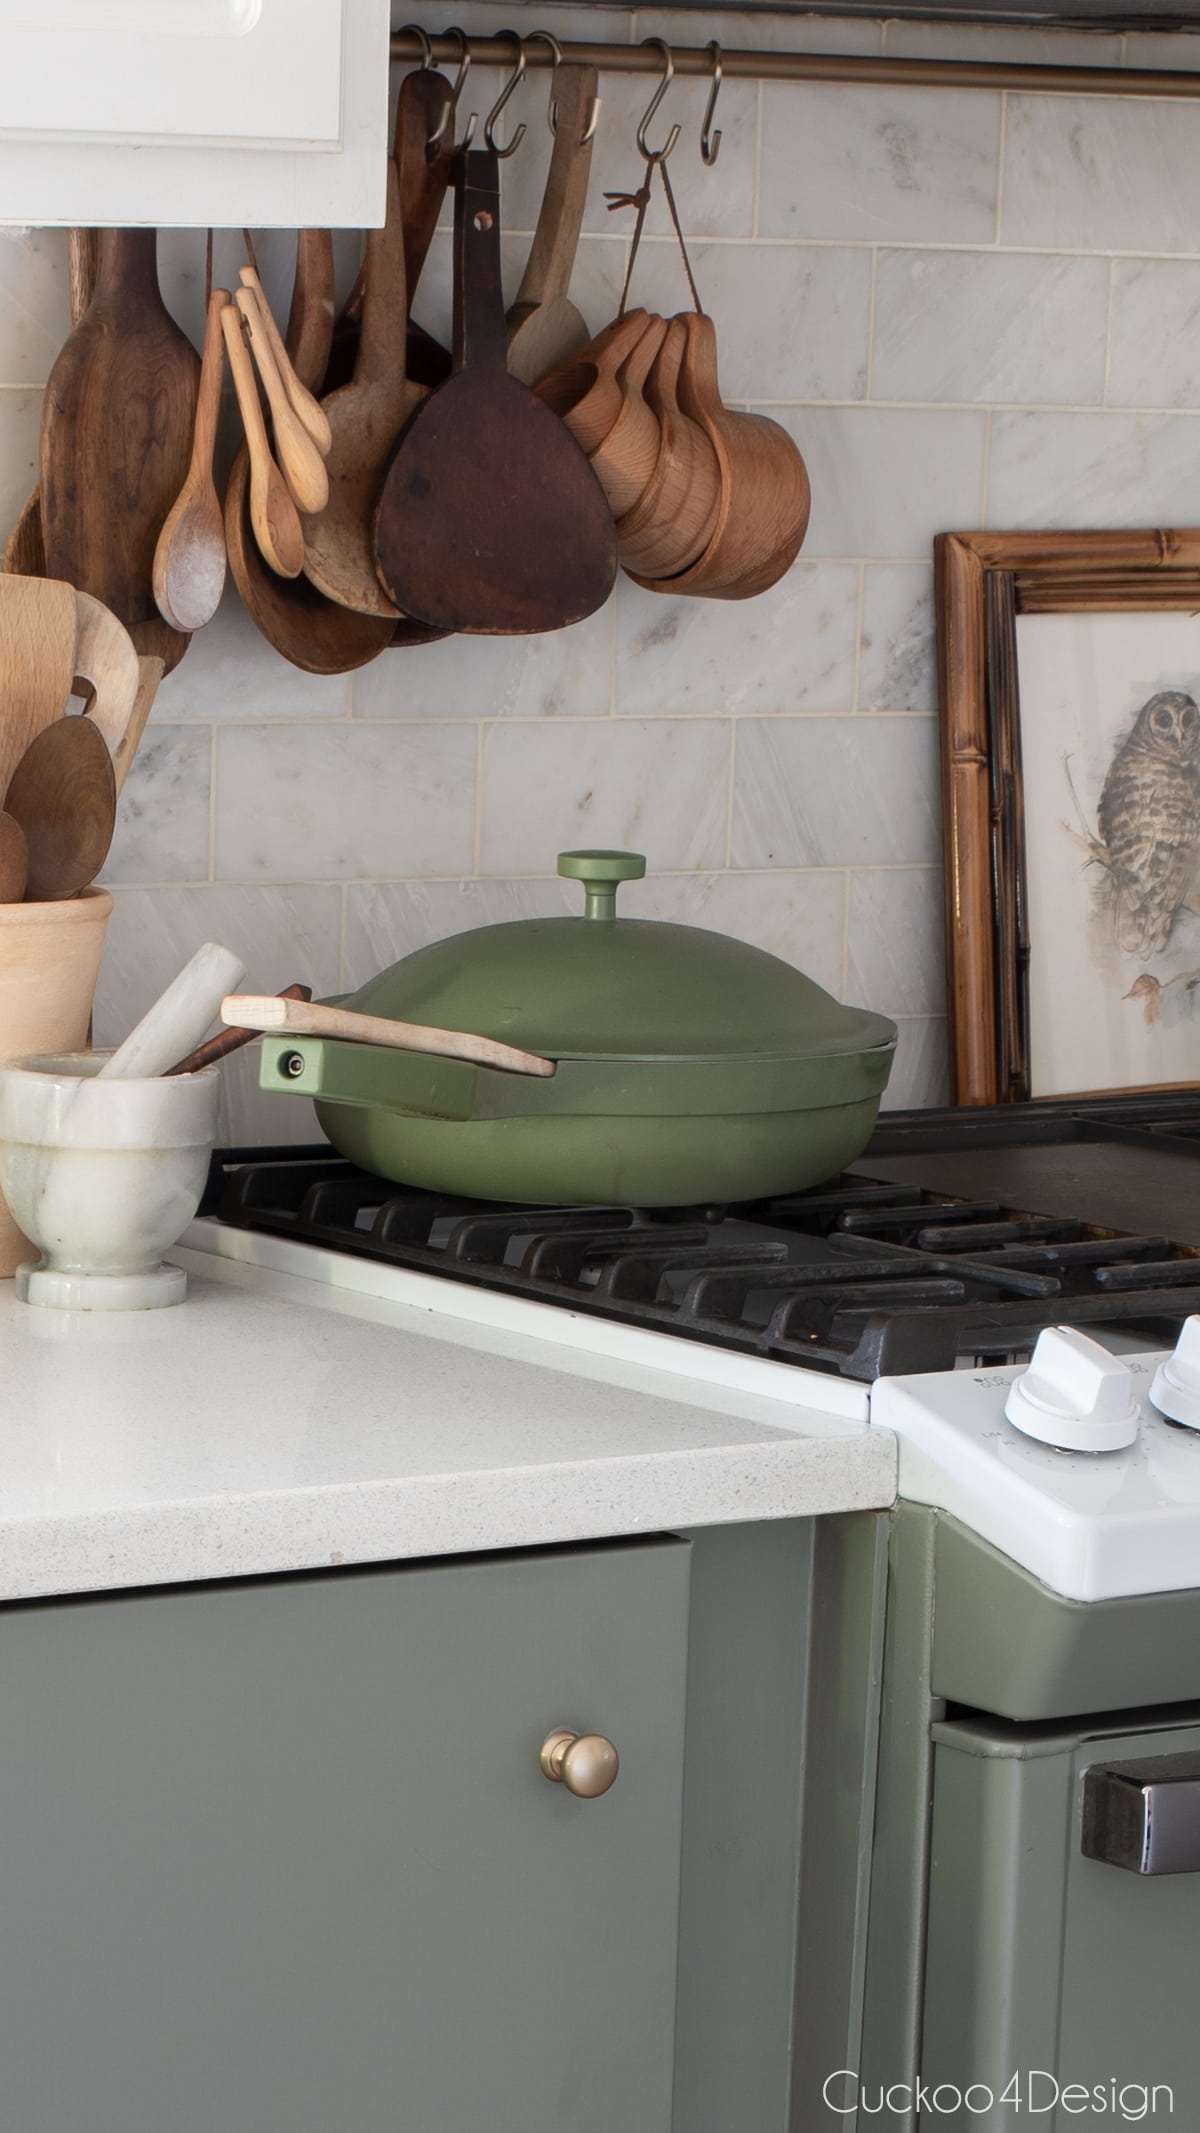
I made a DIY utensil rack to hang the spoons and cutting boards behind the stove. And I cut down the kitchen half wall to make the kitchen island. And I also peeled the laminate off the old cabinets to paint them.All the above posts are also mentioned in my blog post about 13 ideas for updating a kitchen without replacing cabinets.
Don’t you think it adds so much charm and a bit of country style? I still love my modern accents thrown in there as well like my black and white dotted fabric.


I recently painted a cutting board with traditional easy German folk art called Bauernmalerei and hung it on the utensil rack.


I recently also added the scalloped baskets for the top of the cabinets where I’m keeping items that I don’t use that often. Currently, one basket contains my cloth napkins and the other one stores koozie sleeves. I love the baskets and they are a smaller and more affordable version of the Serena & Lily baskets.
Another project that I’m working on and can hopefully give you an update on soon are the new dining chairs. Remember I had black wishbone chairs in the dining room before? The arms were destroying the white table though and I bought 4 dark wooden chairs for $25 on Facebook Marketplace. Below you can see them almost finished.
UPDATE: The chairs are finished and you can read all about how to repair a rush seat.
Where to buy a sink skirt
There is no doubt that my way of making them is much cheaper than custom-made sink curtains. If you can’t find ready-made cafe curtains, I wanted to show you Etsy shops that offer a variety of options.
Tschüß,


