
I recently took on an exciting apartment makeover project, for Madison, our first full-time employee at Frills and Drills who also happens to be Ryan’s cousin! I got to start from a 100% blank canvas. You know how much I love starting from scratch! Since it’s a rental, we couldn’t make any permanent changes, but we had some flexibility with hanging things on the walls and decorating in such a cute way!
If you want to see each step in detail, you can follow my Instagram and watch the highlight named “Apartment”!
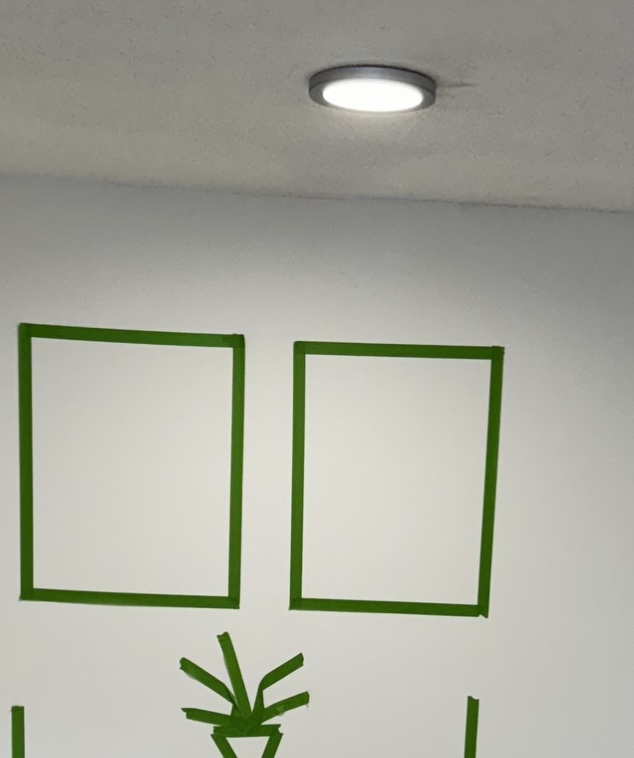
First things first, we had to tape out the way we envisioned this space looking! Can’t you just see it??

After taping out the table, chairs and hanging art to make sure the placement was perfect, we then made the room come to life! Madison’s vision was a boho vibe.
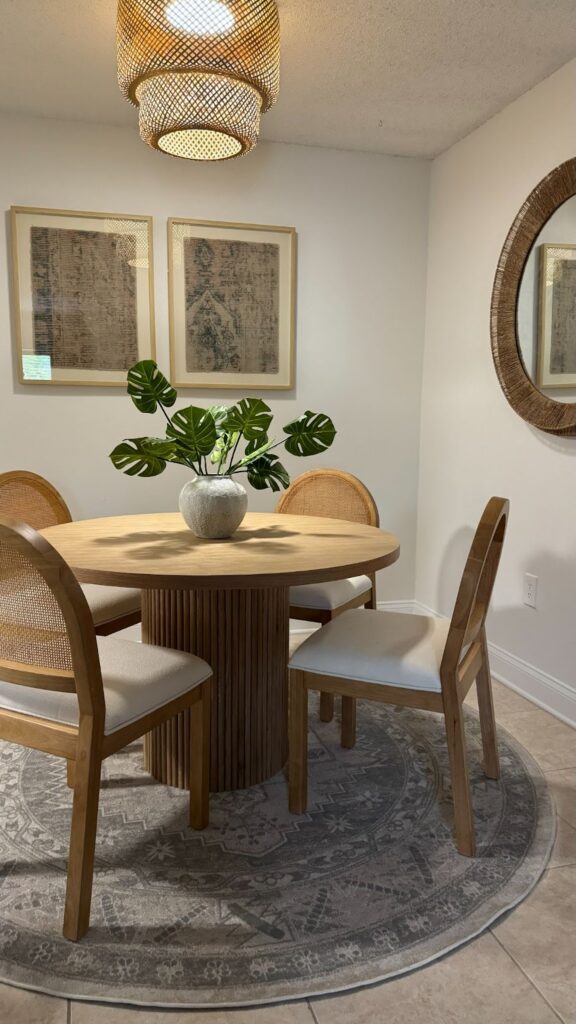
The biggest project in this space was building her dining room table, which will also double as a desk, drop zone, and everything table. You know I went for white oak wood for this table! I’ve seen reeded round base tables in designer stores lately and wanted to attempt to recreate one for a fraction of the cost!
I had to hand-make 65 dowels and experiment with creating a sturdy base for this project. Soooo many dowels!
Here is a quick 2-step guide to making the dowels for the base of the table:
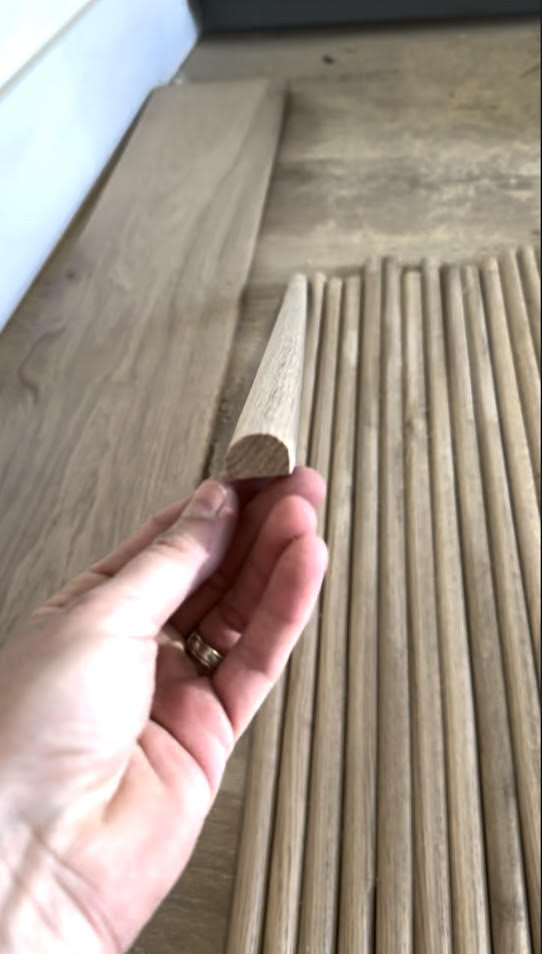
Step 1. Run the wood through the table saw a bunch of times to cut into thin strips. The final size was roughly 1”x1/2”.
Step 2. I then run each strip through the router twice, each side gets rounded over with the half round router bit so after two passes it creates a half round dowel! I cut them at 28” in length which was the height of the table base.


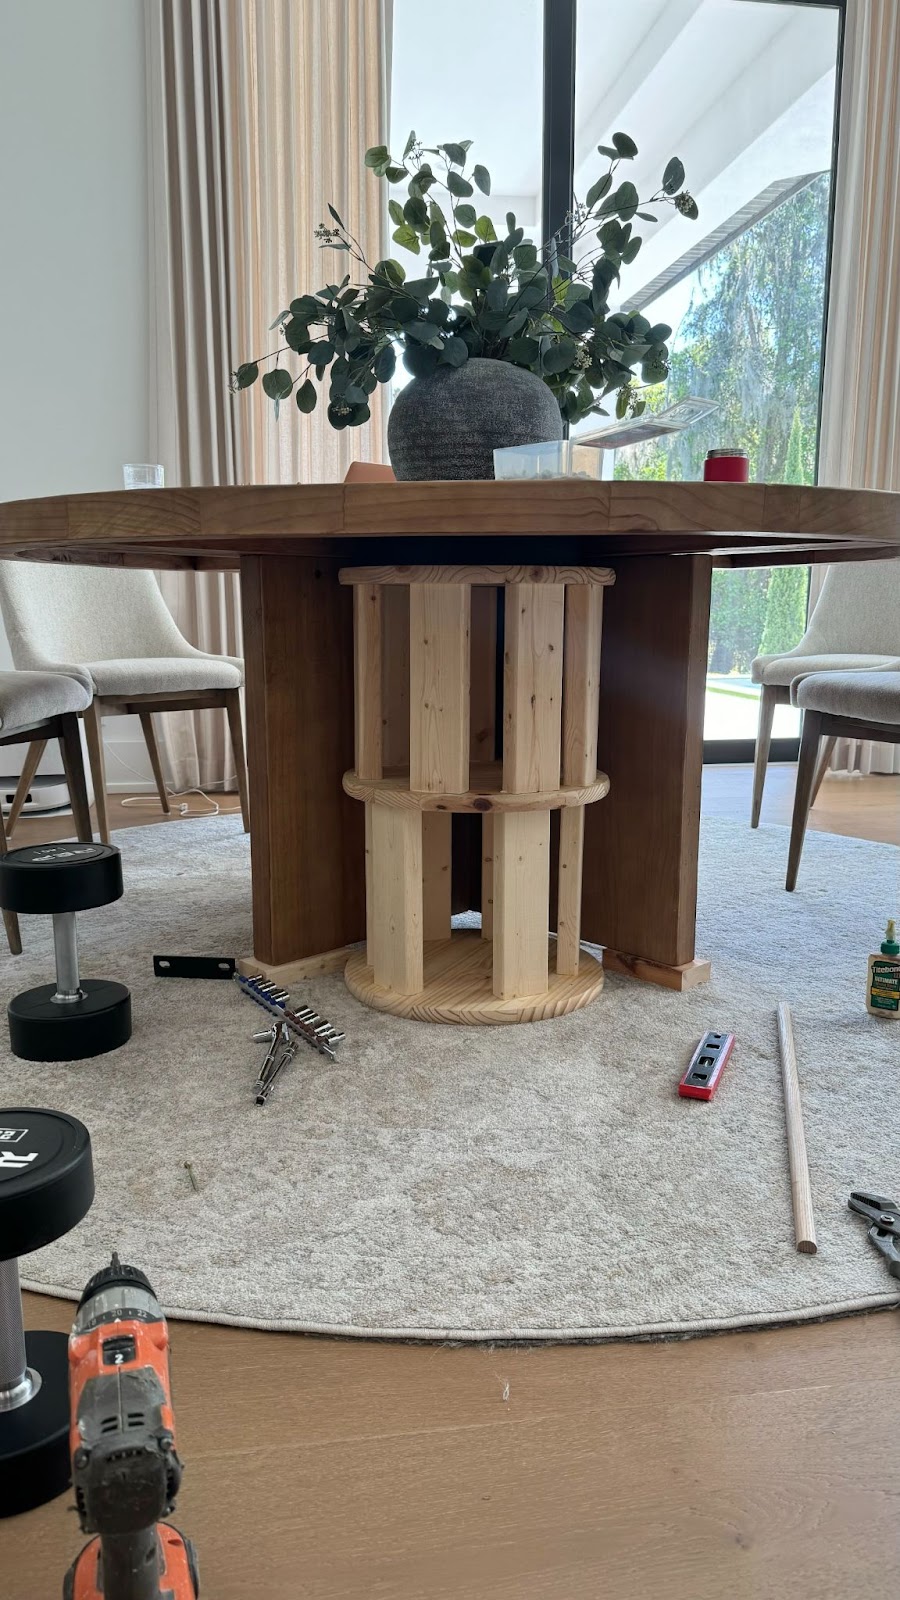
The math on that base nearly made my head explode! Far too much geometry and trigonometry for my mom brain. I needed the circumference of the base to equal an even number of dowels. For the inside of the table base I used 3 wood rounds from Lowe’s in 18” diameter. I glued scrap 2×4’s between the 3 layers of wood rounds to make it sturdy and a final height of 28”. I glued the half rounds in 3 spots to the table base – where it touched the 3 wood rounds. It ended up working out perfectly with the spacing of the dowels around the circumference of the table and I truly have no idea how!

I then had to cut a 48” round circle for the tabletop. I used a circle jig that attaches to my router to cut a perfect circle. I had two pieces of plywood clamped together to make the table top thick! You can only cut about ⅛” deep which is why you have to make multiple passes around the table with the router and jig.
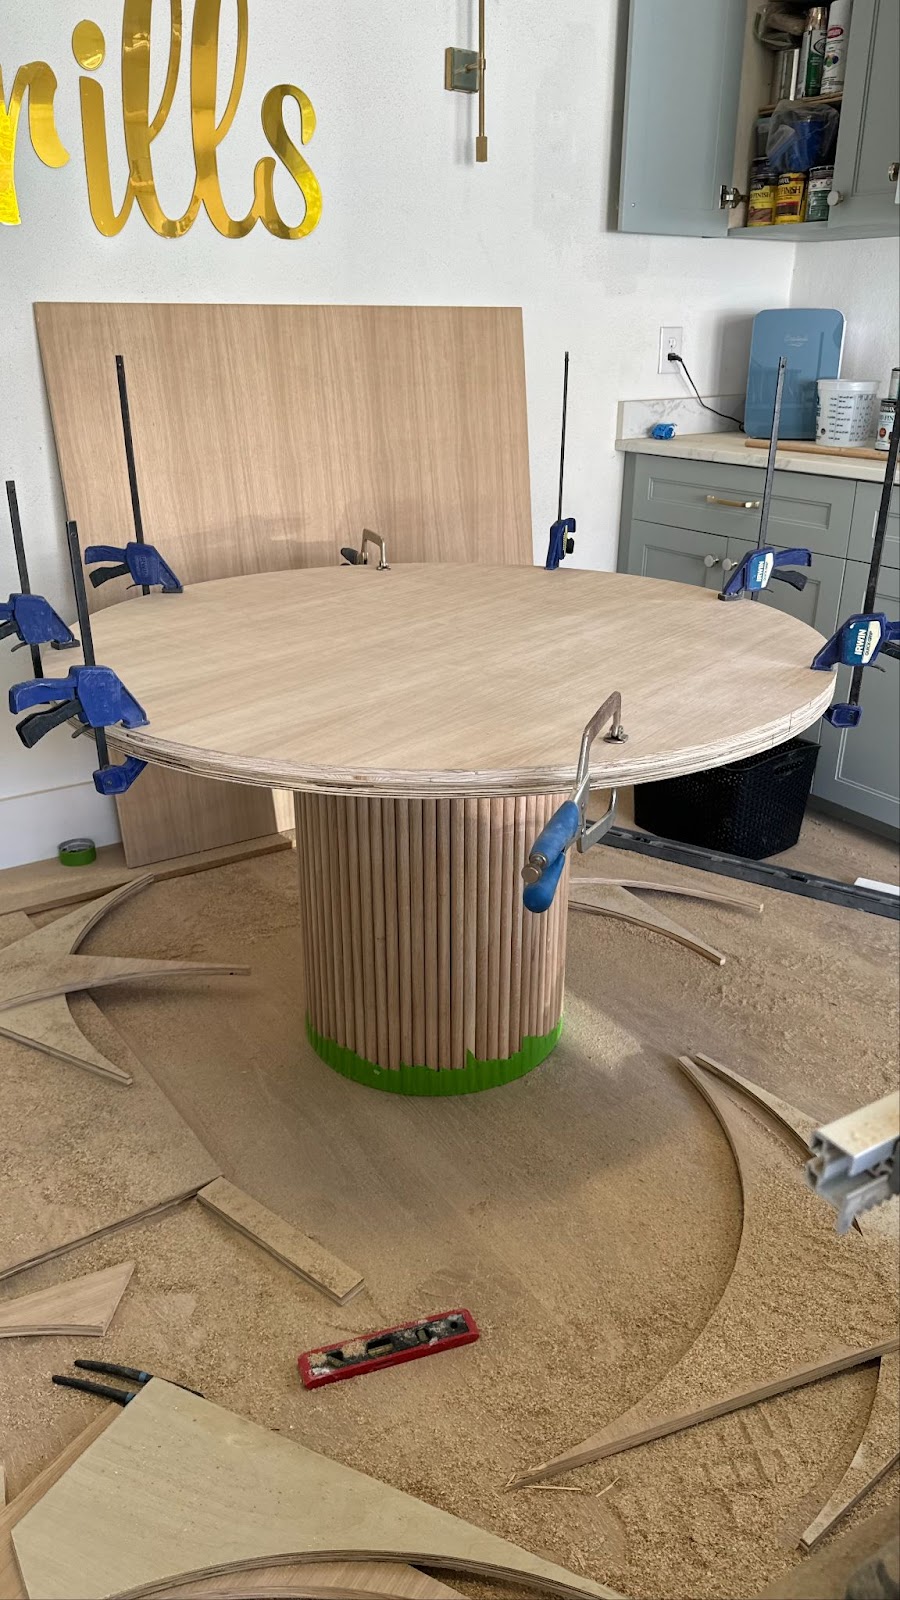
To assemble the table top to the base, I cut another circle out of scrap plywood that was roughly 30” in diameter. I centered it on top of the base, screwed down through the plywood and into the base top. Then I centered the 48” top on it and screwed from under the 30” circle through to the bottom of the 48” circle. Once assembled and sturdy, I stained the table to match the boho vibe she was going for using minwax weathered oak!
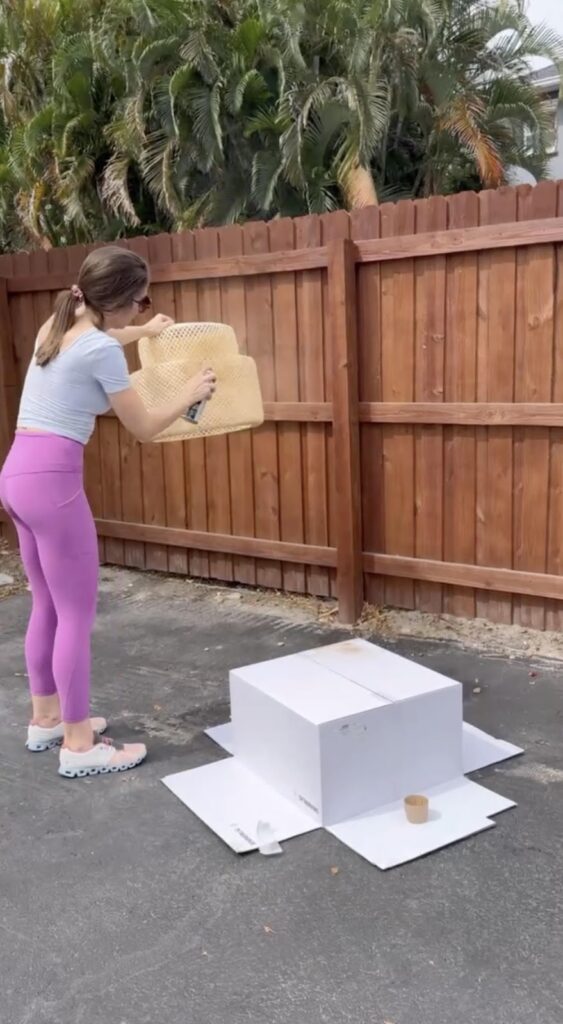
We also had to address the not-so-appealing boob light in the dining room. After finding out that the complex wouldn’t allow us to remove it, we considered a few different options. We bought a light fixture, a shade, and a basket to experiment what we could do to fix this eye sore.

We chose the light fixture but weren’t fans of its original color, so we spray-painted it darker. I also removed the existing light kit inside the fixture since we were using only the basket part of the fixture. I attached it directly to the ceiling around the existing light fixture using drywall screws going straight through the holes in the top of the fixture. We didn’t modify or change the existing apartment light fixture at all (staying within the rules) and were still able to make it a beautiful statement light! It turned out great and was an even better renter hack!
This was such a fun project and I’m so excited that Madison will be able to share this space with her friends and family!
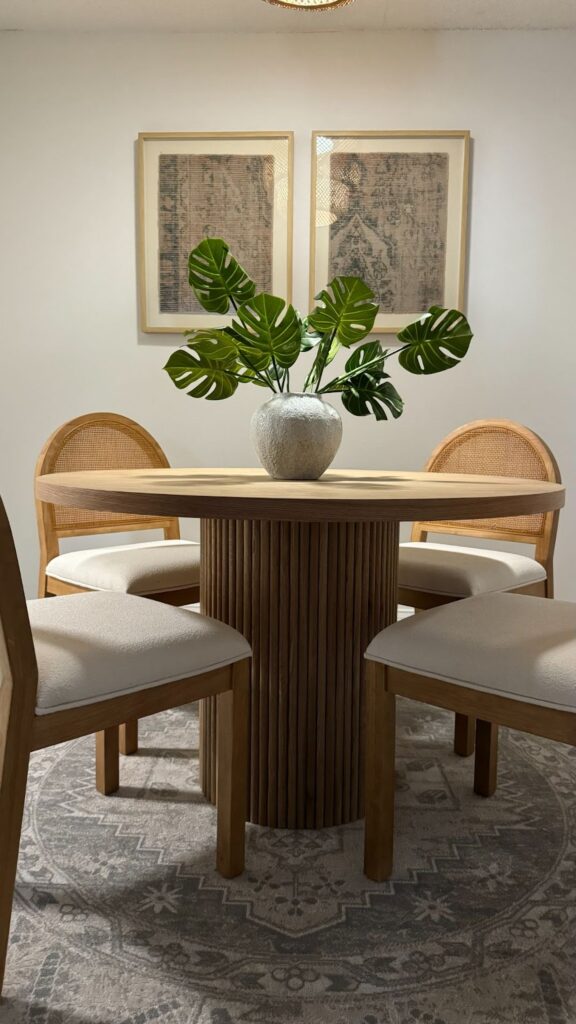
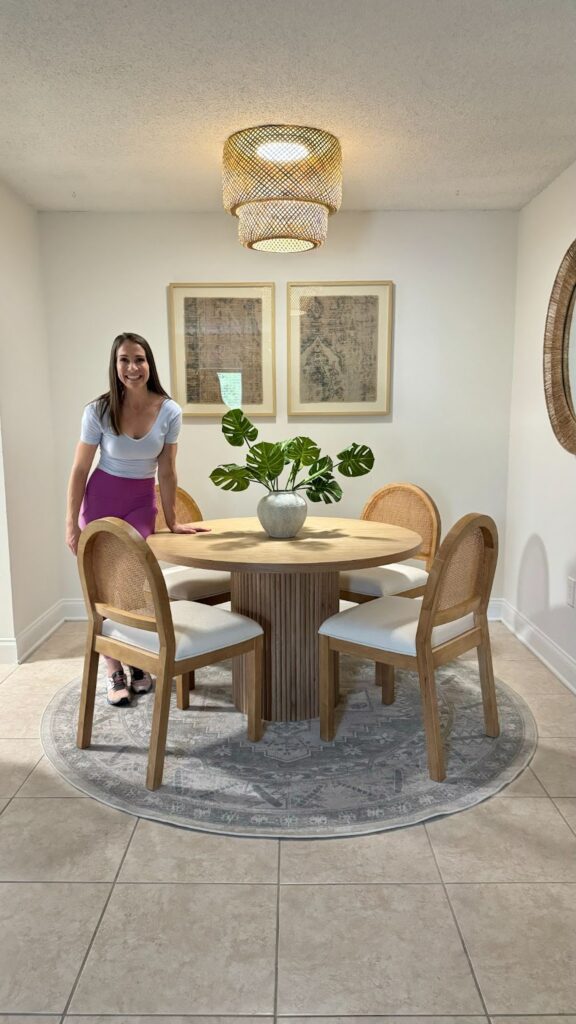
To watch the final dining room reveal click here!
To shop Madison’s dining room, simply click the links below!
FAQs: Dining Room Edition
Q: How did you make the dowels for the dining room table?
A: Step 1: Take big pieces of white oak wood and run them through the table saw (a bunch of times) to cut them into thin strips.
Step 2: I then run each strip through the router twice. Each side gets rounded over with the router bit so after two passes it creates a dowel!
Q: What circle wood rounded did you use for the inside of the base of the table?
A: 18” circle wood rounds from Lowe’s. Linked Here!
Q: How did you attach the dowels to the table base?
A: Just wood glue! In the 3 spots where each dowel hit the wood rounds.
Q: Did you seal the table and with what?
A: I sealed it with 3 coats of Minwax polycrylic using a nice paintbrush. I sanded with 400 grit between coats but not after the last coat.
Q: How did you get around the boob light in the apartment?
A: Grab a light fixture with a large opening, and remove the light kit and wiring from inside. I spray-painted it a darker color to make sure it matched the rest of the apartment. Then simply screwed it into the ceiling around the original light. Looks so good!
Q: What stain did you use for the table?
A: Miniwax weathered oak.
Q: What circle jig do you use to cut the tabletop?
A: It’s a Milescraft circle jig, Linked here! Milescraft Circle Jig
