It’s that time of year where the temperature is dropping each day and all you want to do is cosy up in the warm. I had always dreamt about having a wood burner in my home, probably due to the fact that I grew up in a house with an open fire.
Why Have a Wood Burner in Your Home?
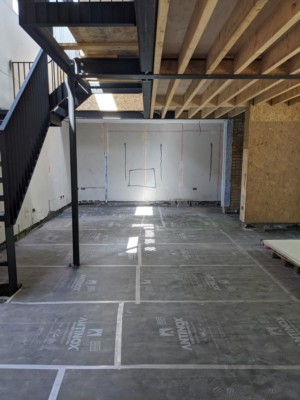
The aim of the 1960s bungalow renovation has been to build a cosy family home that is connected to the outdoors and nature, and a wood burner is another way that we have brought natural elements into our interiors.
Not only is it amazing to feel the fire in your home, having a woodburning stove is also a great way to cut your energy bills. They also burn fuel very efficiently, saving money on logs and producing very little ash. They are easy to use and require little maintenance.
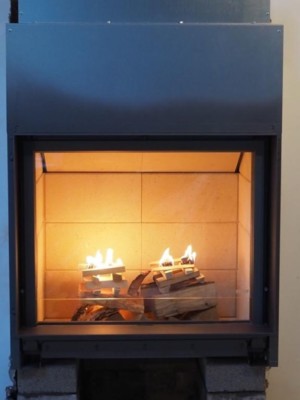
We chose this lovely wood burner from Topstak.

Topstak Wood Burners
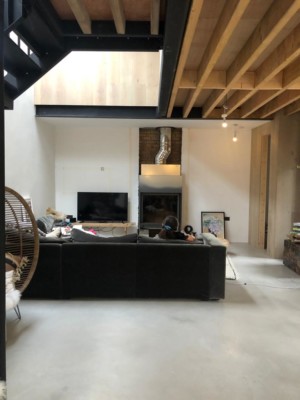
We selected this model because of its simple, elegant lines which suit my Scandinavian aesthetic perfectly. I wanted the woodburner to be a focal point for our open plan living room. It is one of the main design features of the room.
When the fire is lit, the generous viewing window is really dramatic, but my favourite feature is that the glass door slides up into the wall so we can enjoy an open fire effect for extra cosiness once in a while. At this time of year with our Christmas decorations up, the amber flames just make our living room all the more cosy and festive.

A Wood Burner is Not Just for Winter
With this wood burner, what I particularly love is that in the summer you can still use it. You may not need it for heat and warmth but it still looks amazing. Due to the glass screen, you can have that up and style logs inside. This means we get those cosy, hygge feelings in spring and summer too! We love it because it provides all the practicality we need in the colder months but still looks amazing all year round.

An Inset Wood Burner is Ideal for Self Builds
Matt and I spent months, actually more like the best part of a year, trying to decide whether to have a freestanding or inset model. In the end we chose an inset design. This type of stove is ideal for self-builds, and especially when there is a need to save space.
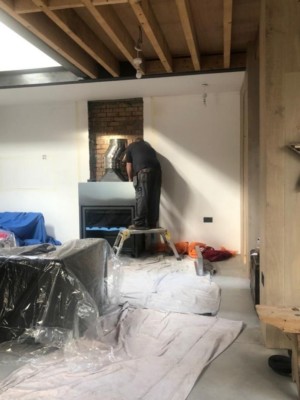
The seating area within our living room is not particularly big, measuring around 4.5x4m, so we didn’t want to eat into the floor space with a big hearth. A hole was cut into a wall for the stove to sit in, which saved approximately 200mm and is worth doing if you have an existing wall you can use, or something to consider if you’re building from scratch. Deciding to do this gave us a chimney breast depth of around 500mm.
Although Matt and I went for a space-saving installation, the stove itself is quite substantial. The room has a double-height ceiling, and on the advice of the supplier we calculated that the space would benefit from a generous heat output, so we went for a model that generates up to 18kW. Our house is very well insulated so we won’t need to run the stove other than on very cold days, but when we do it has an efficiency rating of 78%. This means it meets the new emission regulations that will come into effect in the UK in 2022.
The Installation of a Wood Burner in our Bungalow Renovation
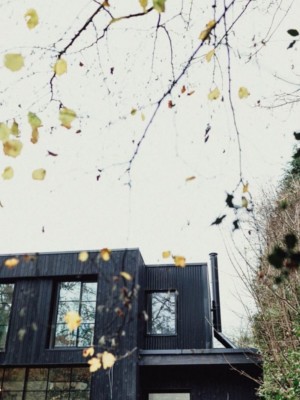
The installation was completed by several teams working in sequence. Our builders made the hole in the wall, which took a day, and then two stove installers fitted the main unit and the flue. Fixing the flue on the exterior of the house took up the majority of this installation time, but even so the stove was done in a day. We paid extra to have the flue powder-coated in black so that it brings extra character to the exterior. Before they left, the installers lit a fire and showed us how to do it using the ‘top-down’ lighting method, which makes the process much easier.
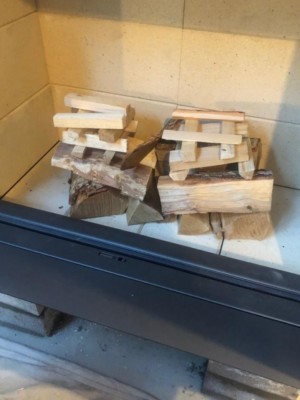
The Top-Down Lighting Method For a Wood Burner
The usual process is inverted by placing the biggest logs at the bottom of the stack, then the middle-sized ones, followed by the smaller pieces of wood and lastly the starter block under the smallest kindling right at the top (there’s a lot of step-by-step guides on YouTube). The installers likened the stacking of the logs to the game Jenga. It was a special moment when the stove was lit, something we’ll remember for years to come and a significant step in our home renovation.
The fireplace was then completed with an off-white Venetian plaster wall finish. This tactile surface complements the plaster-effect painted walls in the rest of the room. This is the finished living room complete with wood burner! We absolutely cannot wait to spend our Christmas evenings snuggled up here as a family.


