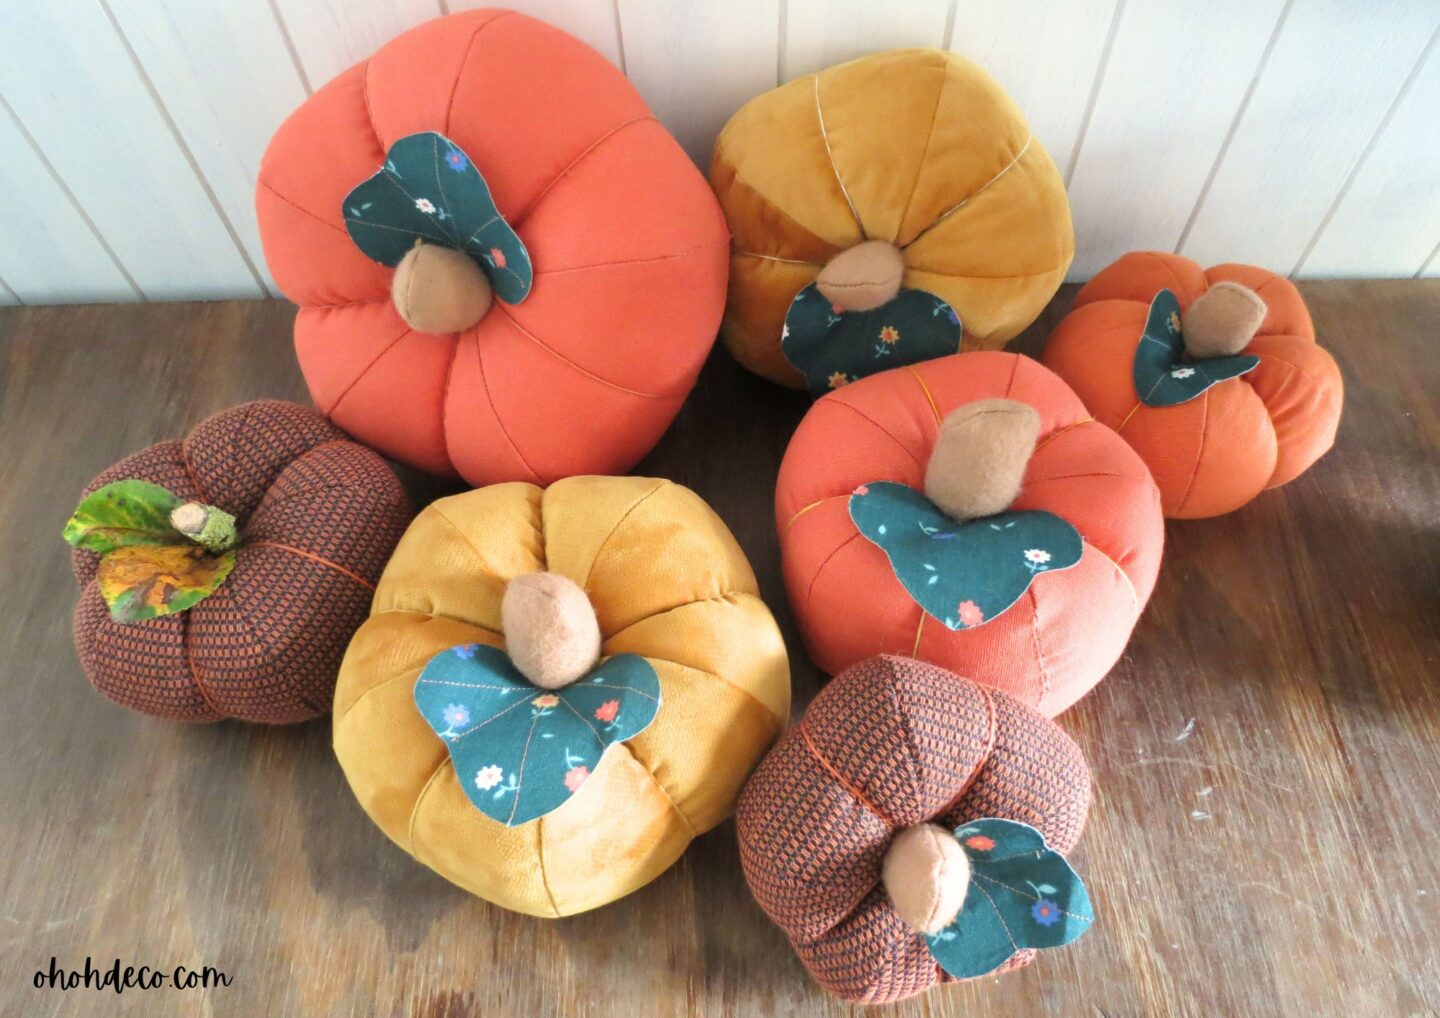

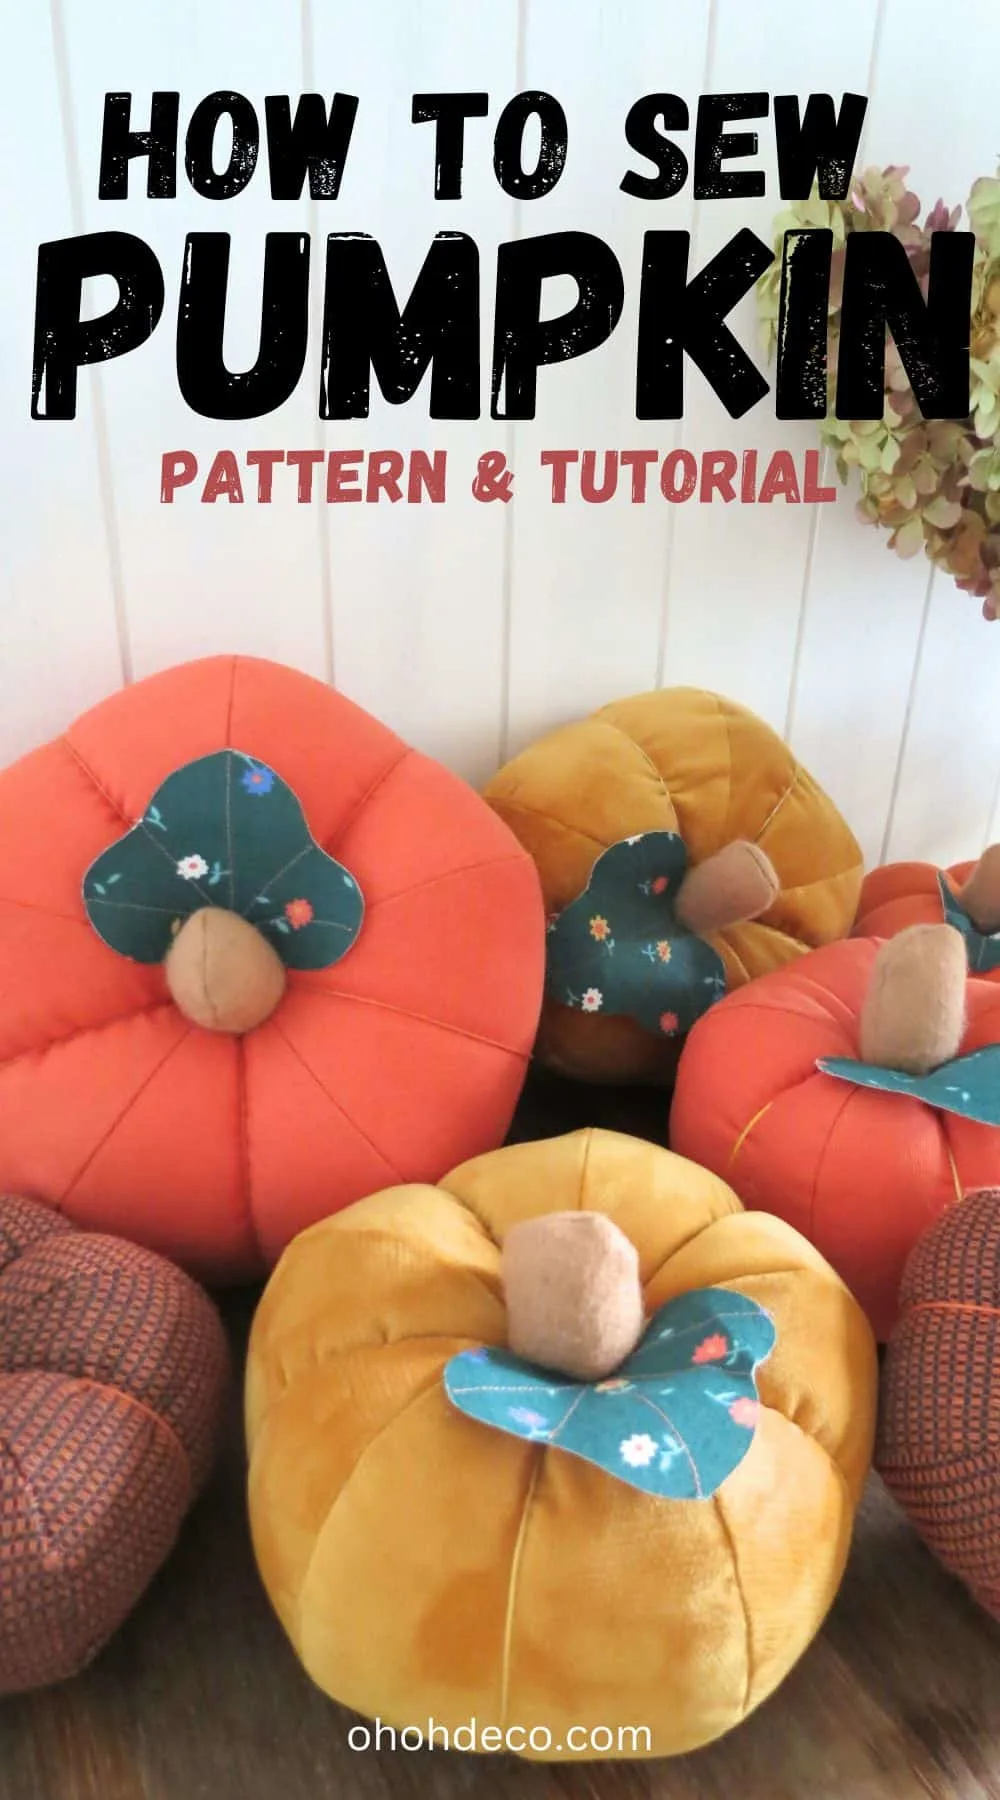
If you’re looking to get crafty this season, check out this awesome sewing project on creating your own fabric pumpkin! It includes an easy pattern and a step-by-step sewing tutorial that makes it super easy to whip up these adorable decorations.
Whether you’re a seasoned pro or just starting out with sewing, you’ll find all the tips and tricks you need to make your pumpkins look fantastic.
Sewing fabric pumpkins add a touch of charm to your fall decor. It’s a fun and creative way to spruce up your home for Halloween and Thanksgiving. These handcrafted pumpkins will surely impress your guests.
So grab your fabric, thread, and sewing machine, and let’s get started on this delightful project that will add a cozy touch to your home!
[ This post probably contains affiliate links, our full disclosure policy is boring, but you can read it HERE ]
Get the Fabric Pumpkin Pattern
Grab the fabric pumpkin pattern! It’s available for instant download, meaning once you finish your purchase, you can dive right into sewing.
The PDF include the pumpkin pattern in four different sizes, along with a comprehensive step-by-step guide complete with pictures and a video tutorial.
Everything you need to whip up your pumpkins effortlessly is right at your fingertips.
With this easy sewing project, you’ll be crafting four different sizes of pumpkins in no time!
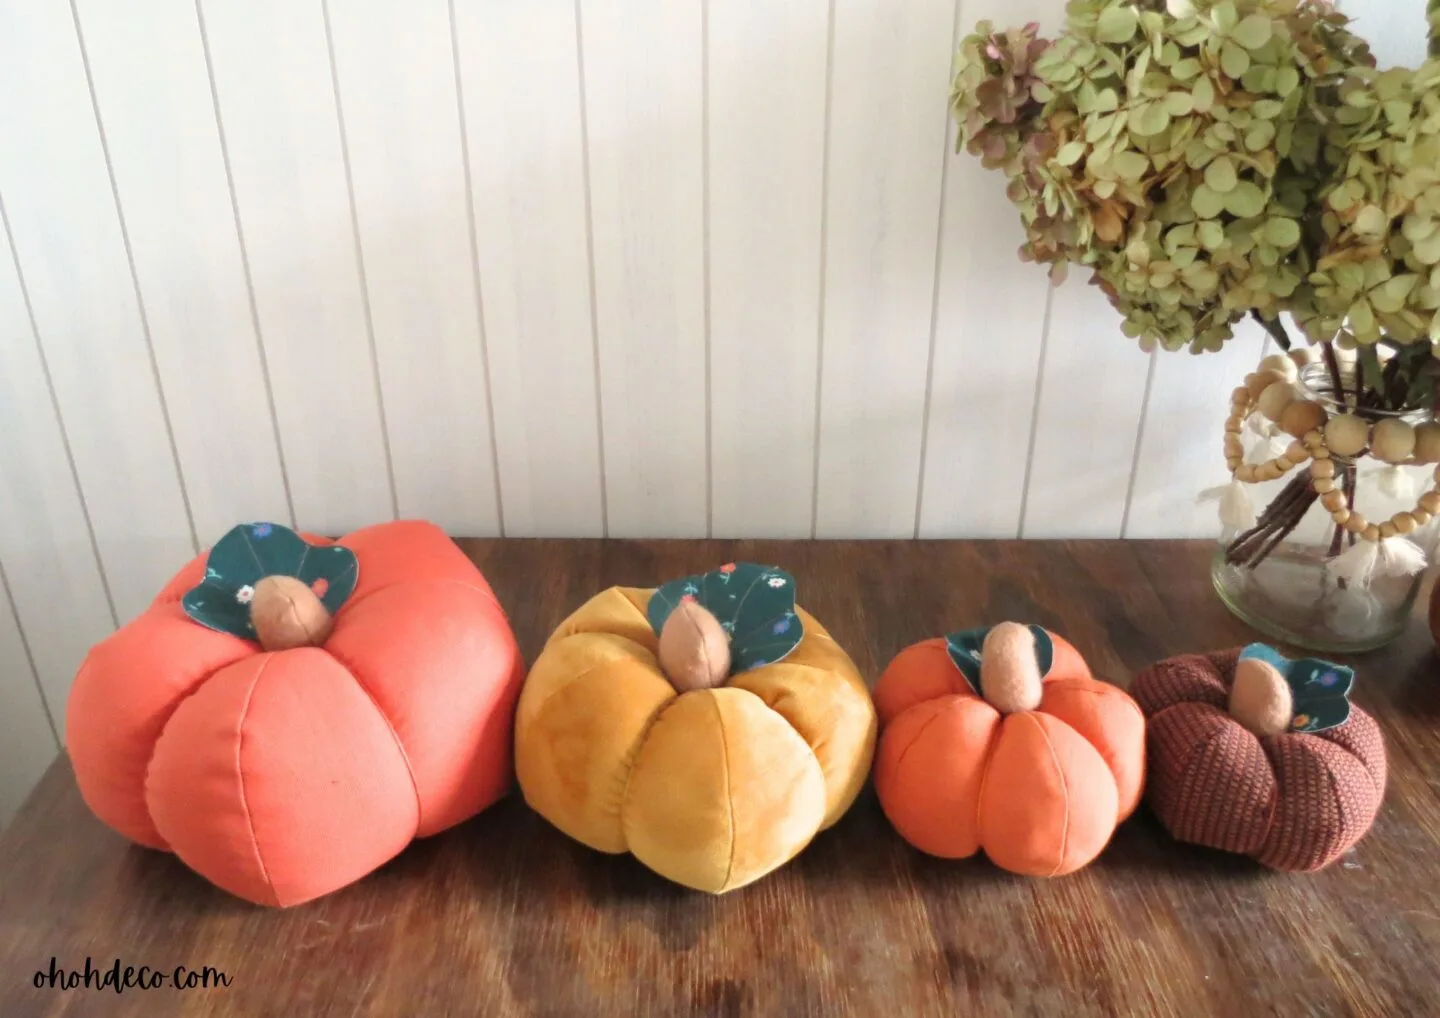
The finished pumpkins have the following dimensions:
- Large pumpkin diameter of 20 cm (8 inches)
- Medium pumpkin diameter of 17 cm (6 1/2 inches)
- Small pumpkin diameter of 15 cm (6 inches)
- Mini pumpkin diameter of 12 cm (4 1/2 inches)
The pattern is available as instant download and can be printed on US letter or A4-sized paper.
>>> GET THE PATTERN <<<
Fabric suggestions
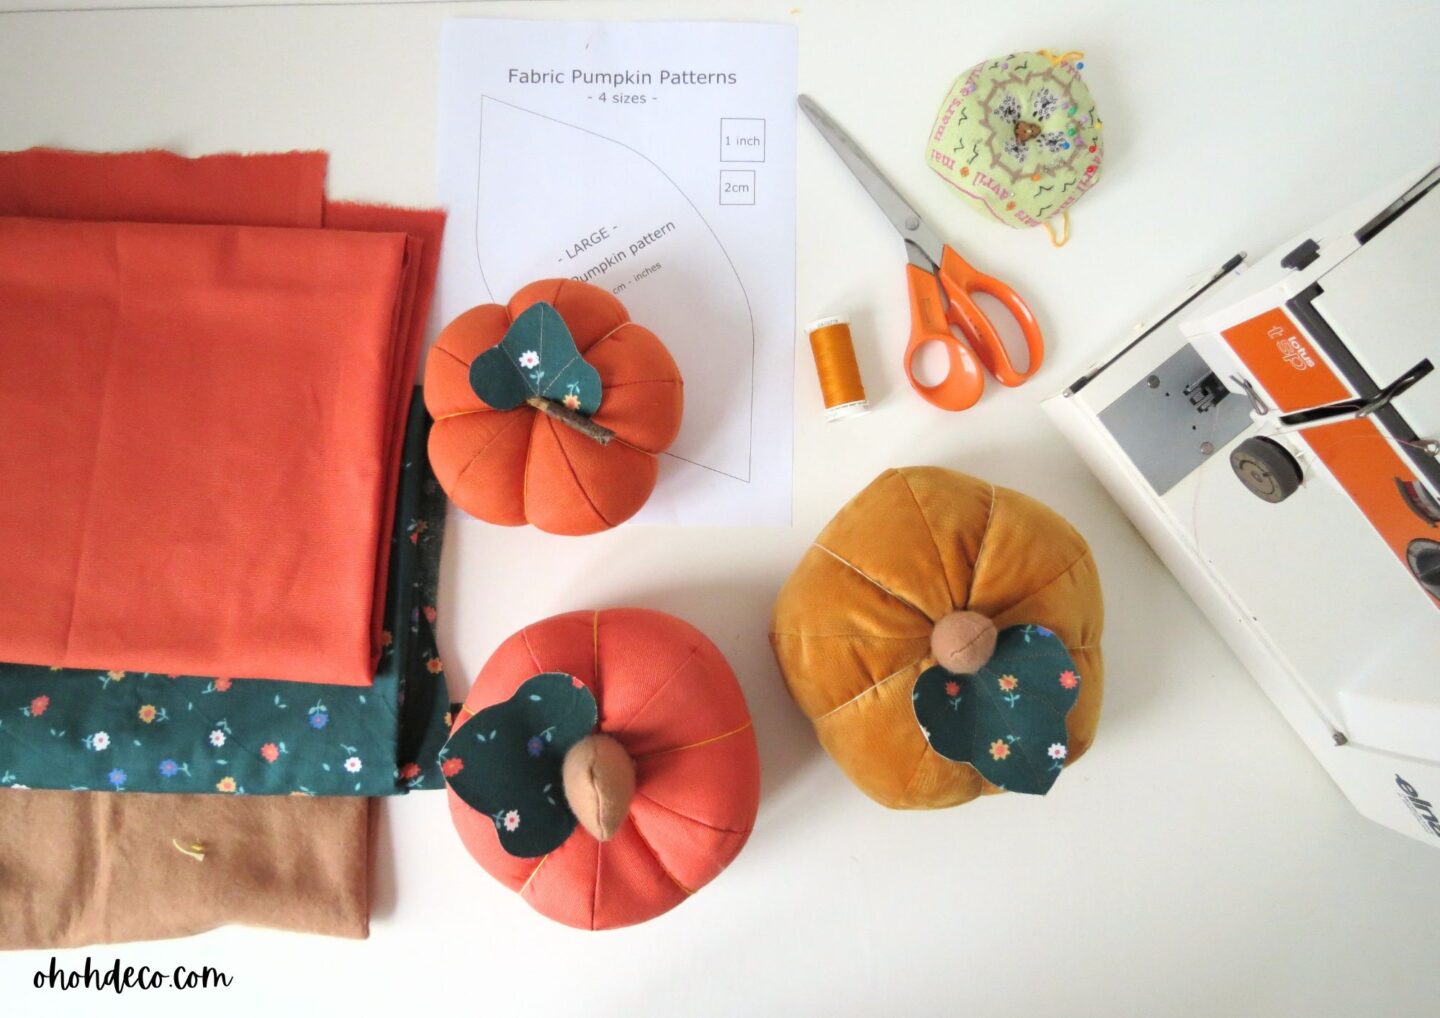
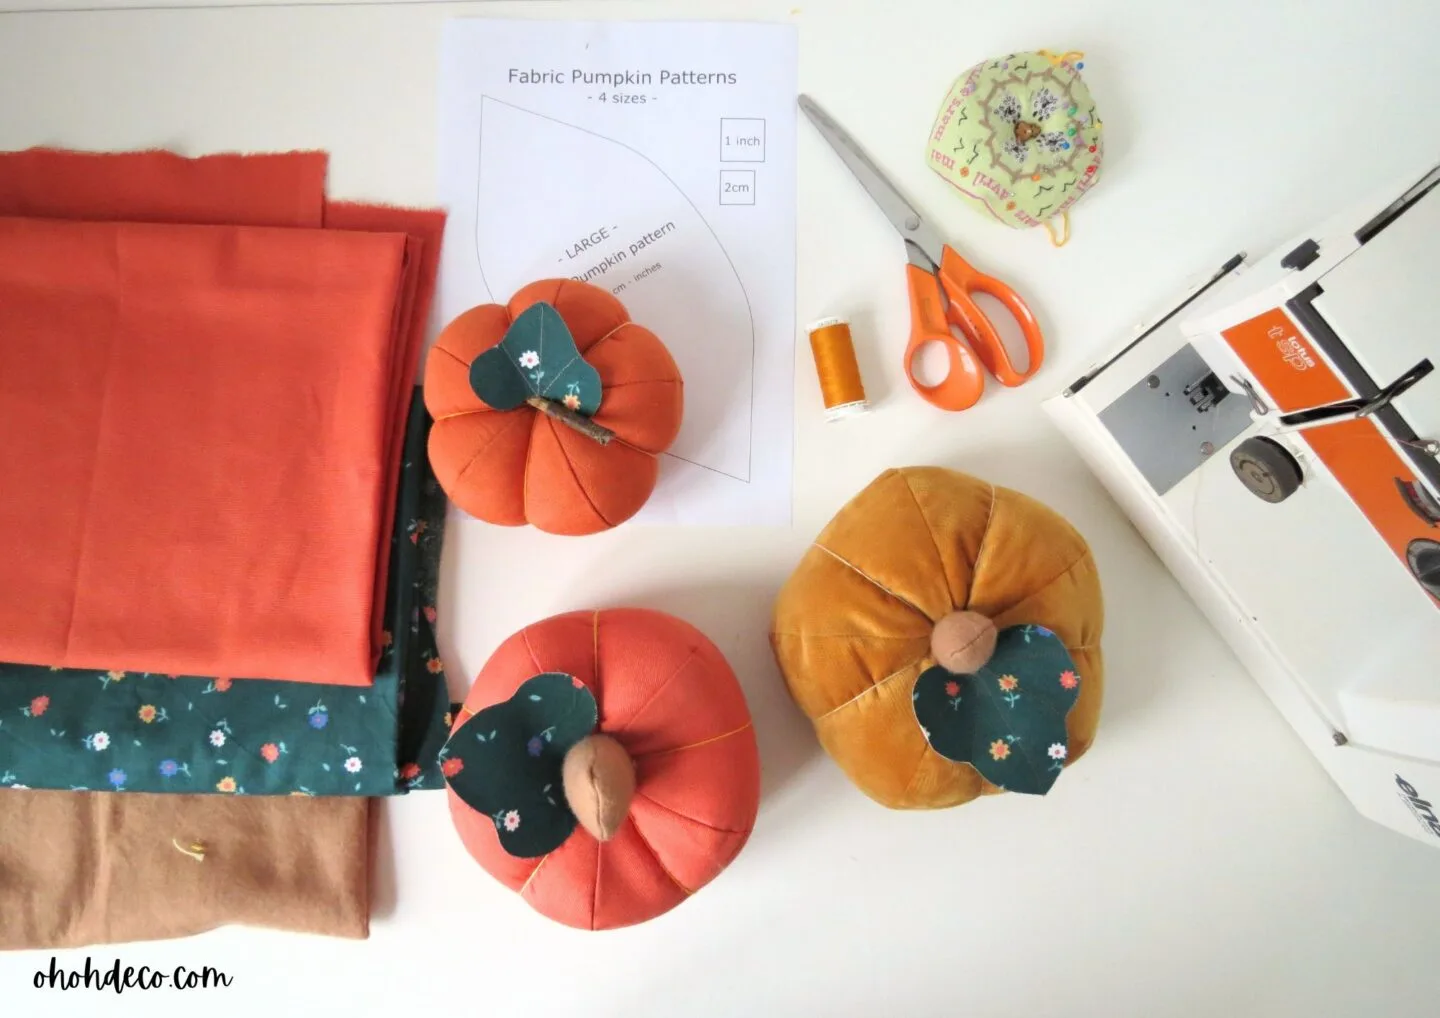
When it comes to crafting your pumpkins, you have a wide variety of fabrics to choose from, ranging from medium-weight cotton to velvet, giving you plenty of options to get creative.
Just a heads up, it’s best to steer clear of stretchy materials for this project.
Also, don’t forget to dig into your fabric stash; sewing pumpkins is a fantastic way to utilize those leftover scraps you have lying around.
You can stick with simple orange fabric, or if you’re feeling adventurous, try combining various Fall or Halloween-themed fabrics to create unique pumpkins that stand out.
For the pumpkin’s stem and leaf, grab some brown and green felt or fabric to add those finishing touches.
If you’re thinking about creating a pumpkin set, buy yourself an upholstery needle. It’ll simplify the crafting process when you’re shaping the fabric pumpkin into its final form.
Supplies
>>> GET THE PATTERN <<<
Video step-by-step
To help you sew this pattern, you can also watch the video tutorial.
Let’s start sewing
Seam allowances are not included in the pattern, so add 1/3 inch (1 cm) when cutting the pieces into the fabric.
The tutorial works for all four sizes of pumpkins, so you can follow the same steps no matter which one you pick. Select the leaf and stem pattern that complements the size of your pumpkin best.
If you’re feeling creative, you can always add extra leaves to your pumpkin for a more unique look!
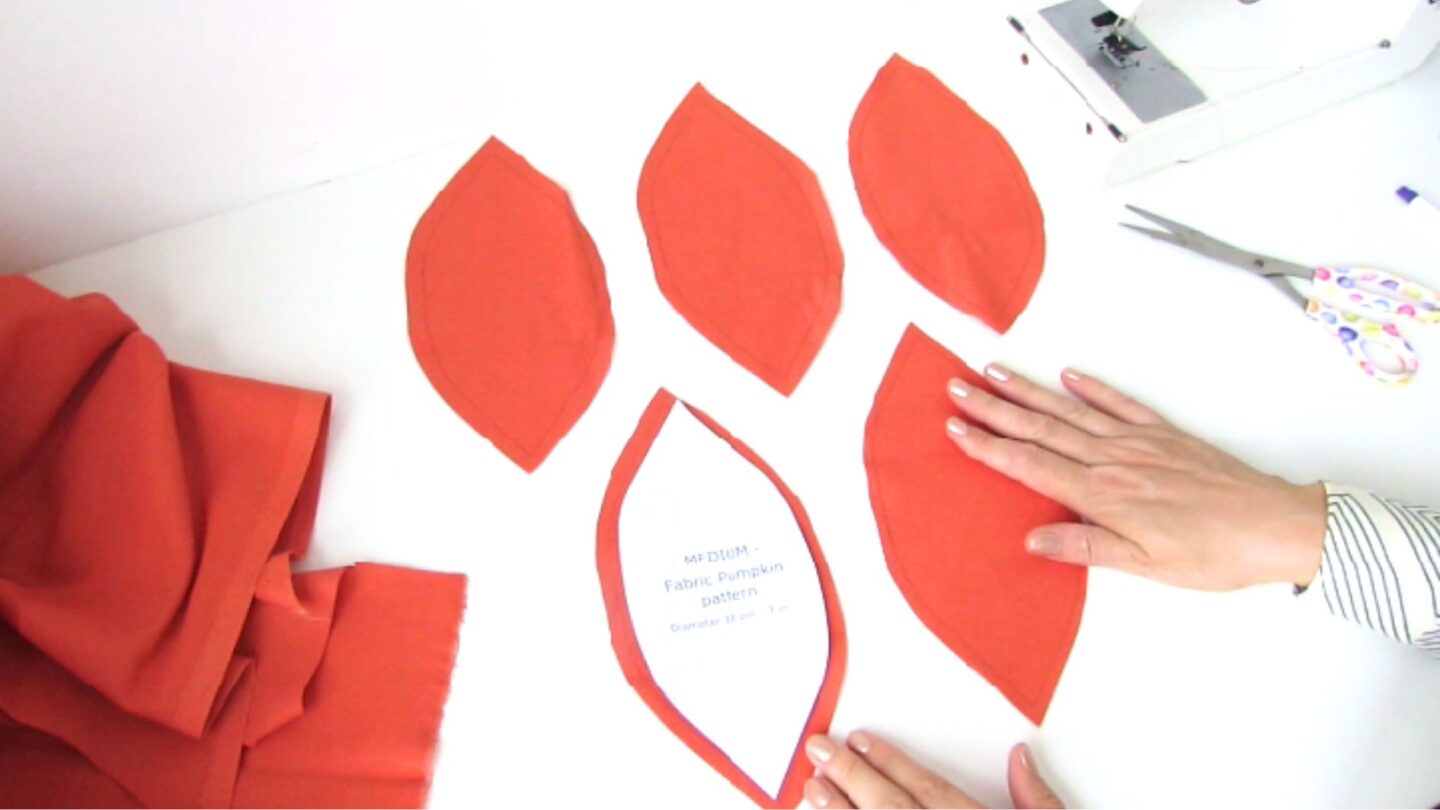
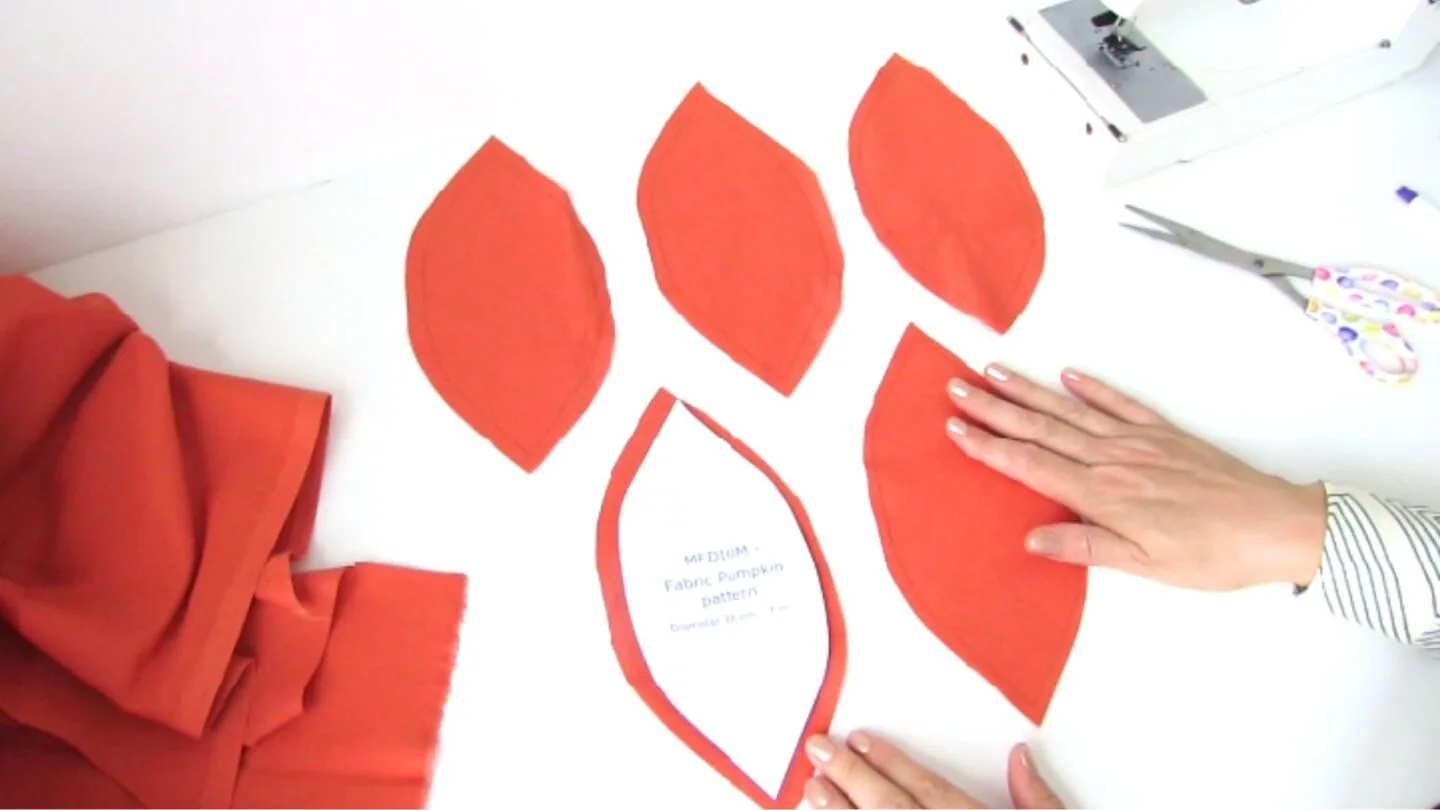
- Choose the pumpkin size you like to make and cut 5 identical pieces. Add a seam allowance of 1 cm (1/3 in.)
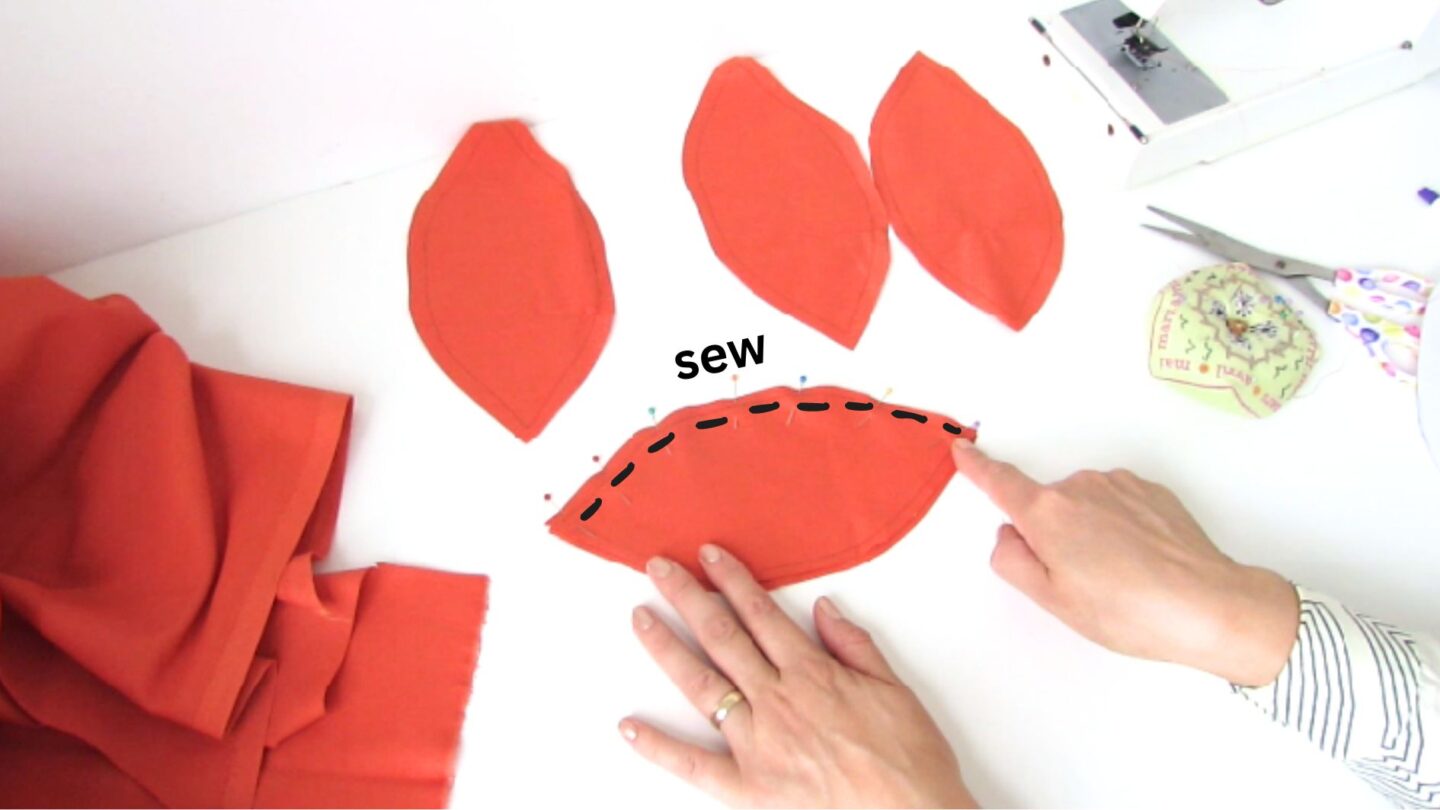
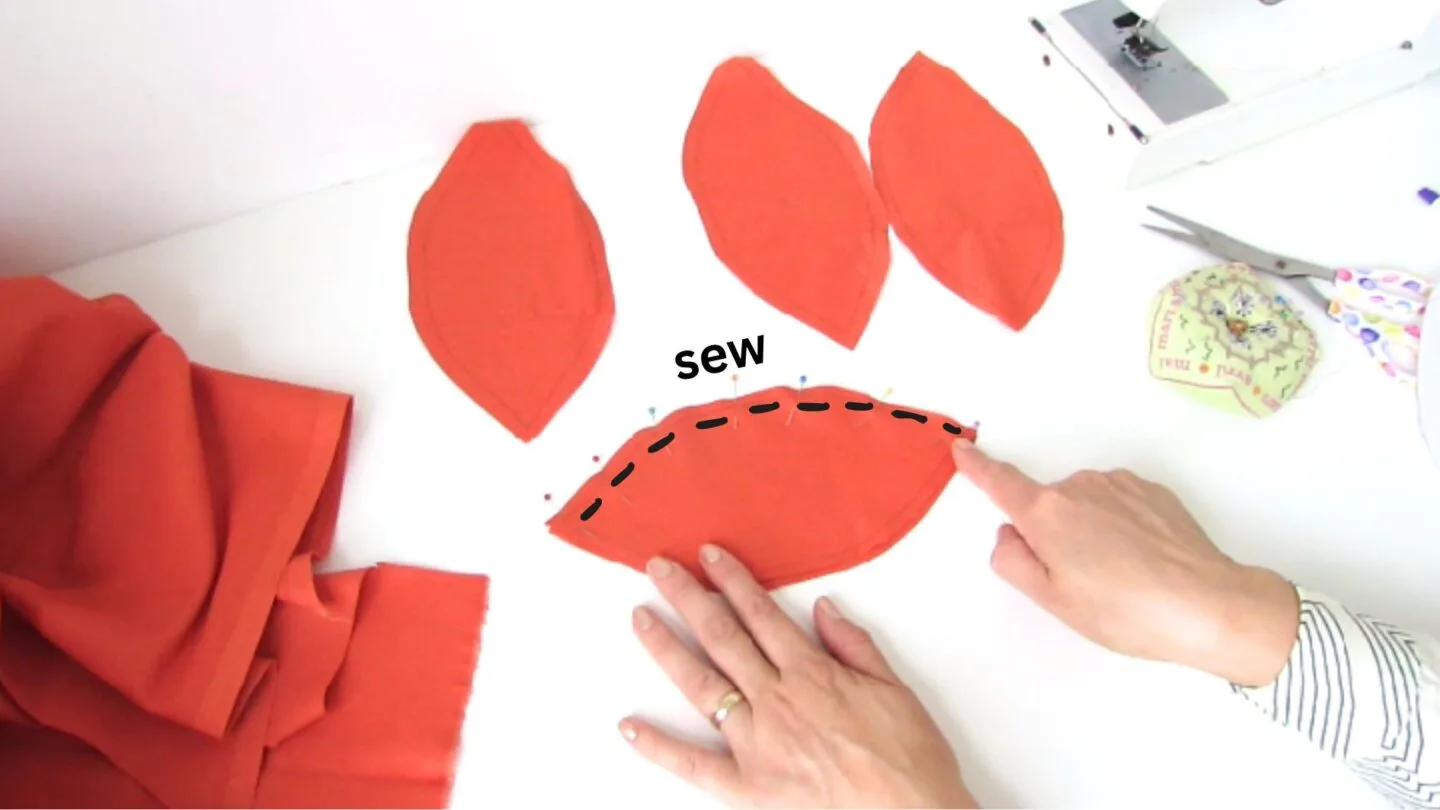
- Place 2 pieces on top of each other, wrong sides out, and pin along the top edge. Make a seam following the pattern line. Sew the other pieces the same way: align the edge, pin, and sew.
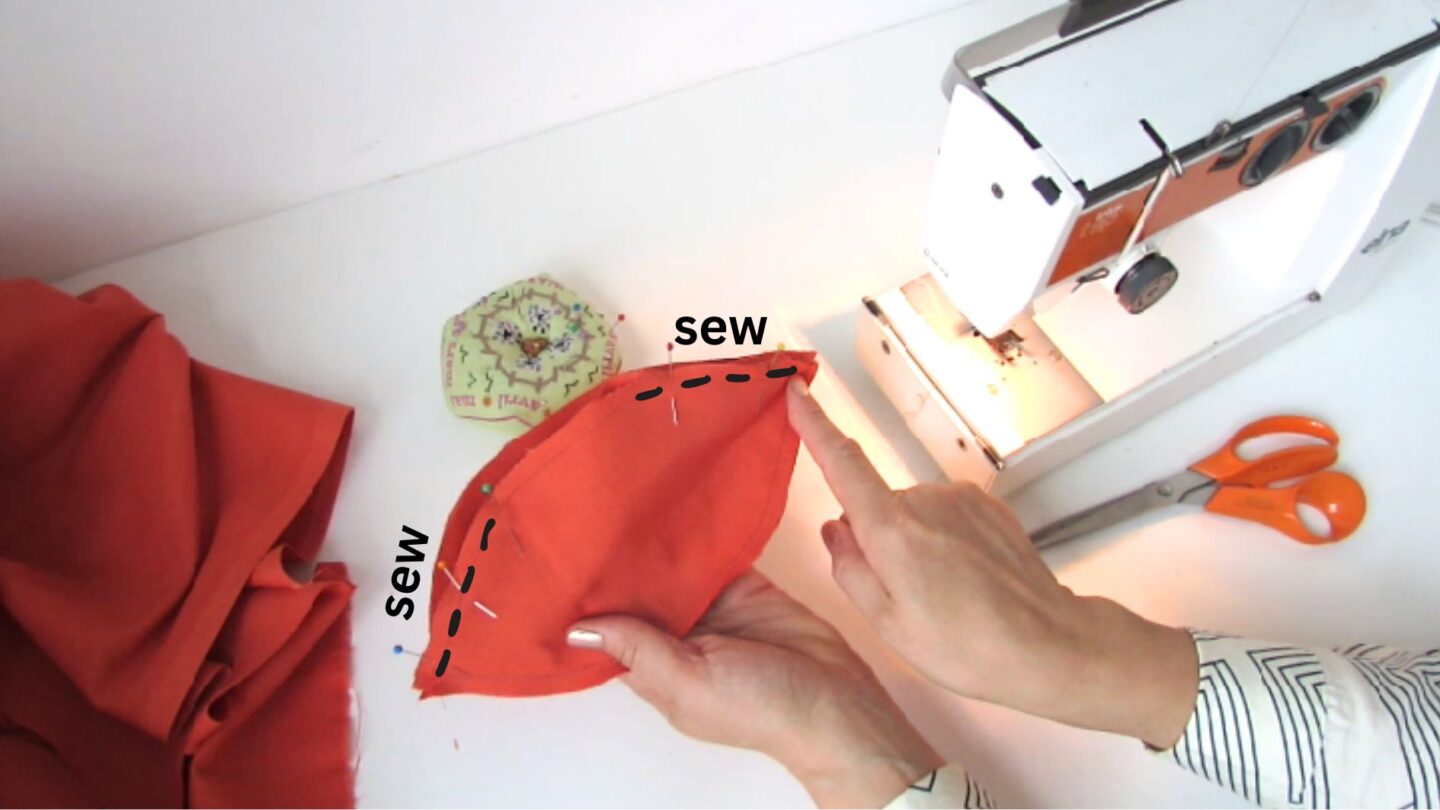
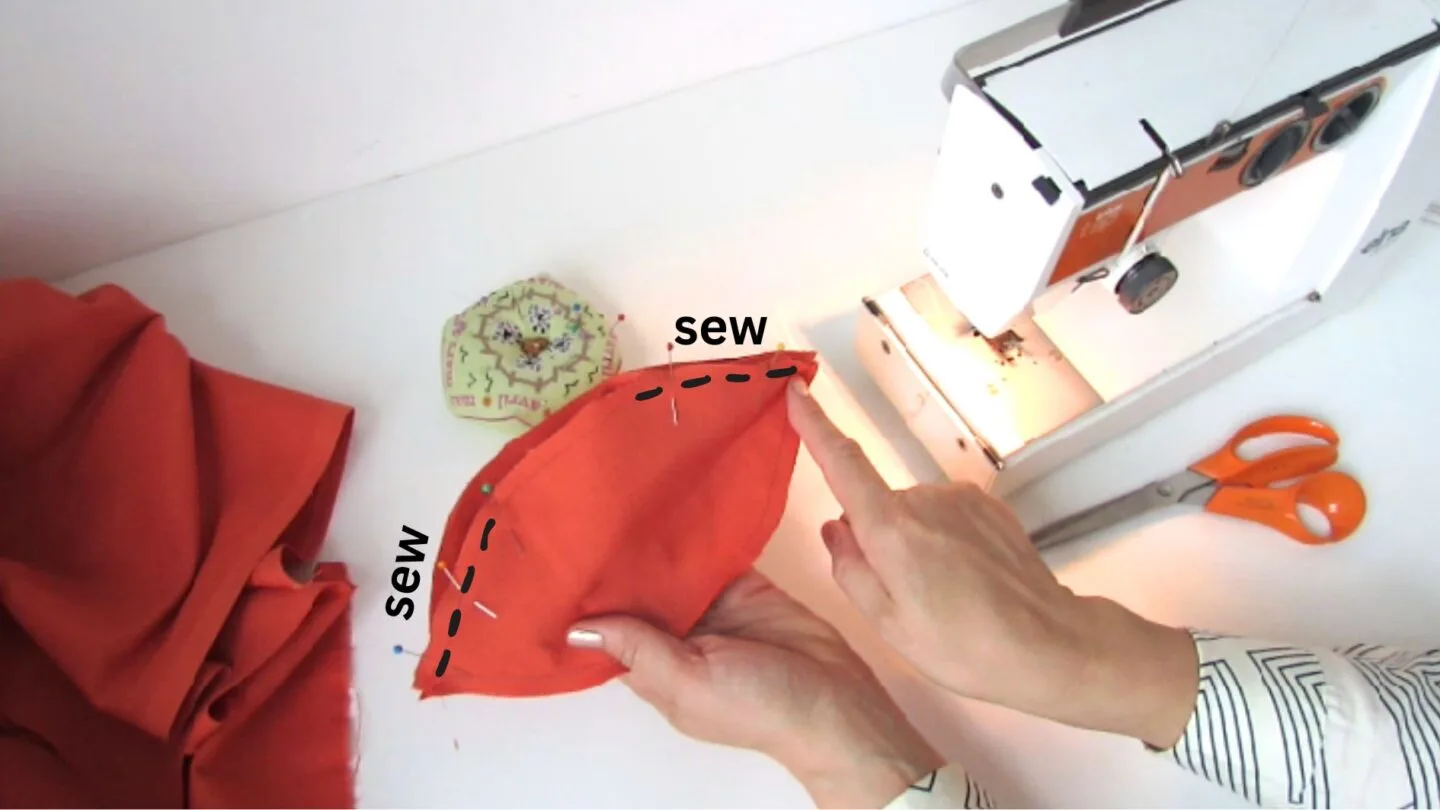
- Once all 5 pieces are sewn, align the two last edges together and sew leaving an opening in the center to turn the pumpkin right side out.
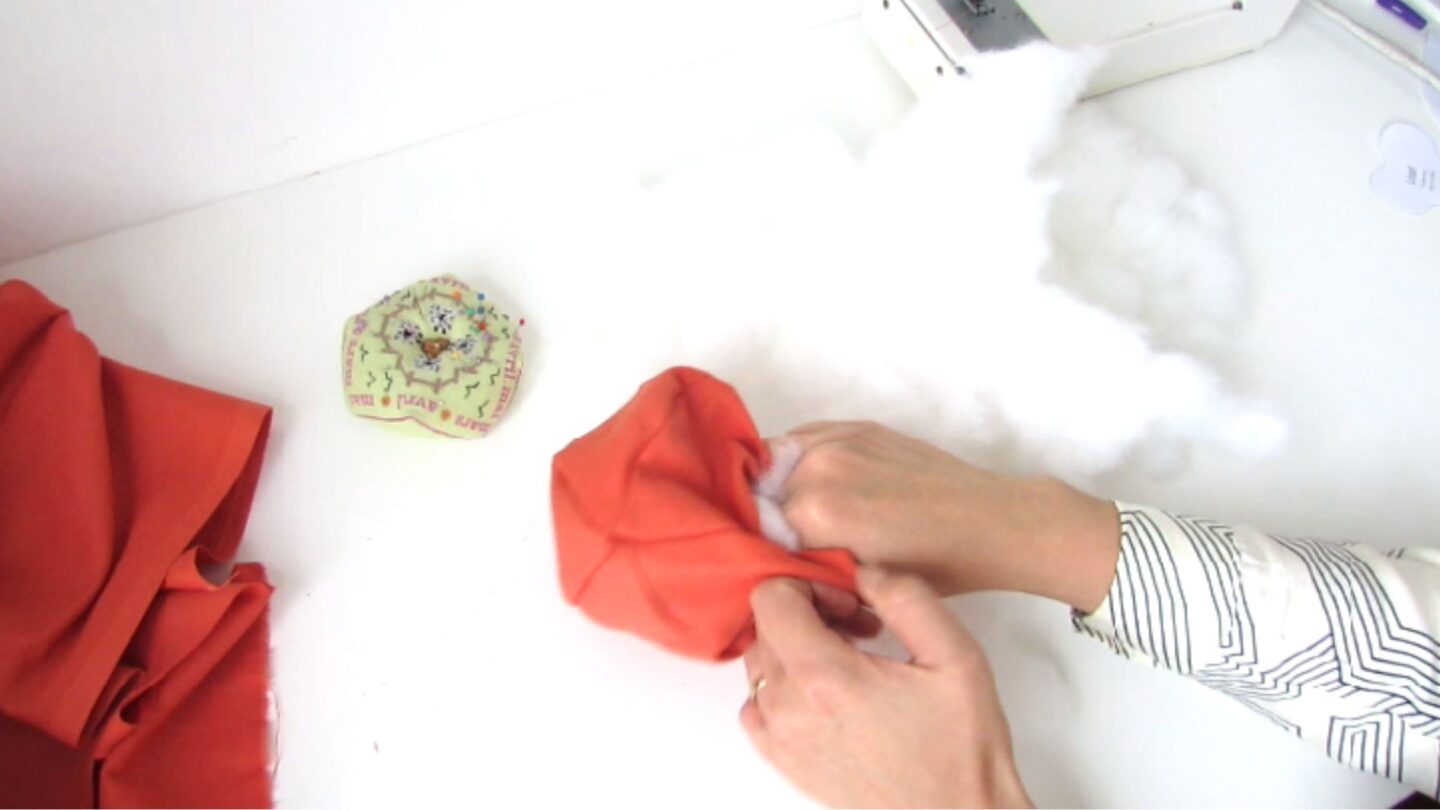
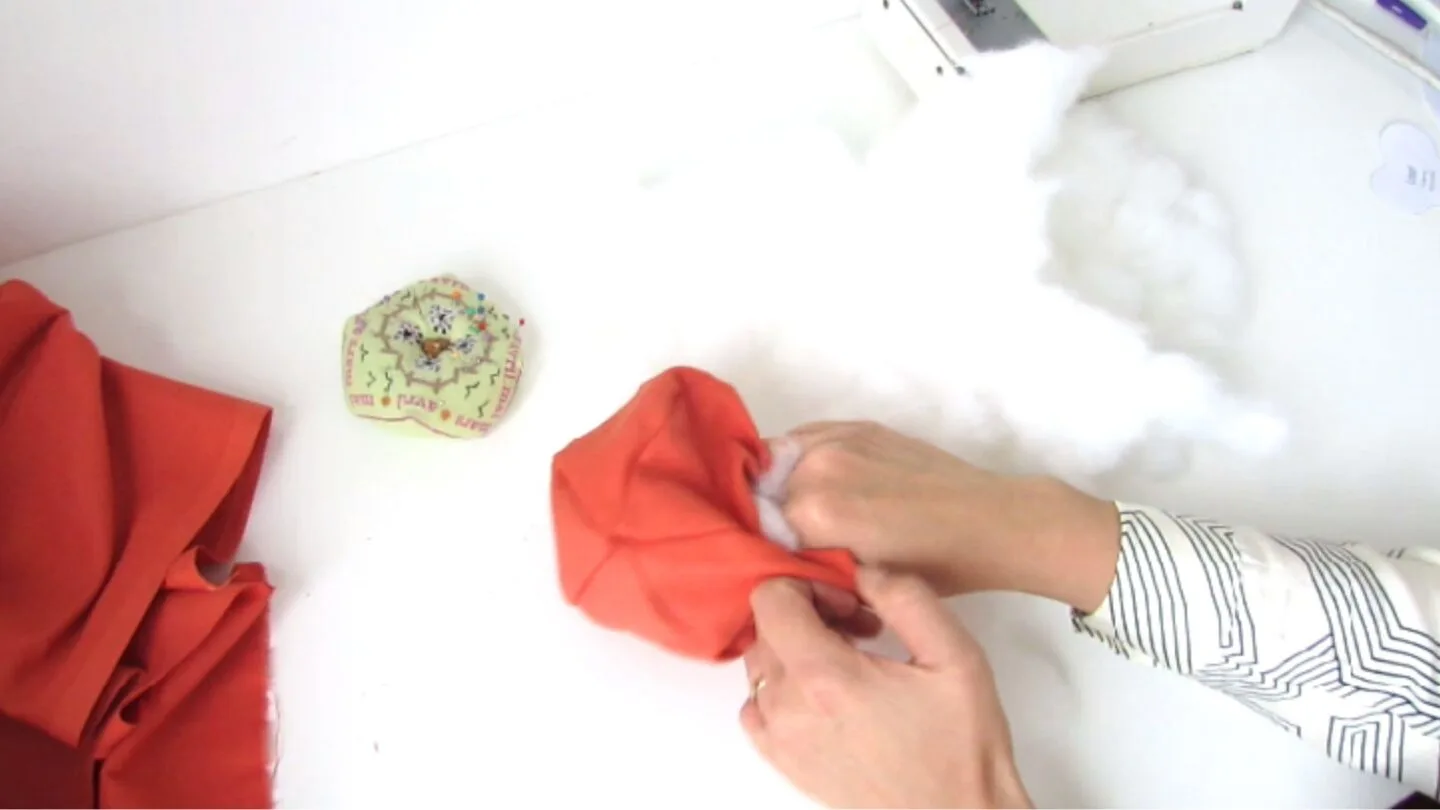
- Turn the pumpkin right side out and fill it with cushion filling. Stuff it until you have a nice and firm shape.
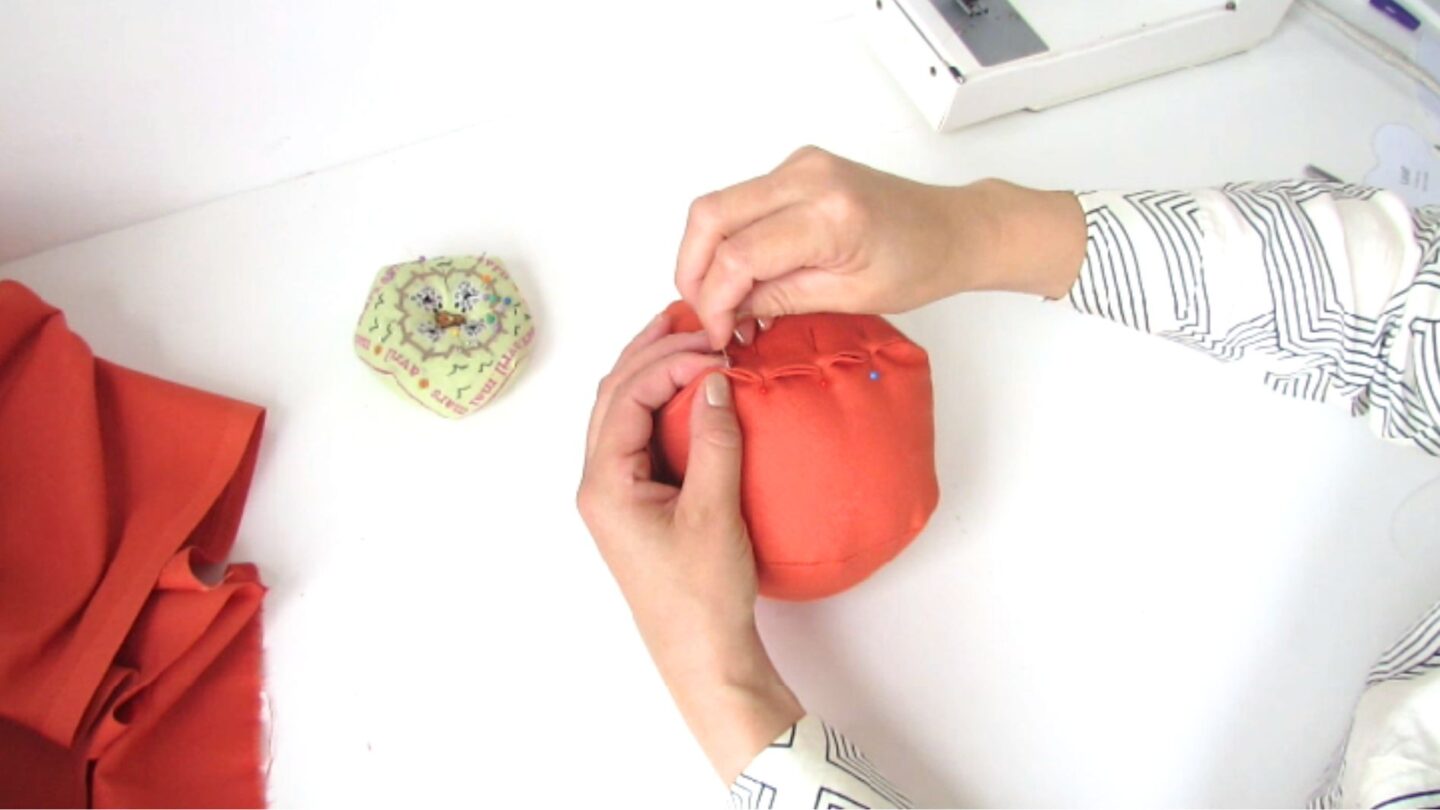
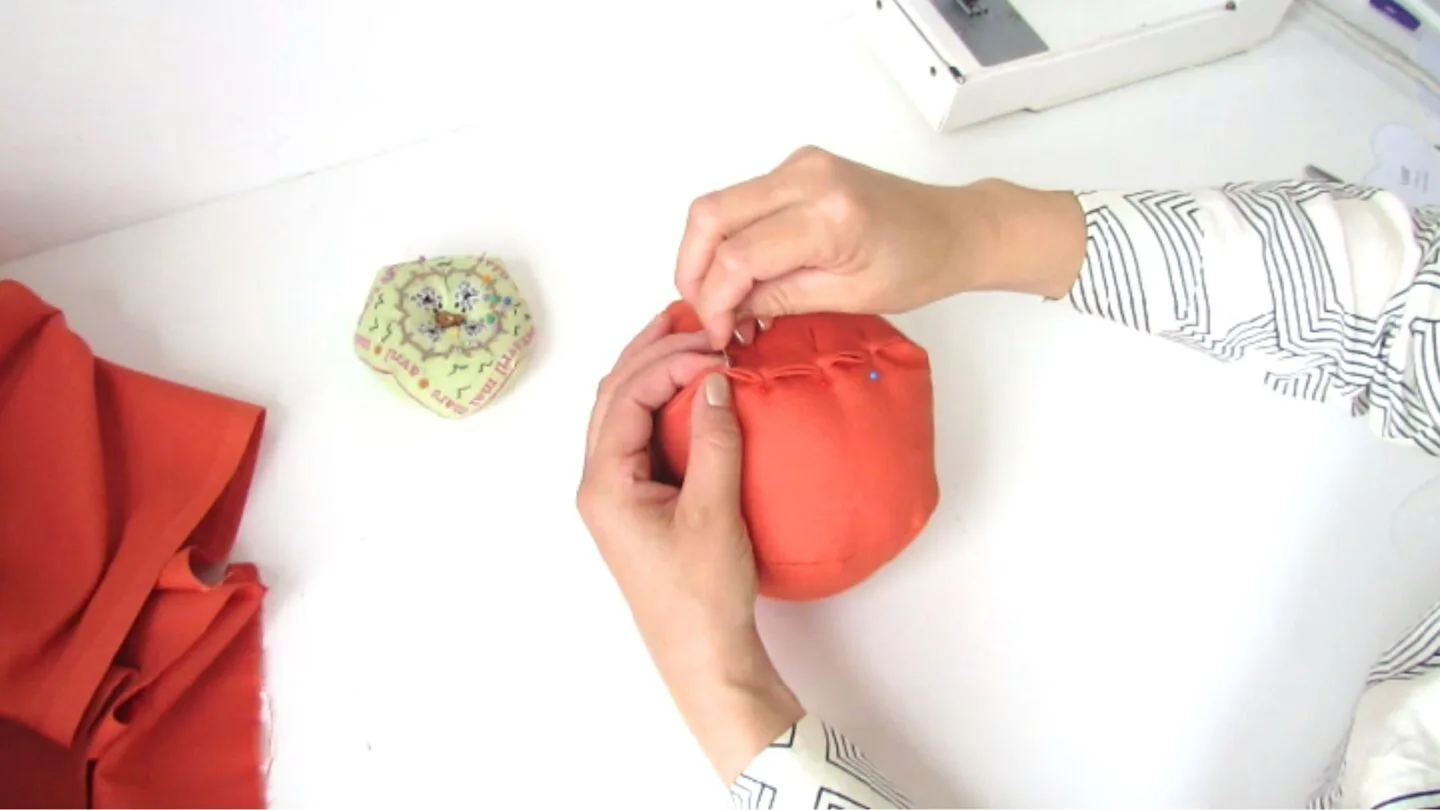
- Pin the opening and close the pumpkin with a few invisible hand stitches.
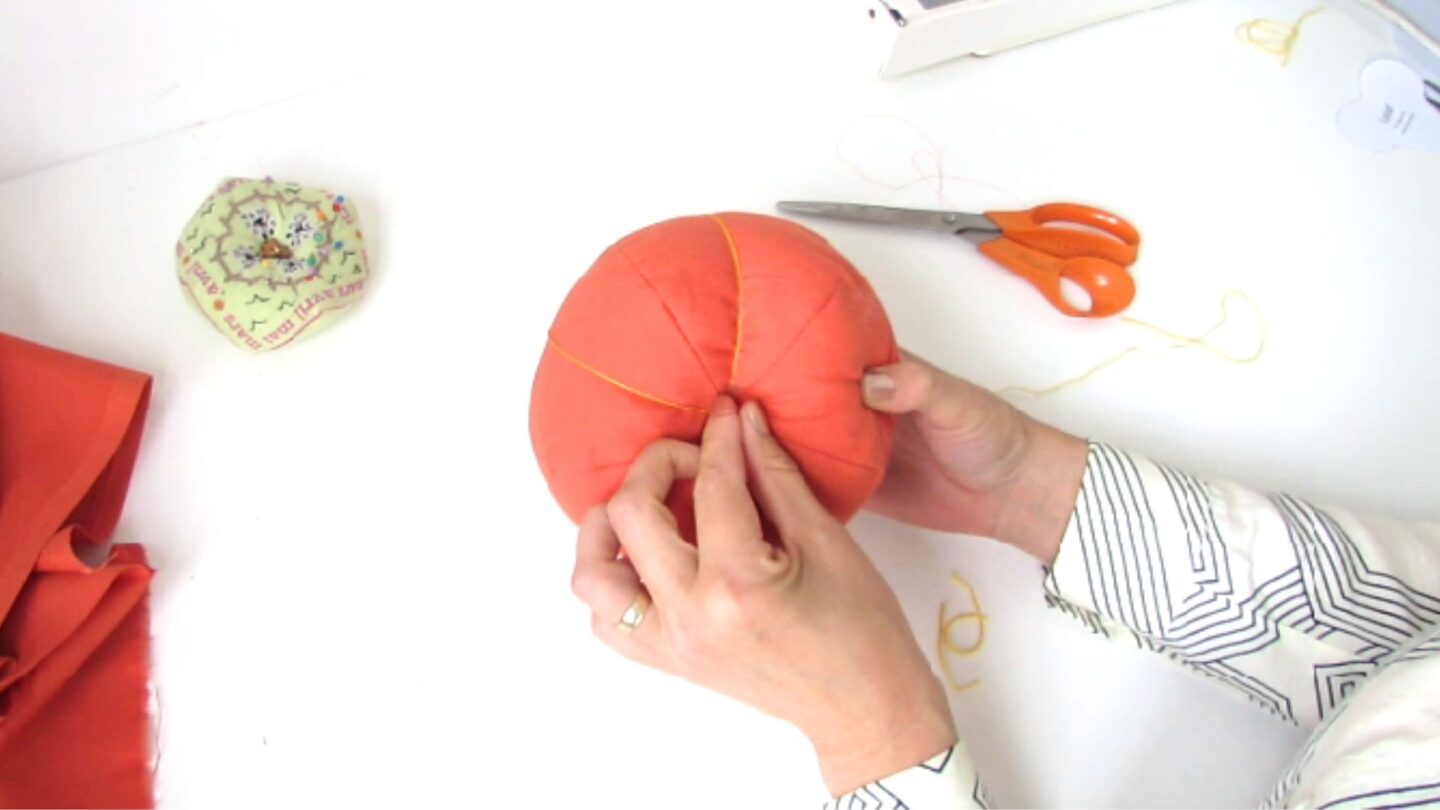
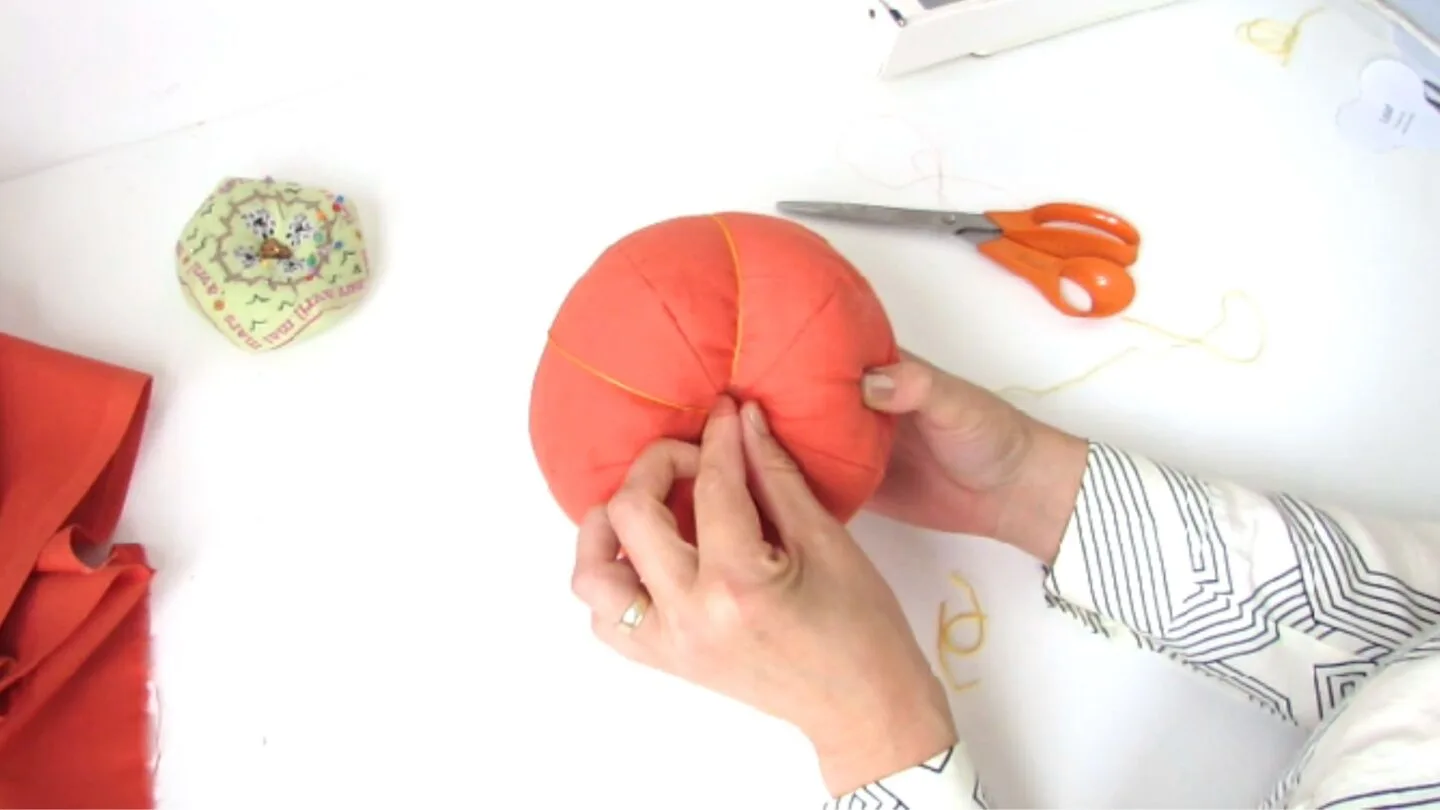
- To shape the pumpkin, grab some embroidery floss and a long needle. Pass the floss through the center, loop it around half of the pumpkin, and tie a knot. Make sure to pull the knot tight to get that perfect pumpkin shape.
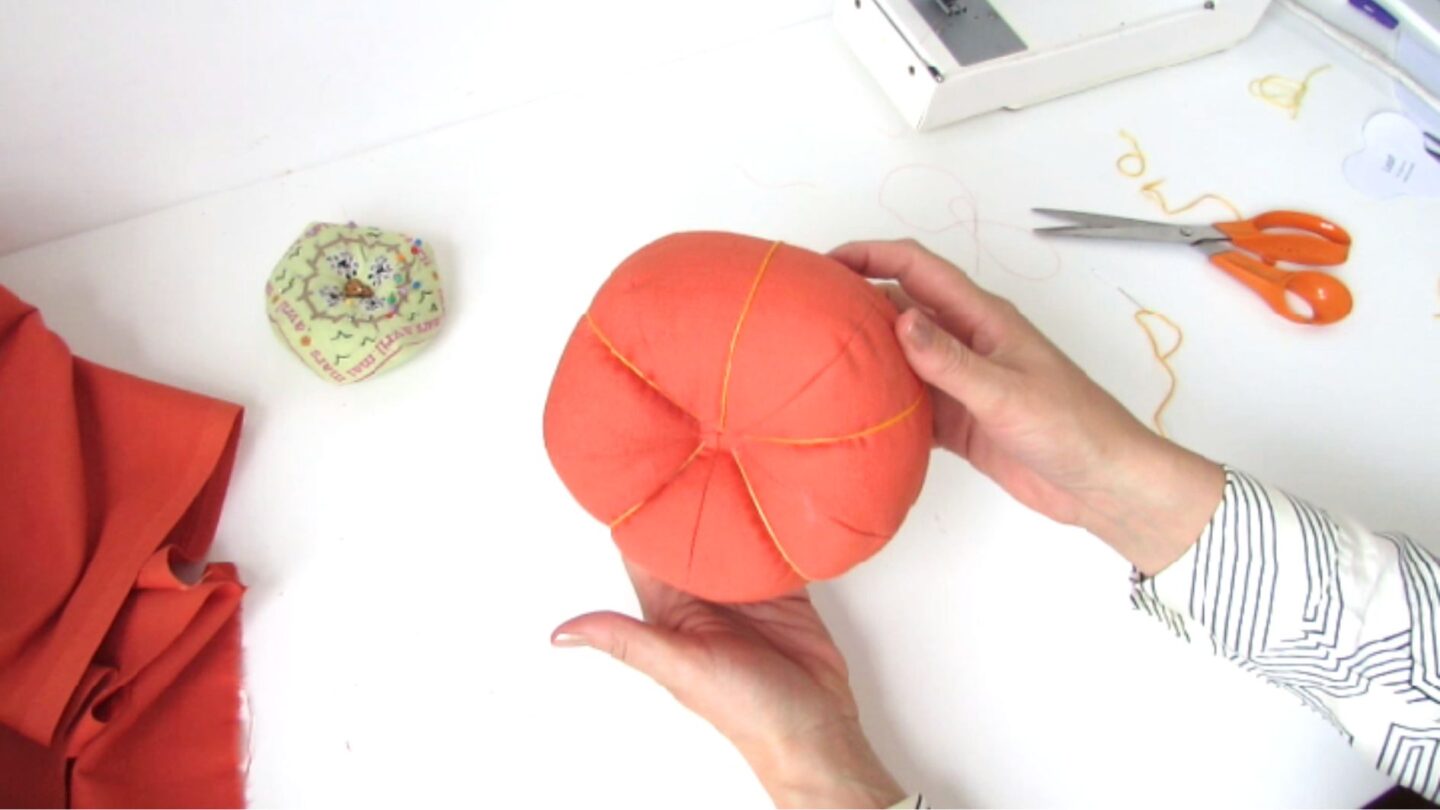
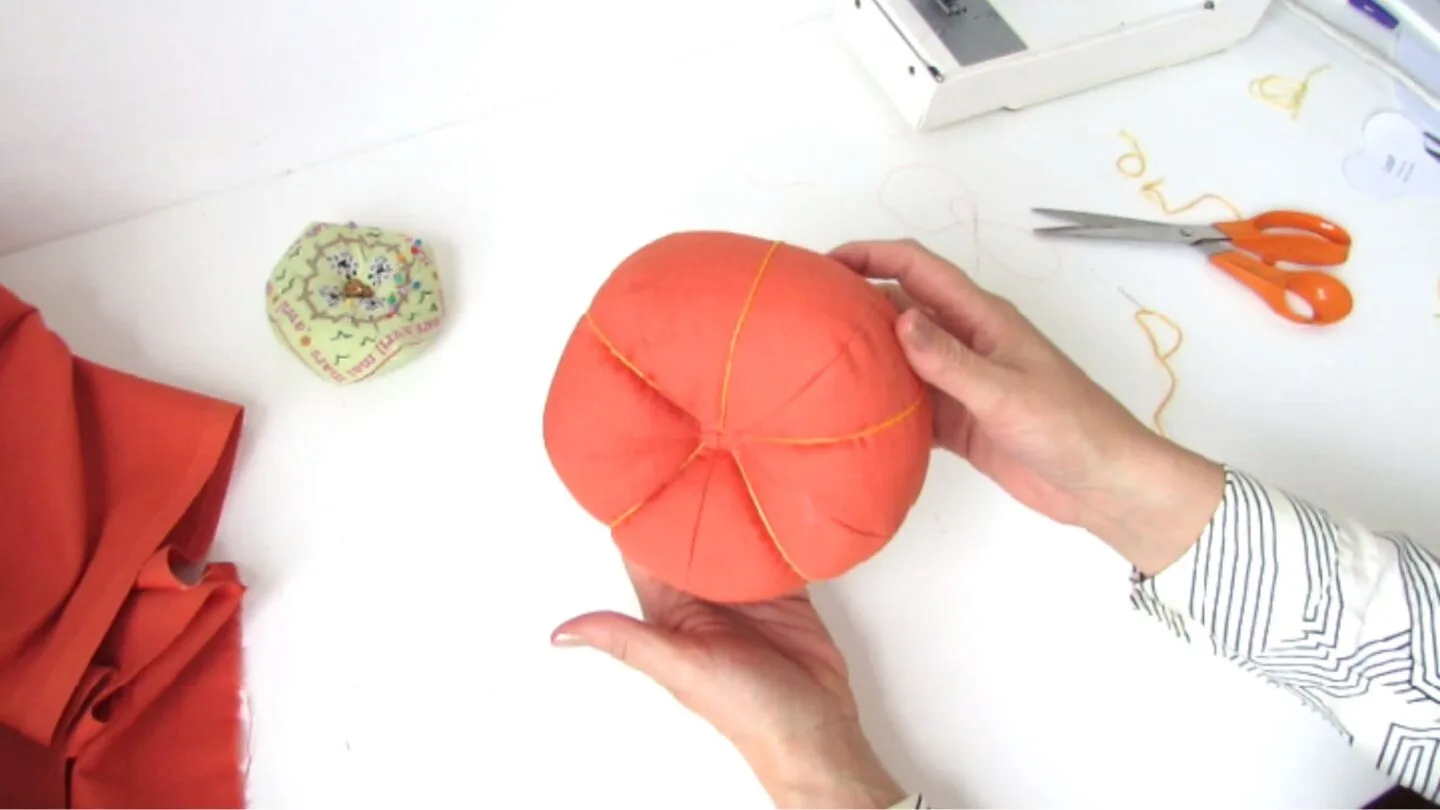
- Try to make the knots as close as possible to the bottom center so you can slide the floss and hide the knots inside the pumpkin.
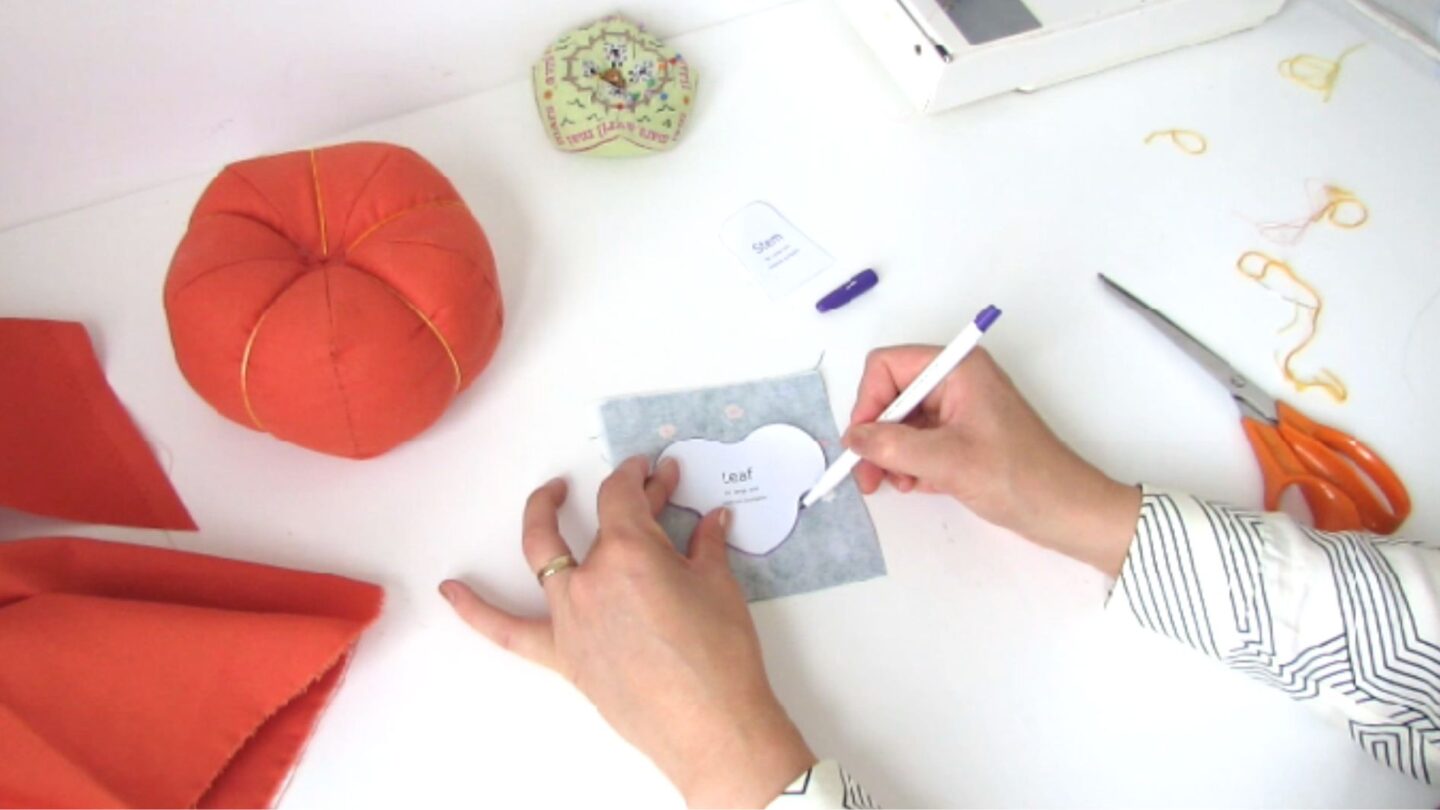
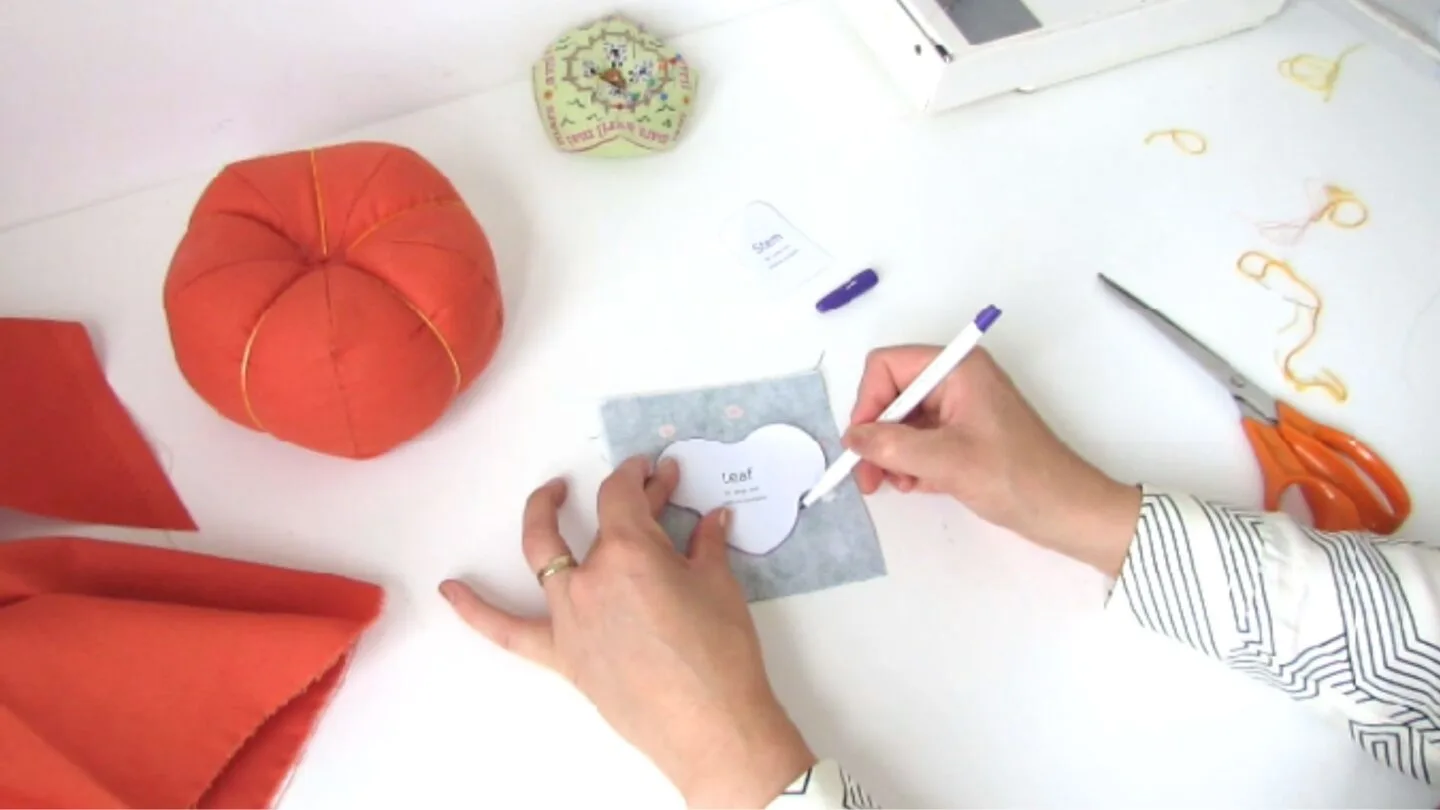
- Take the leaf pattern, trace its shape, and cut it out. You can use felt or any fabric that you previously added fusible interfacing to on the back to prevent it from fraying.
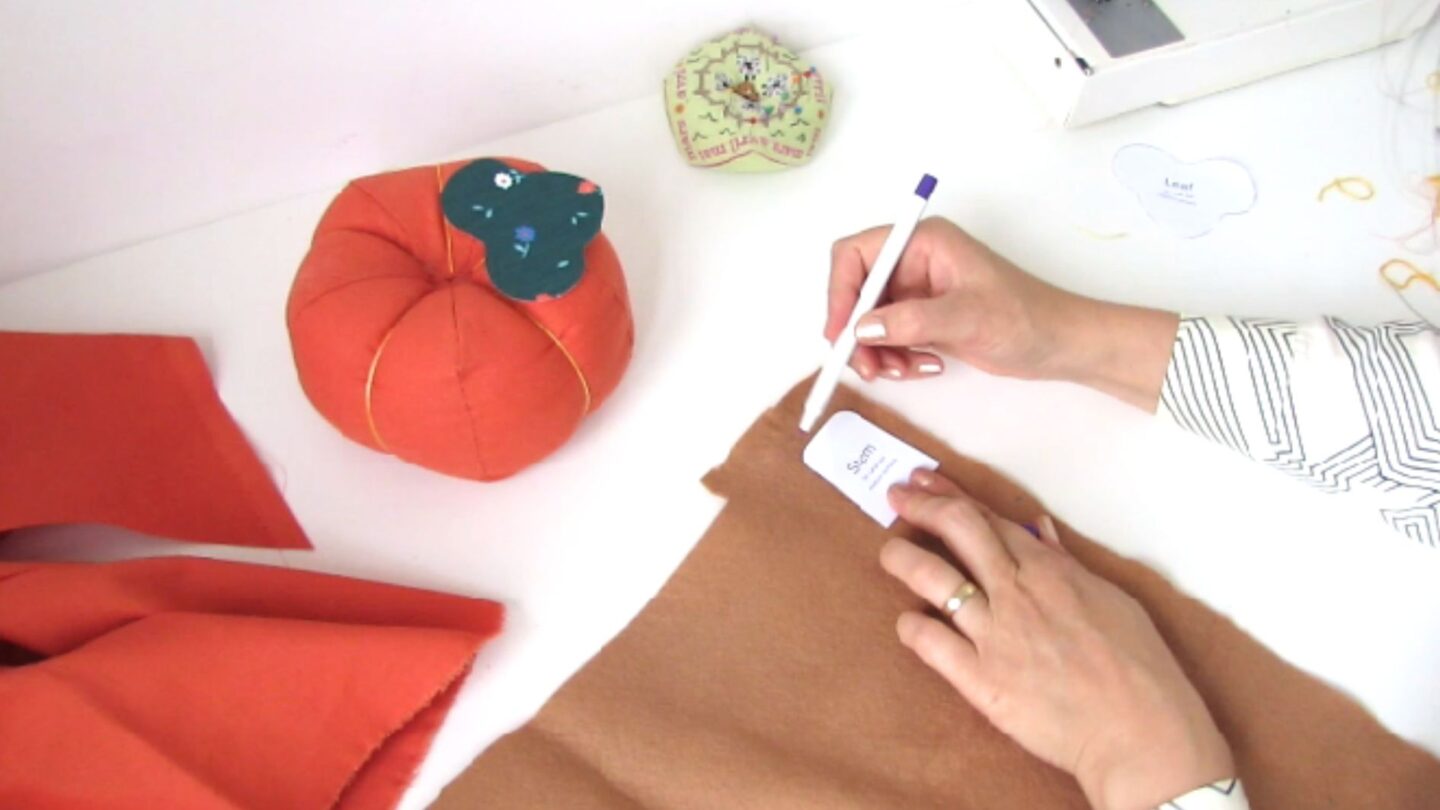
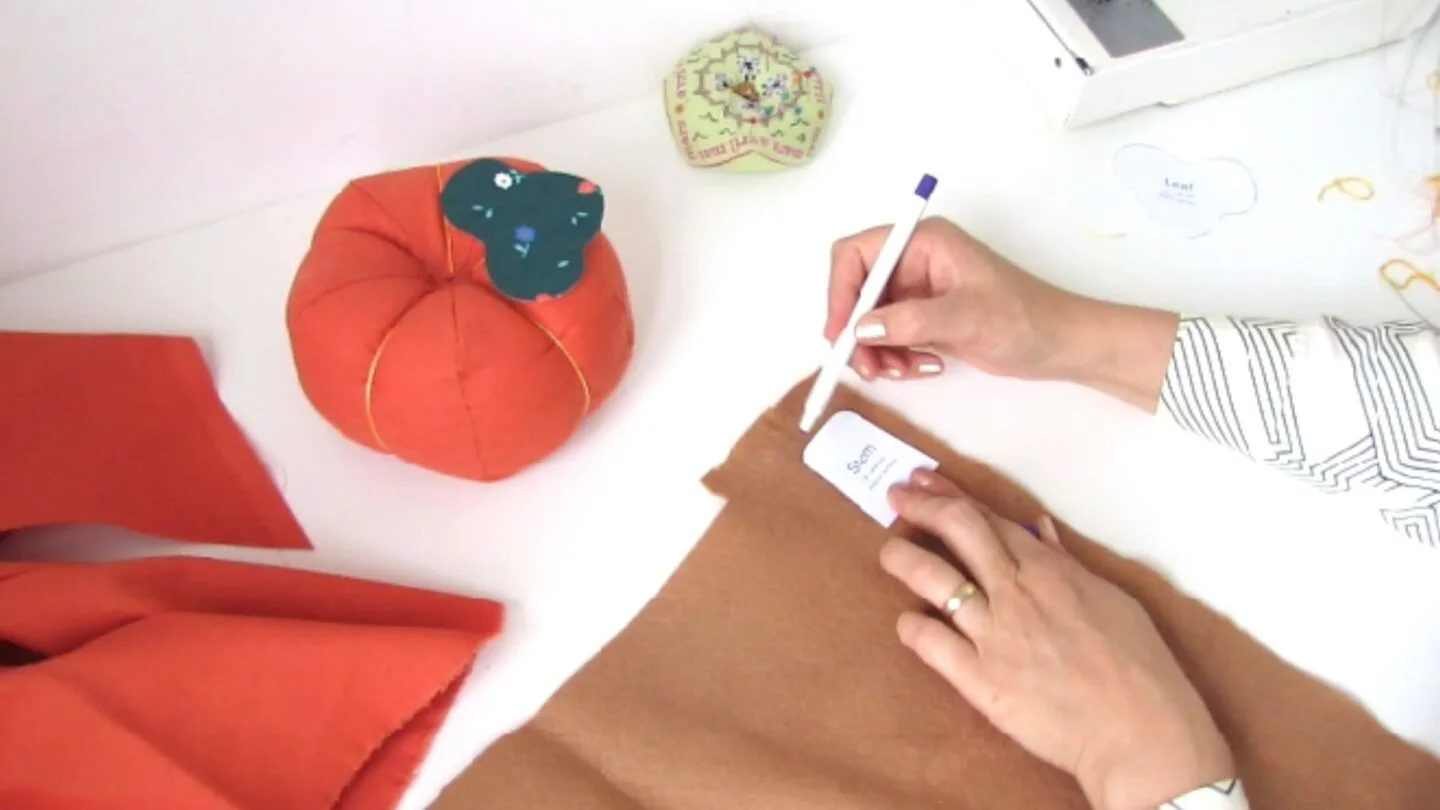
- Take the stem pattern and report twice the shape on the fabric. Place the pieces on top of each other, wrong sides out, and sew following the shape leaving the bottom open.
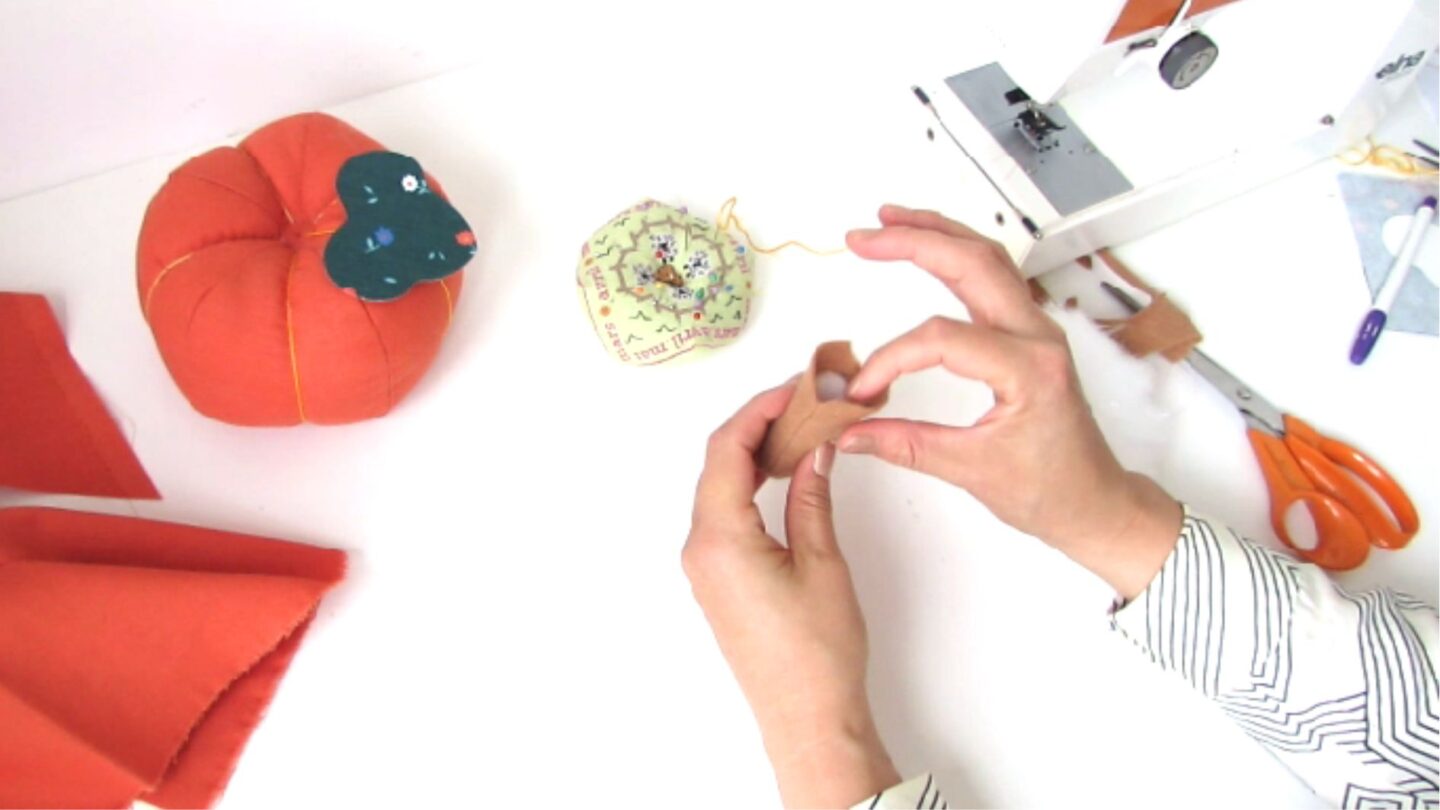
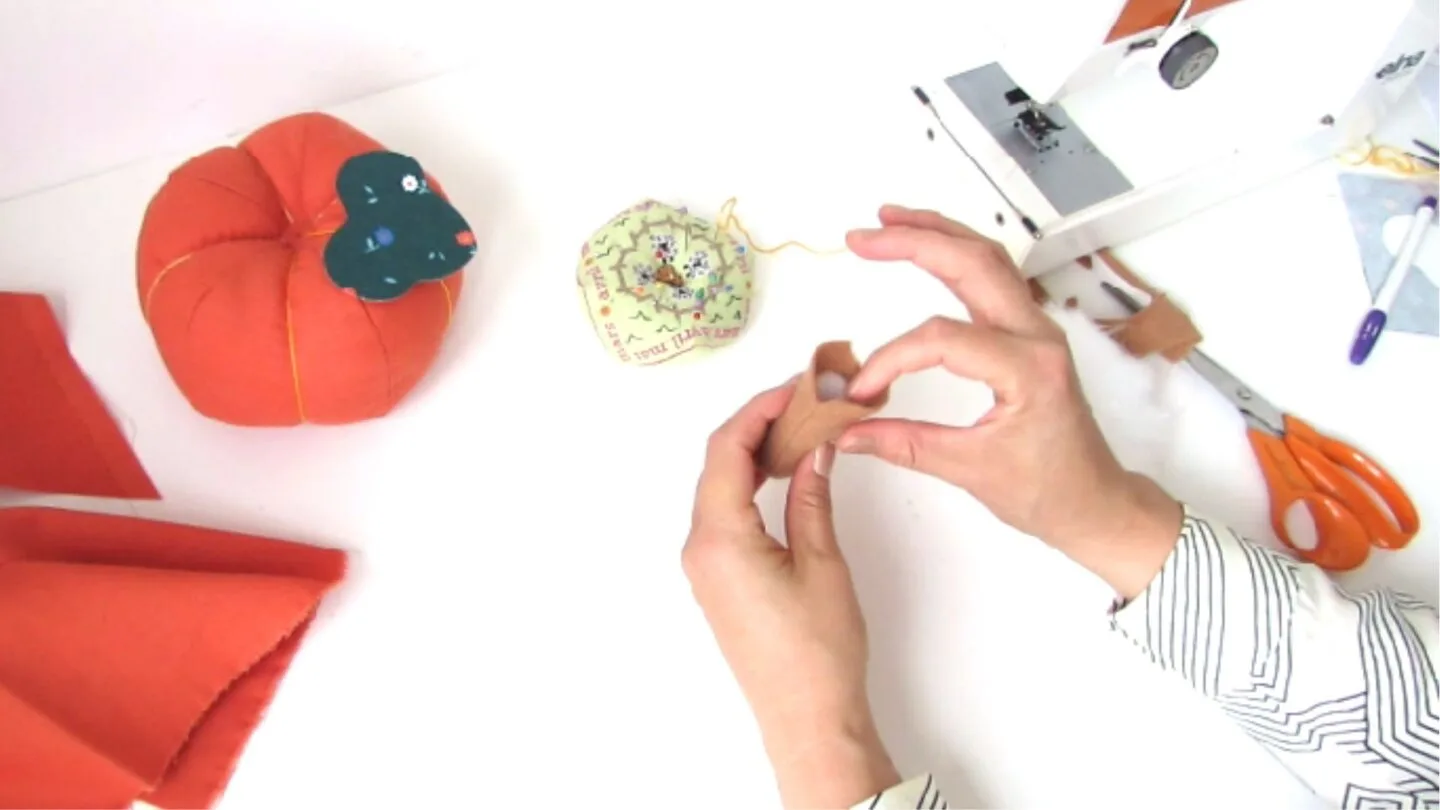
- Turn the stem right side out and fill it with cushion filler.
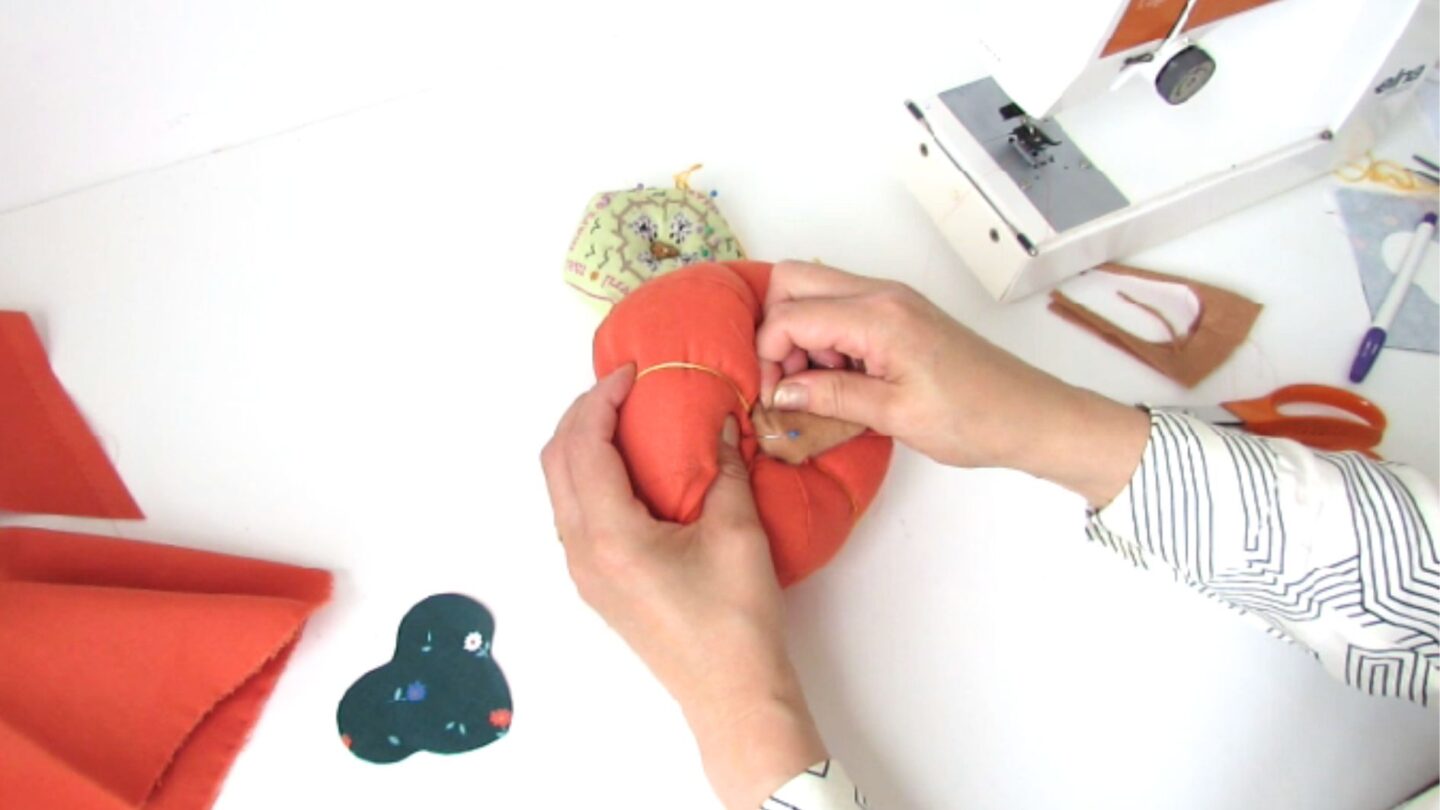
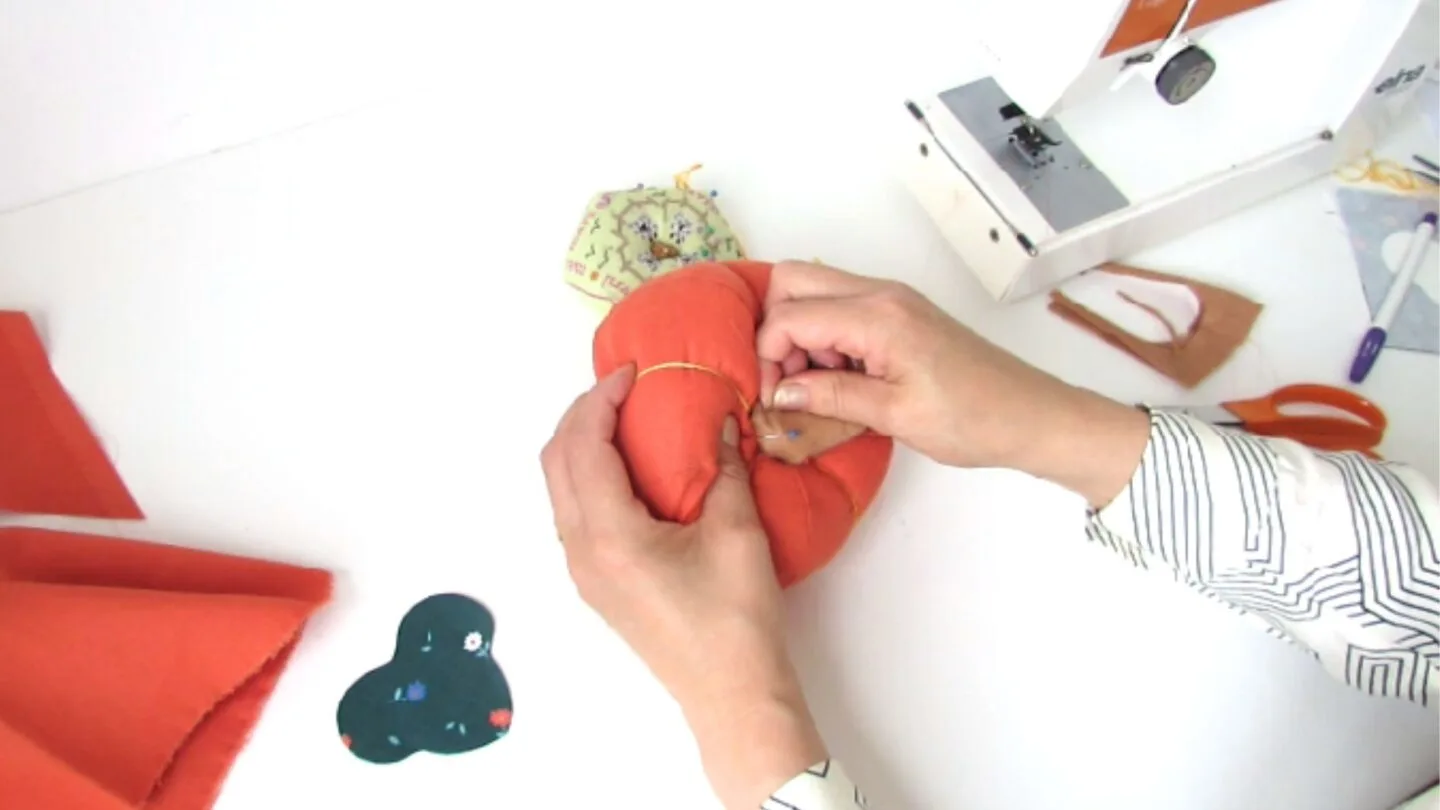
- Fold the bottom edge of the stem in and pin it on the pumpkin. Sew it with a few invisible hand stitches.
.
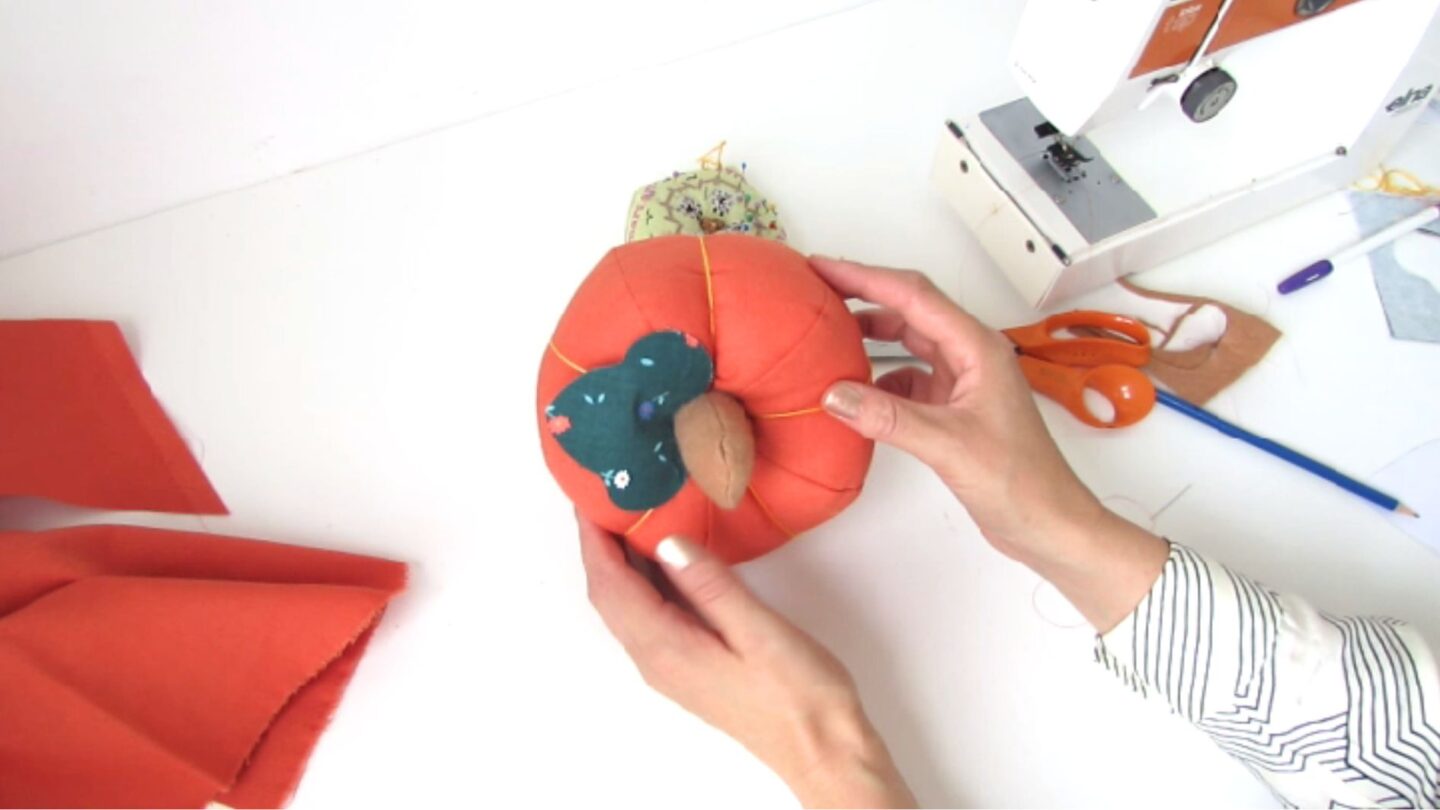
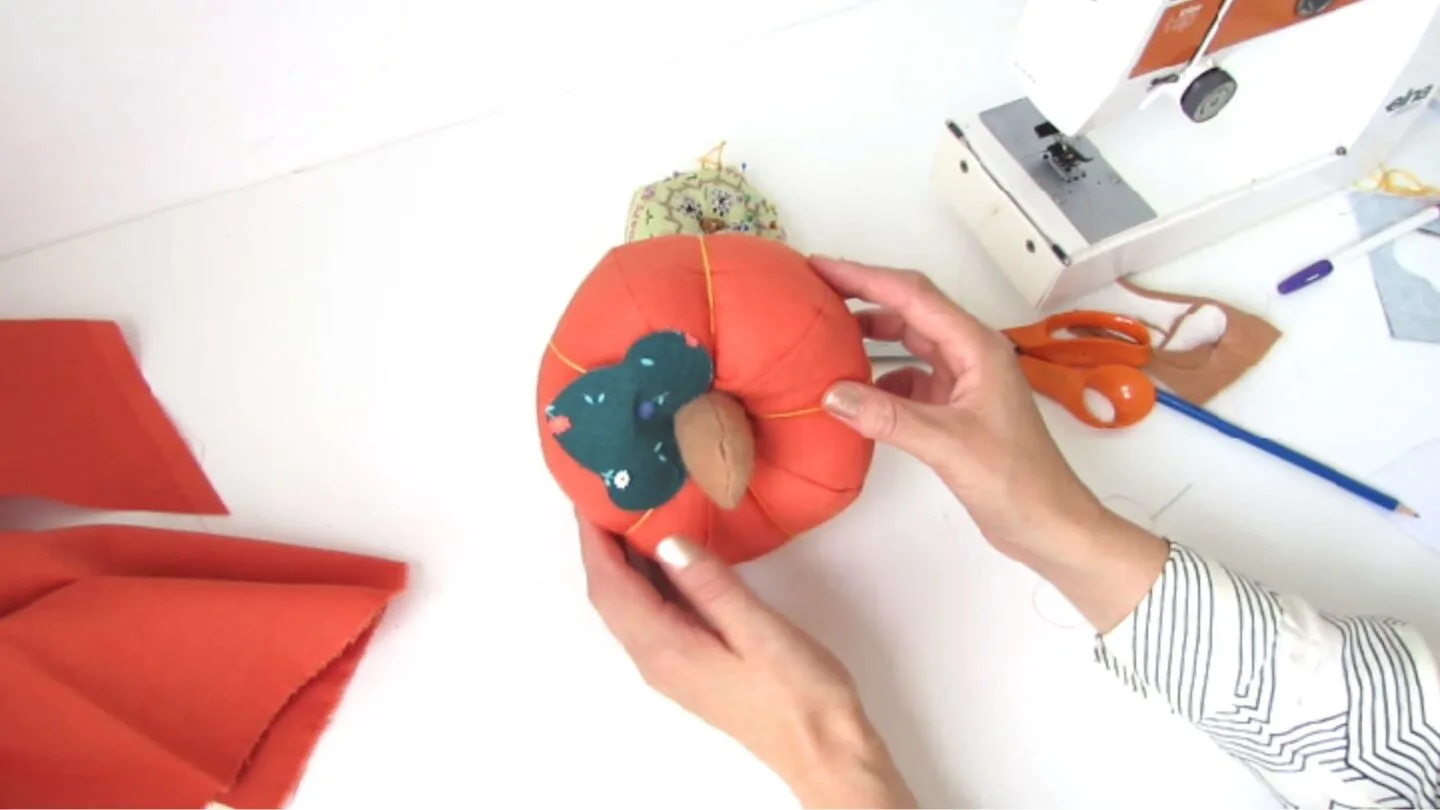
- Place the leaf next to the stem and fix it with hand stitches too.
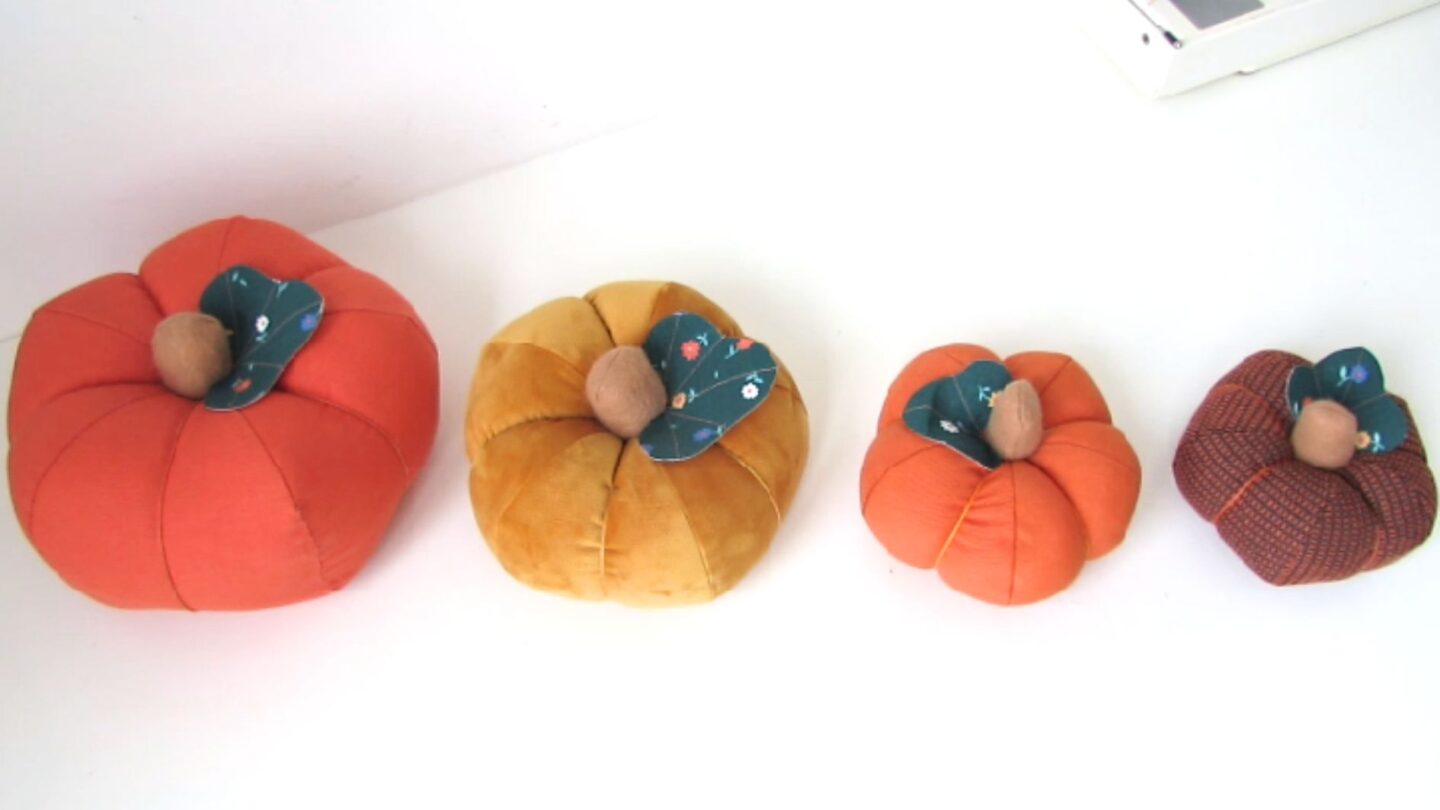
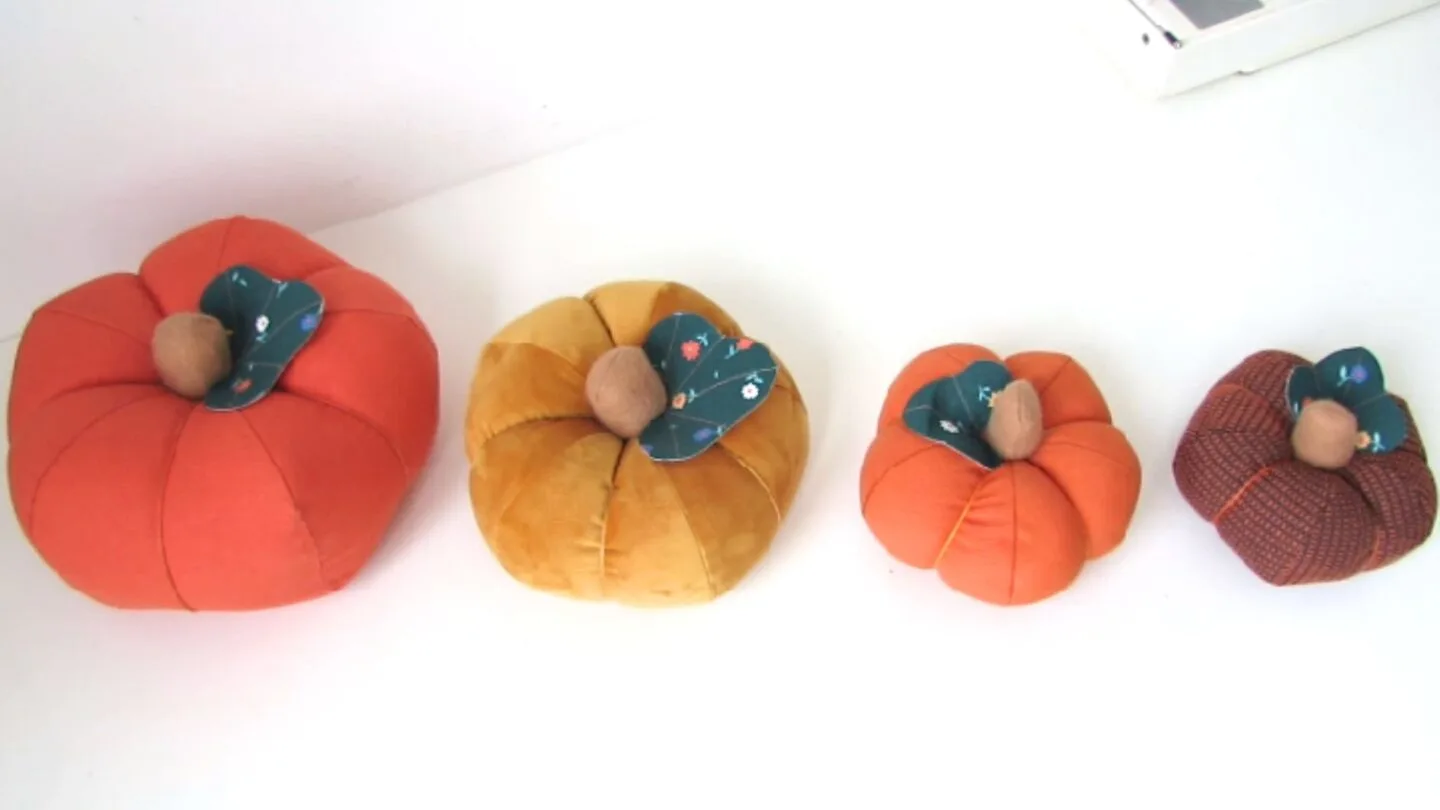
That’s a wrap! You’ve just completed sewing your fabric pumpkin. Now, go ahead and enjoy the process of creating pumpkins in all 4 sizes while trying out different types of fabrics.
It’s a great way to get creative and have some fun!
>>> GET THE PATTERN <<<
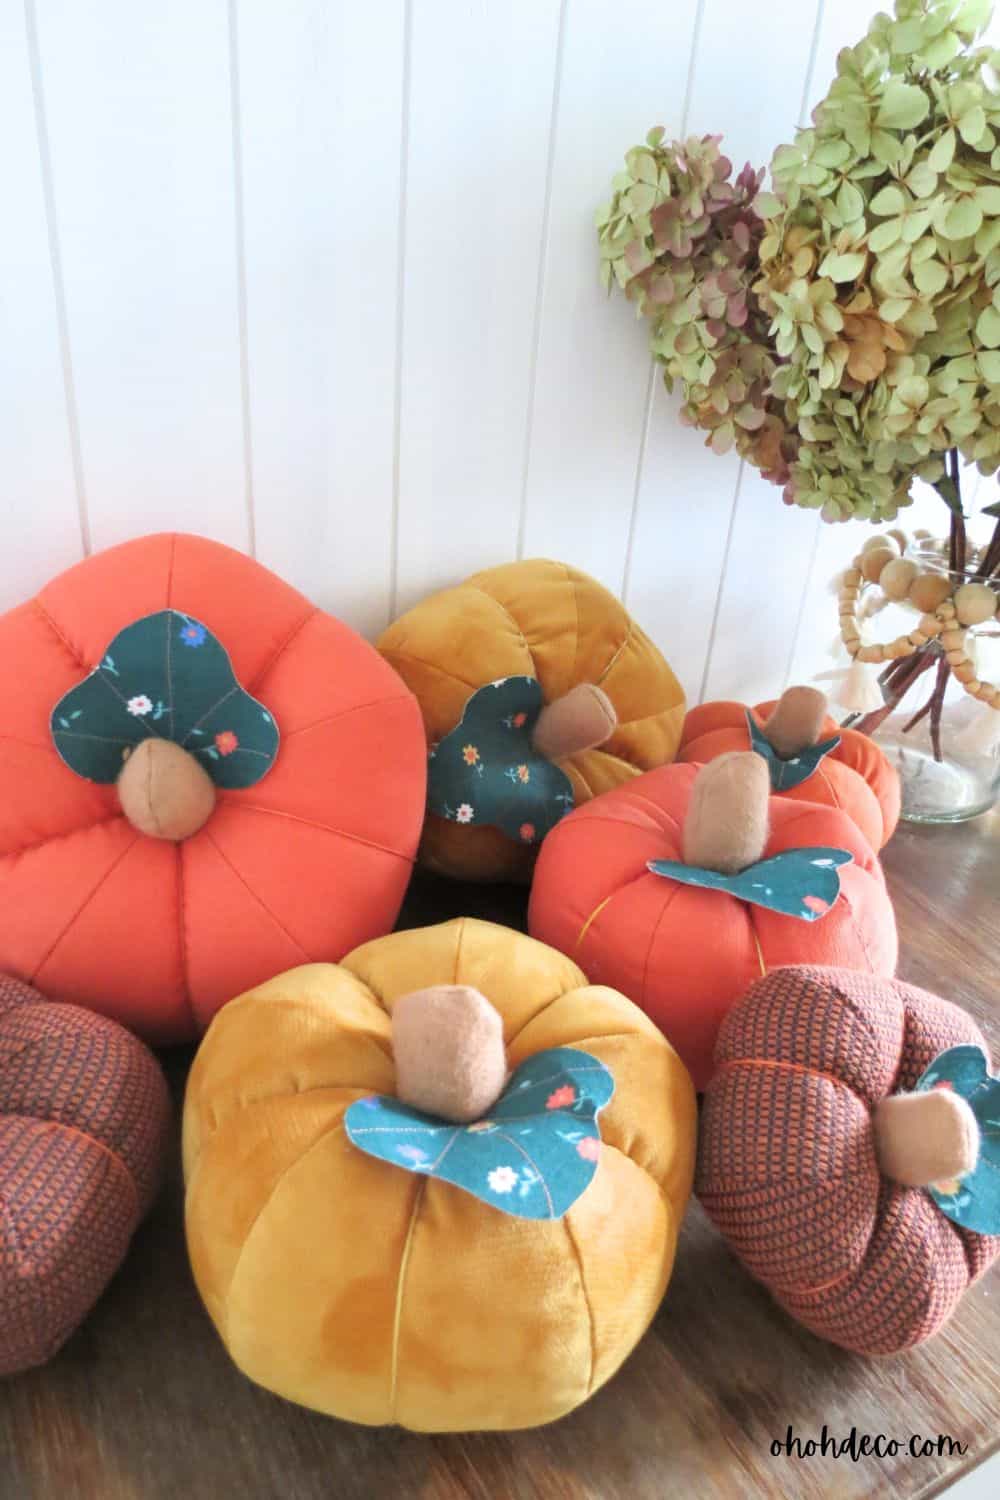
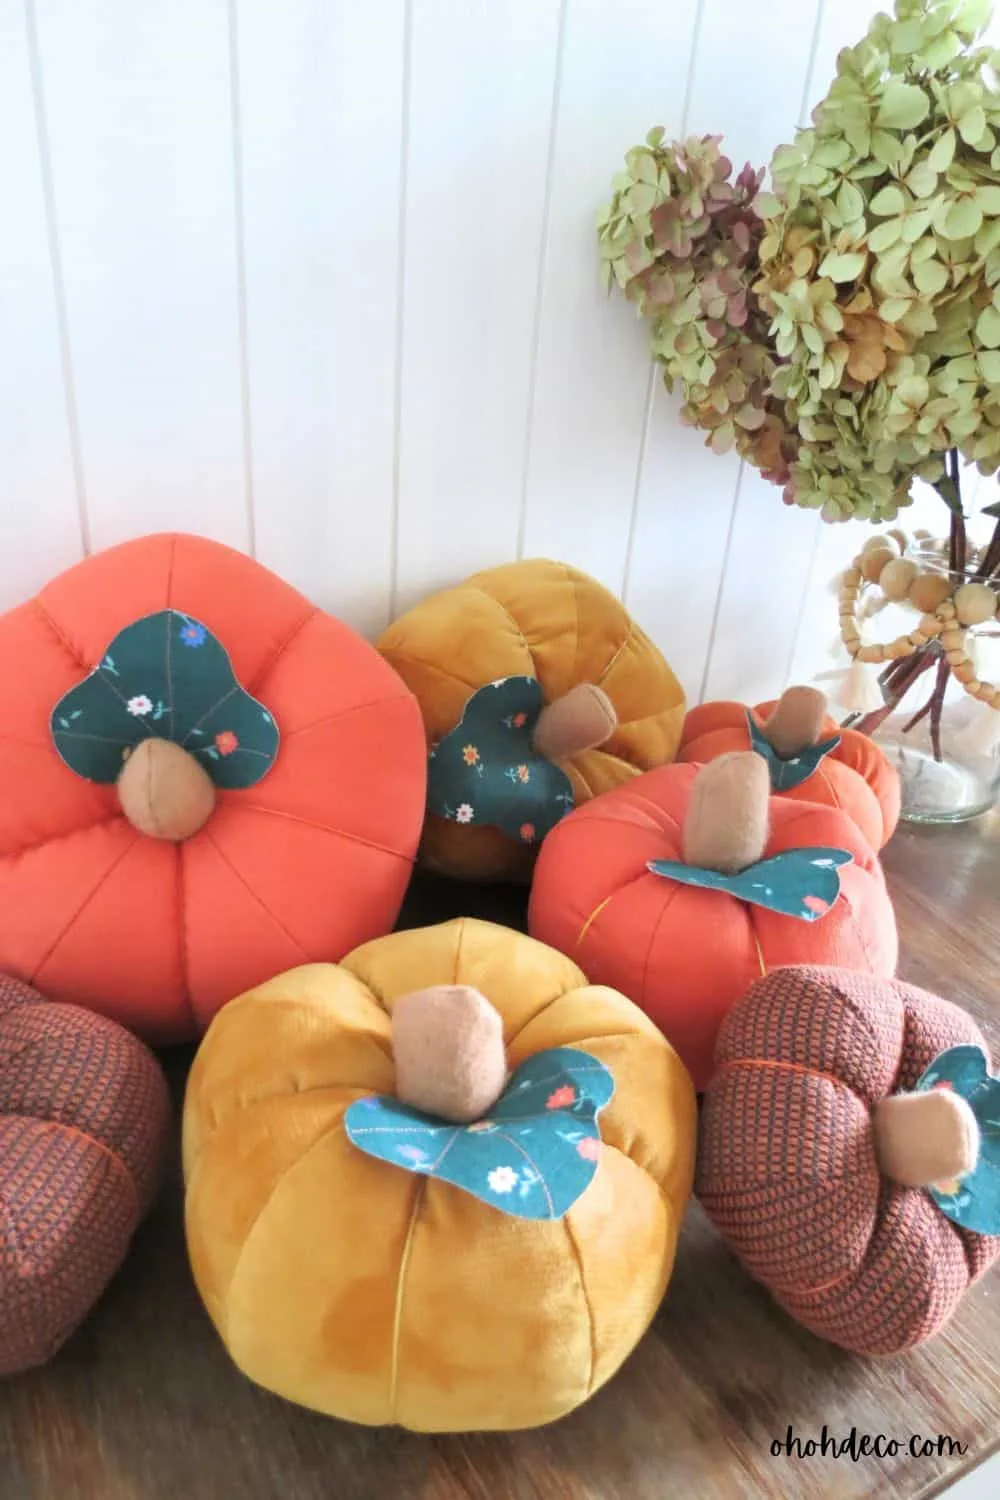
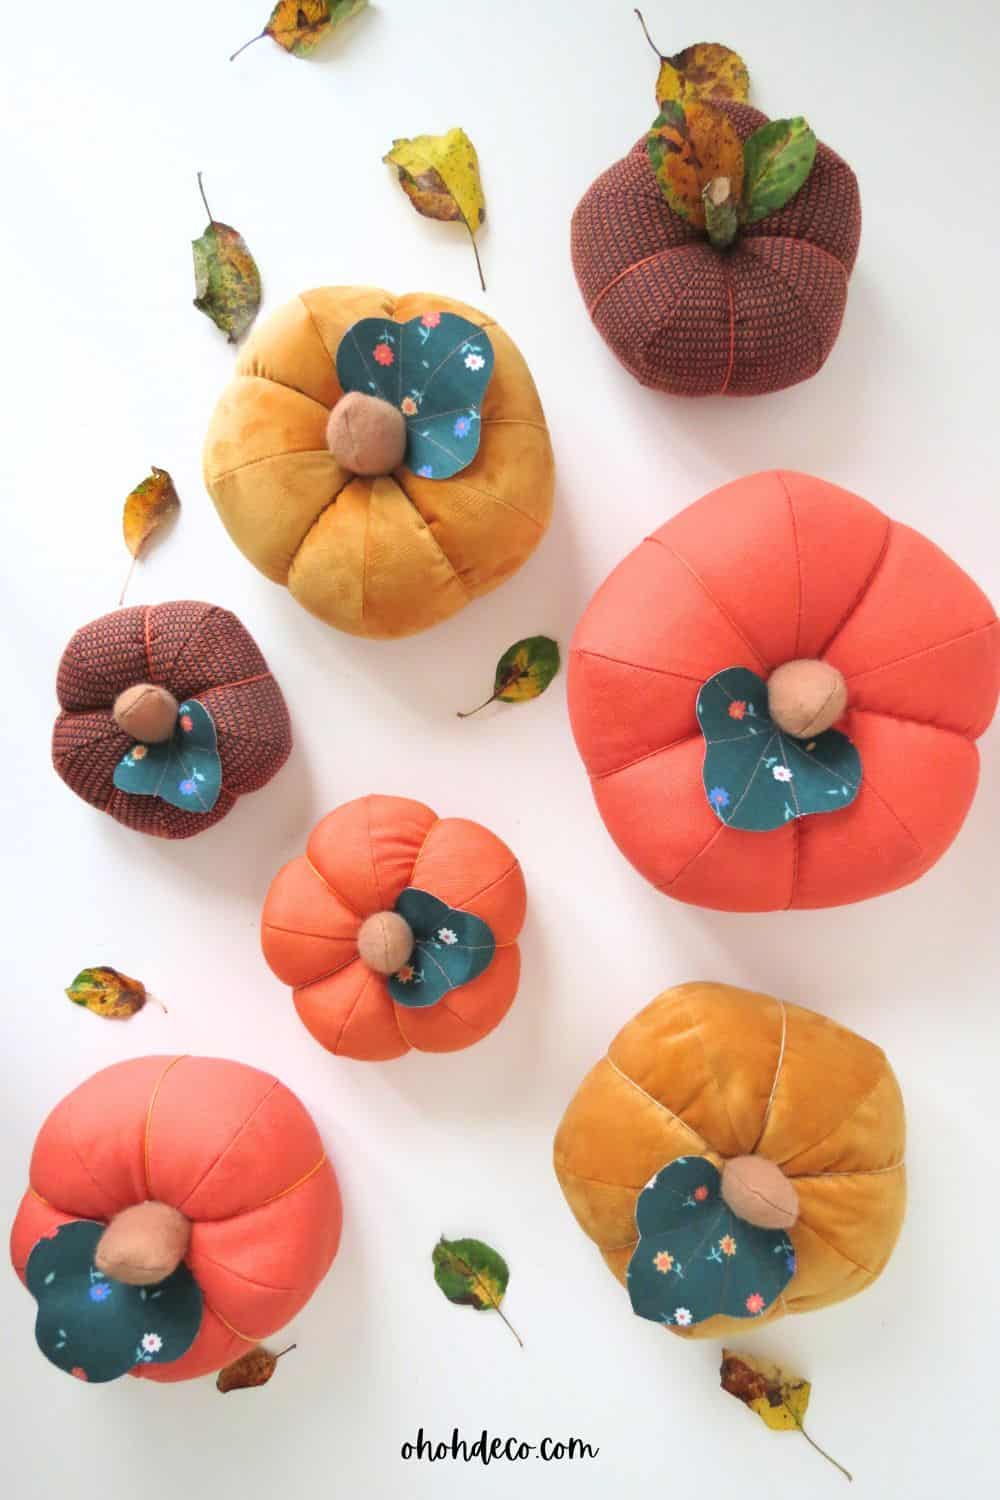
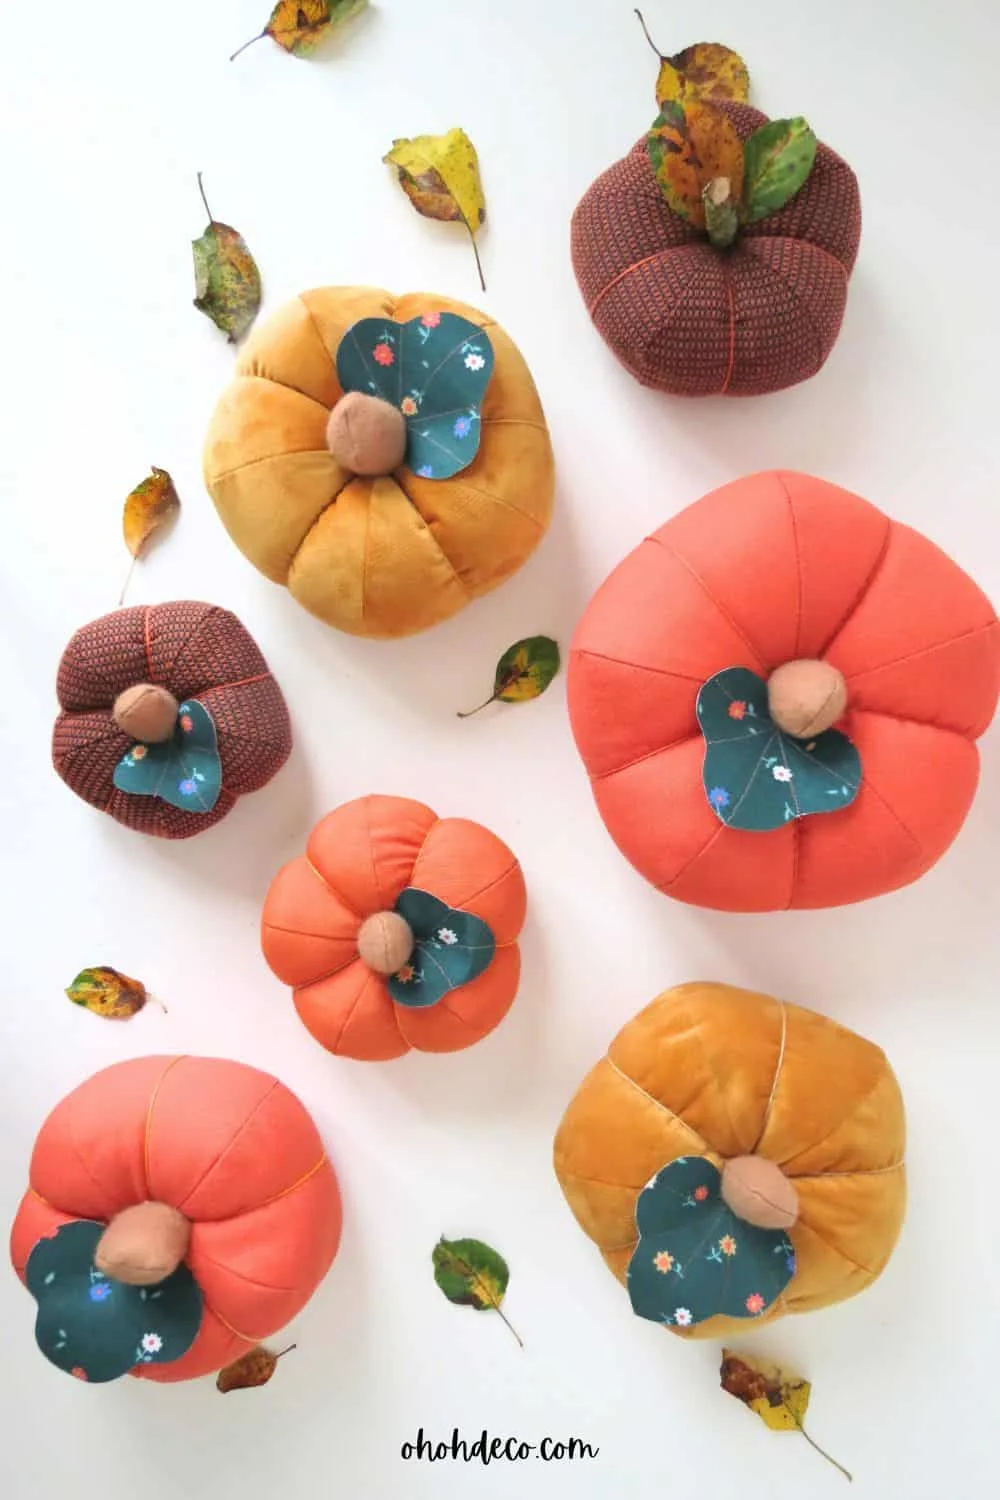
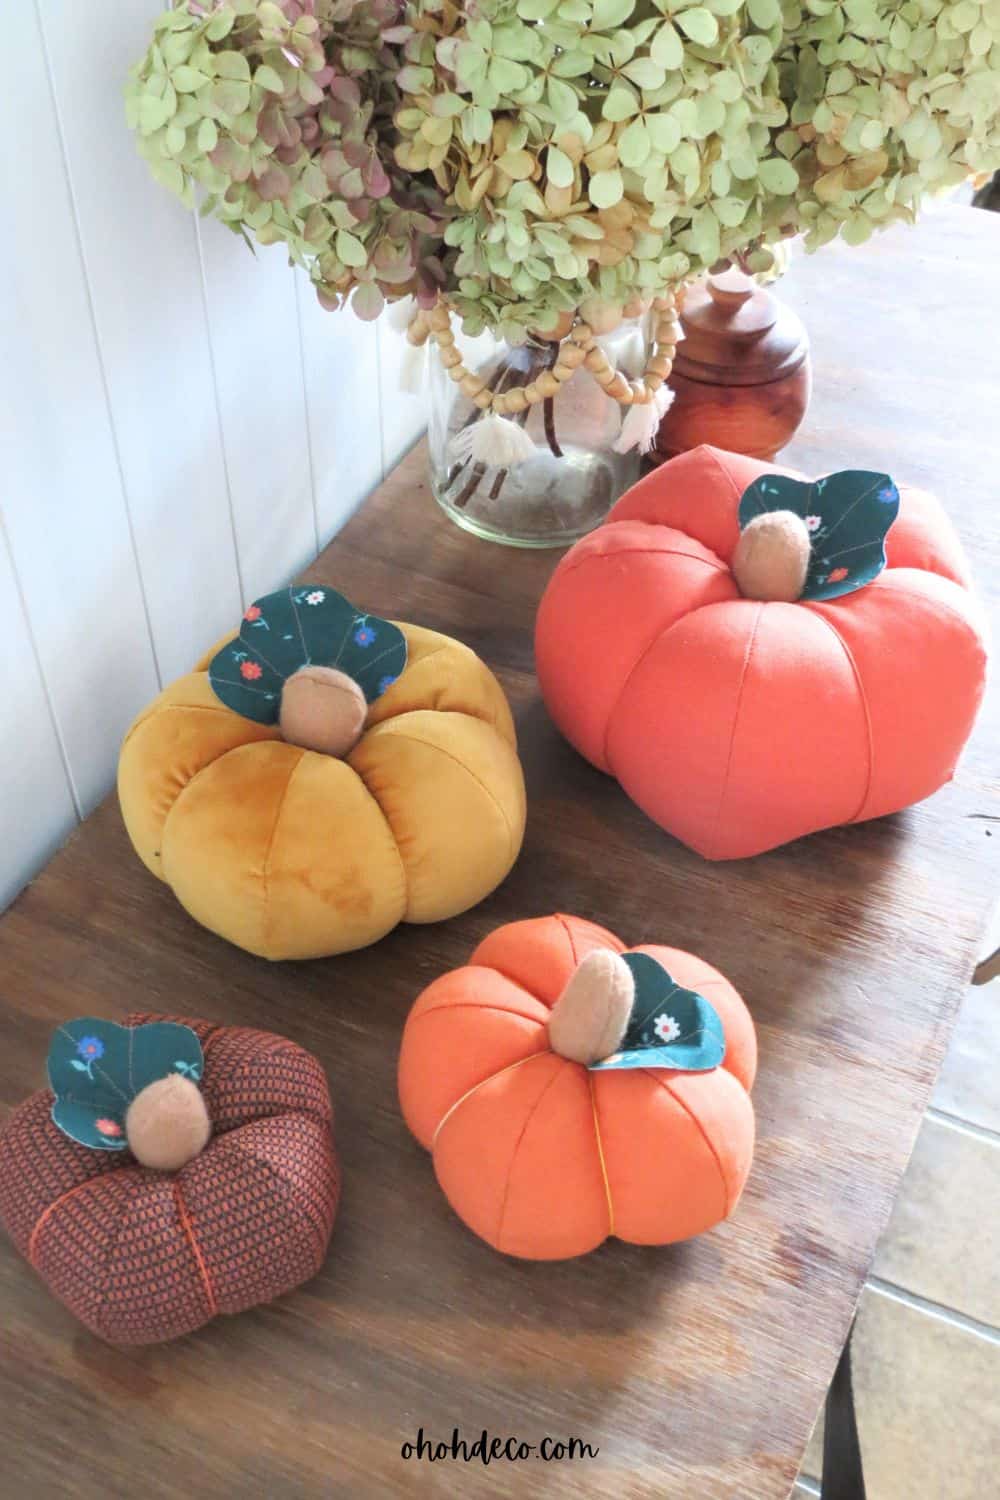
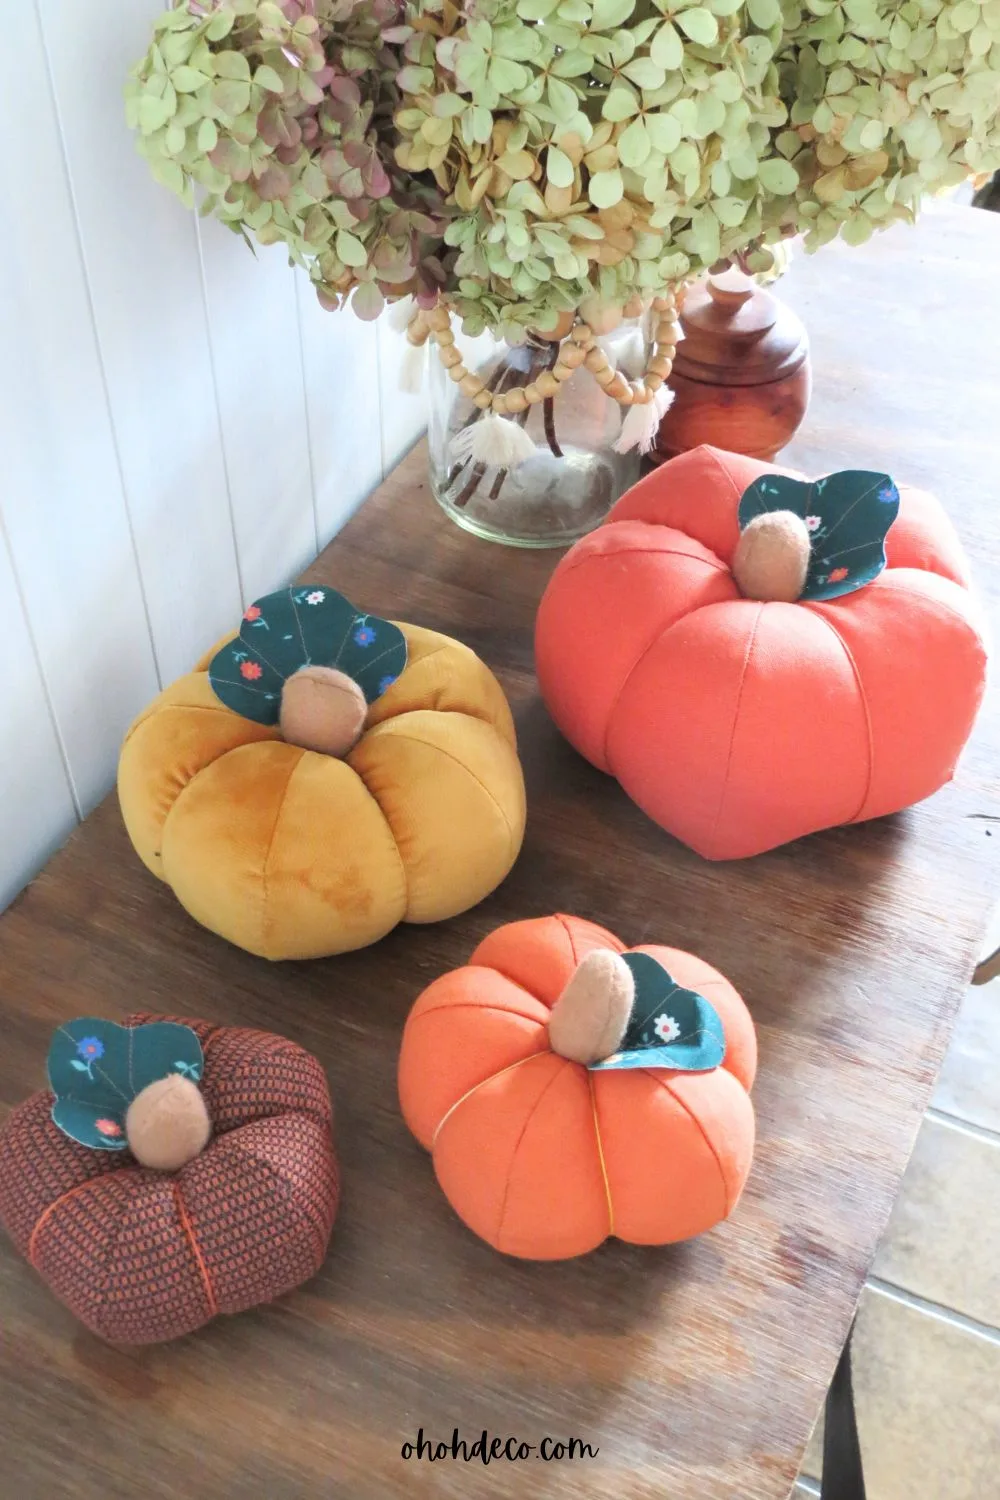
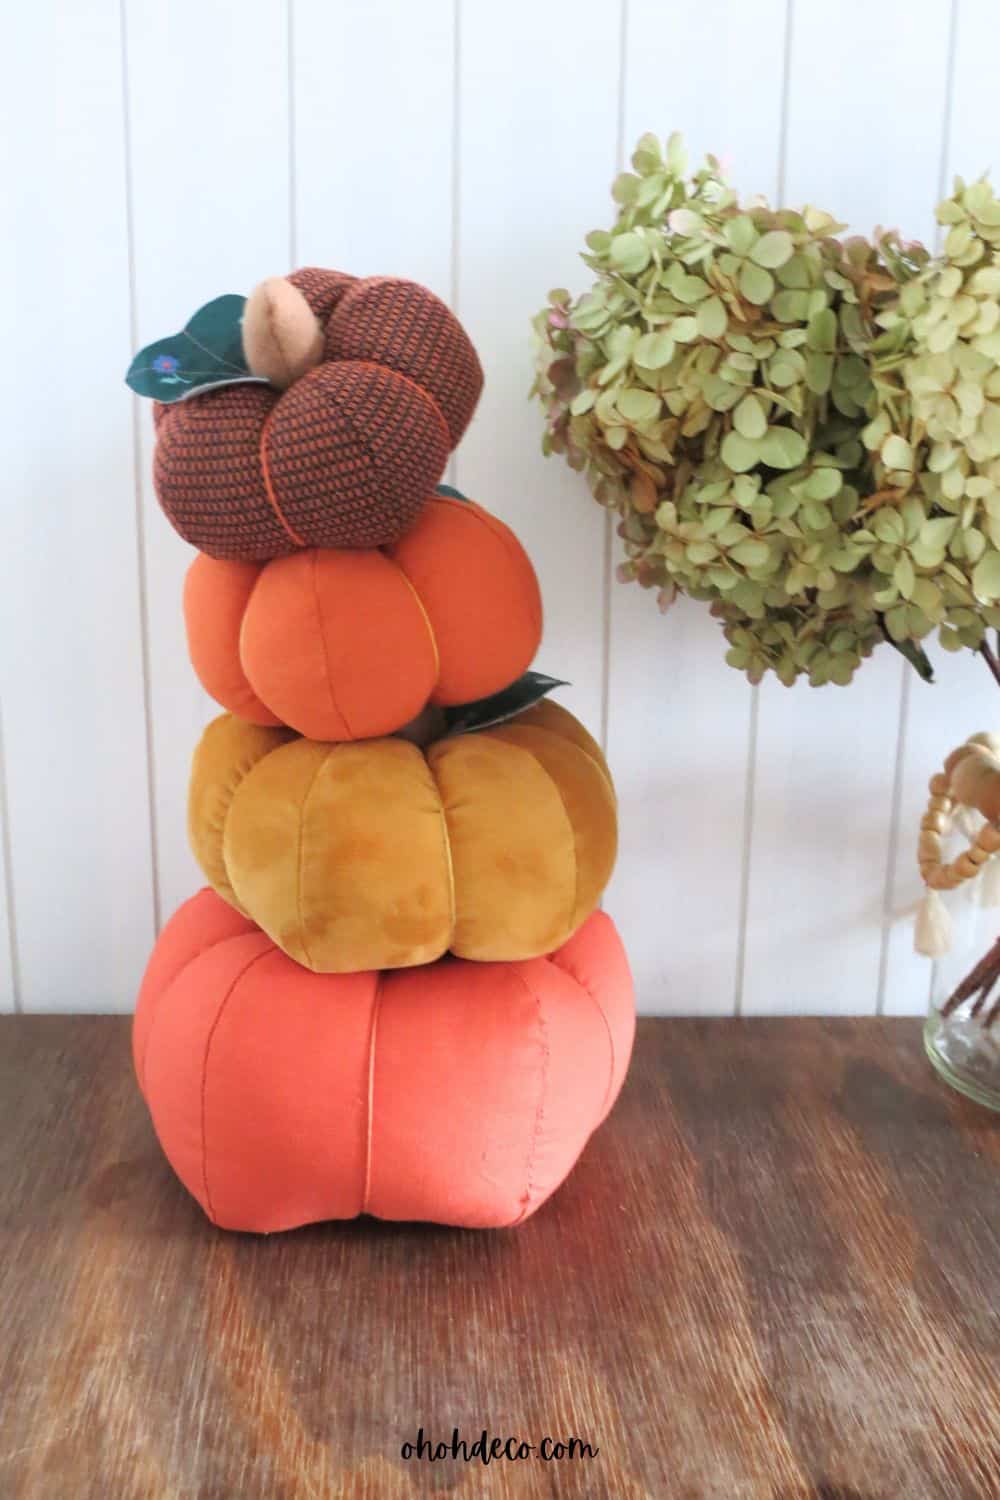
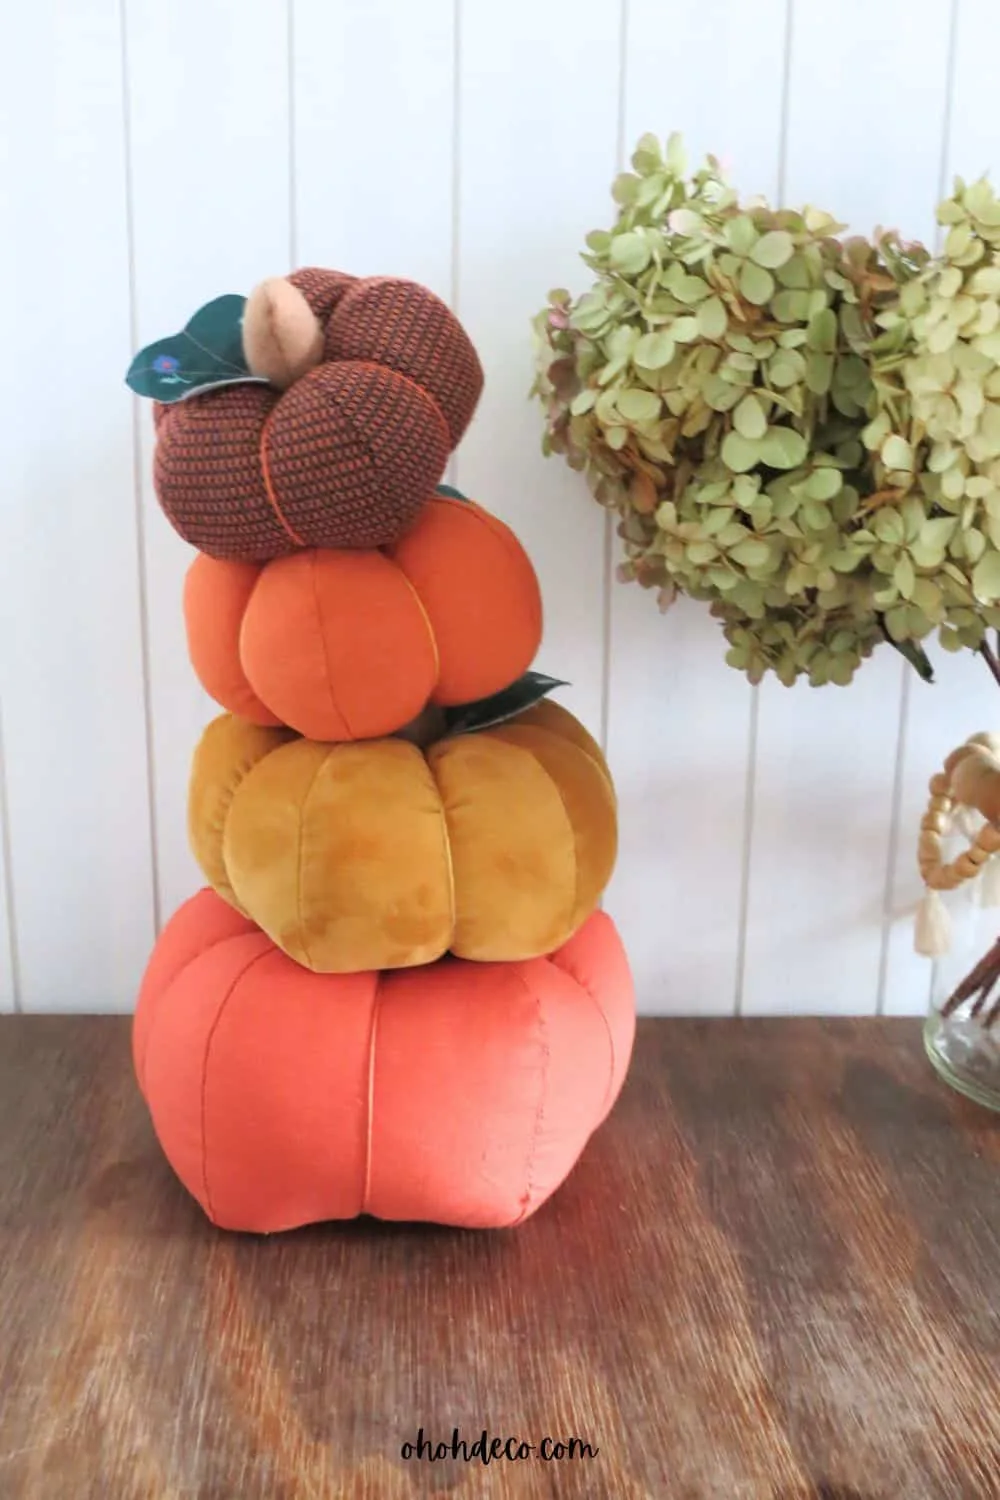
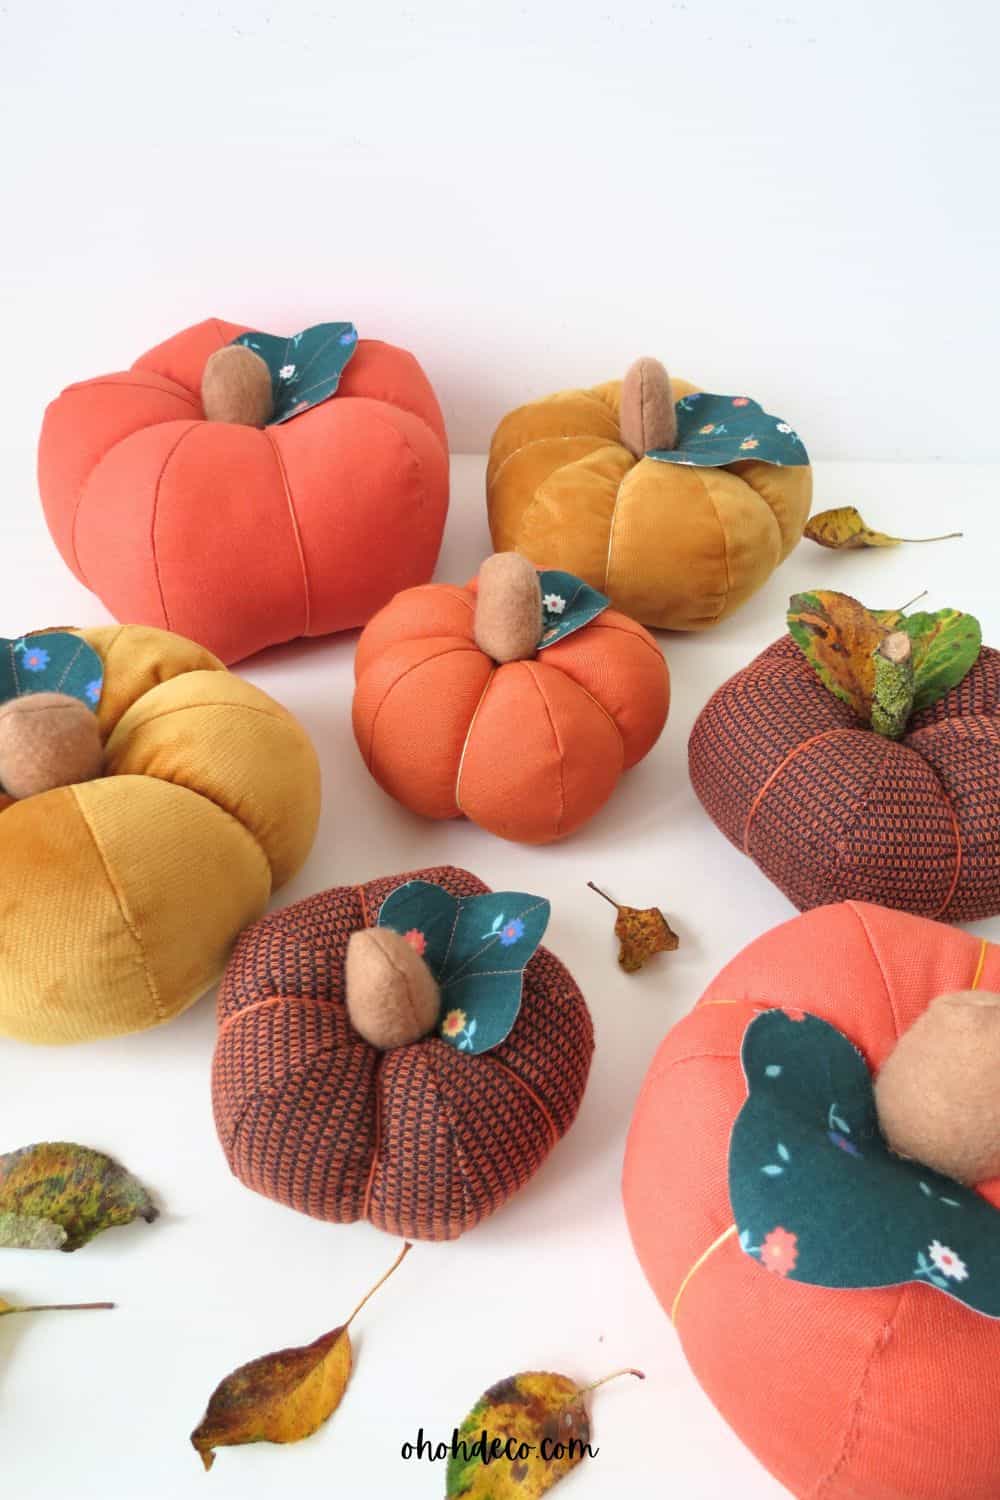
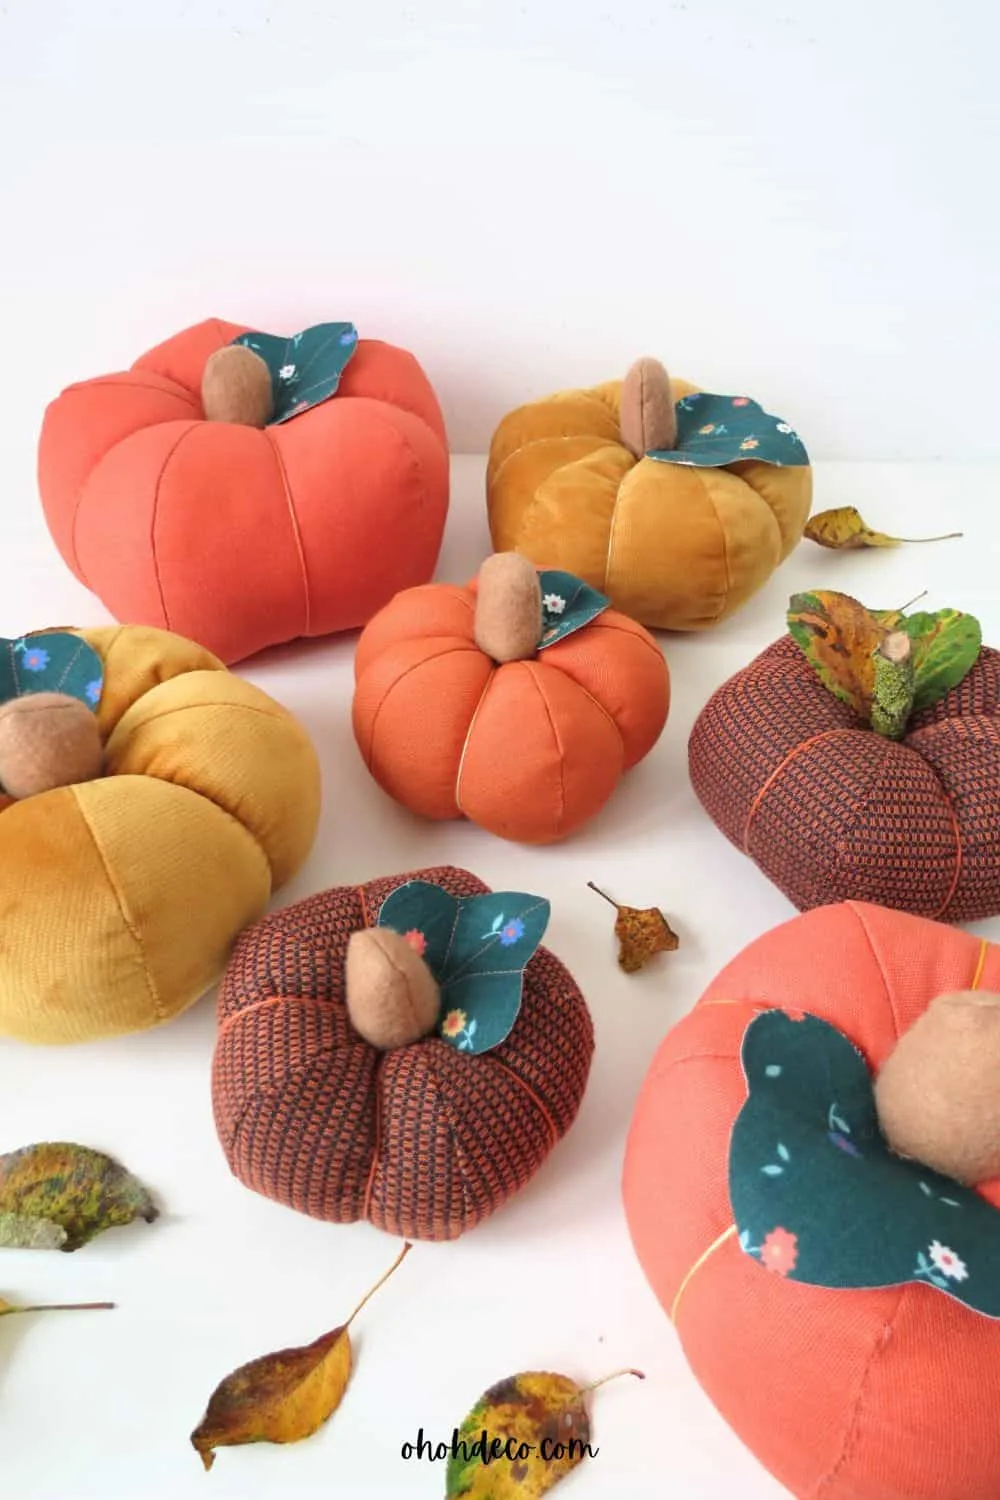
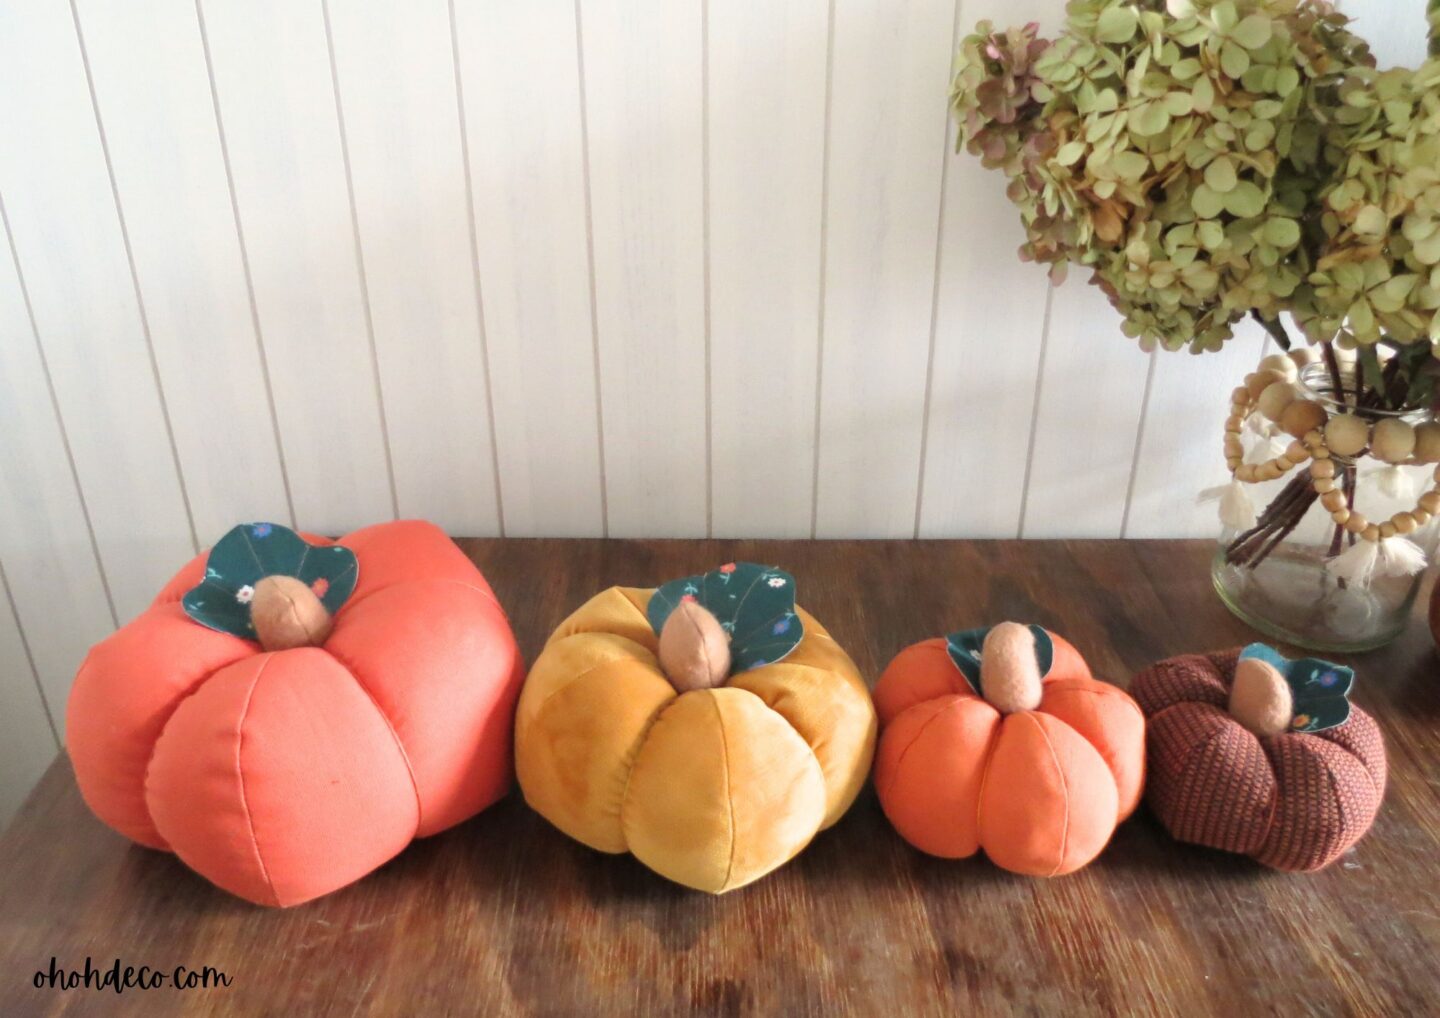
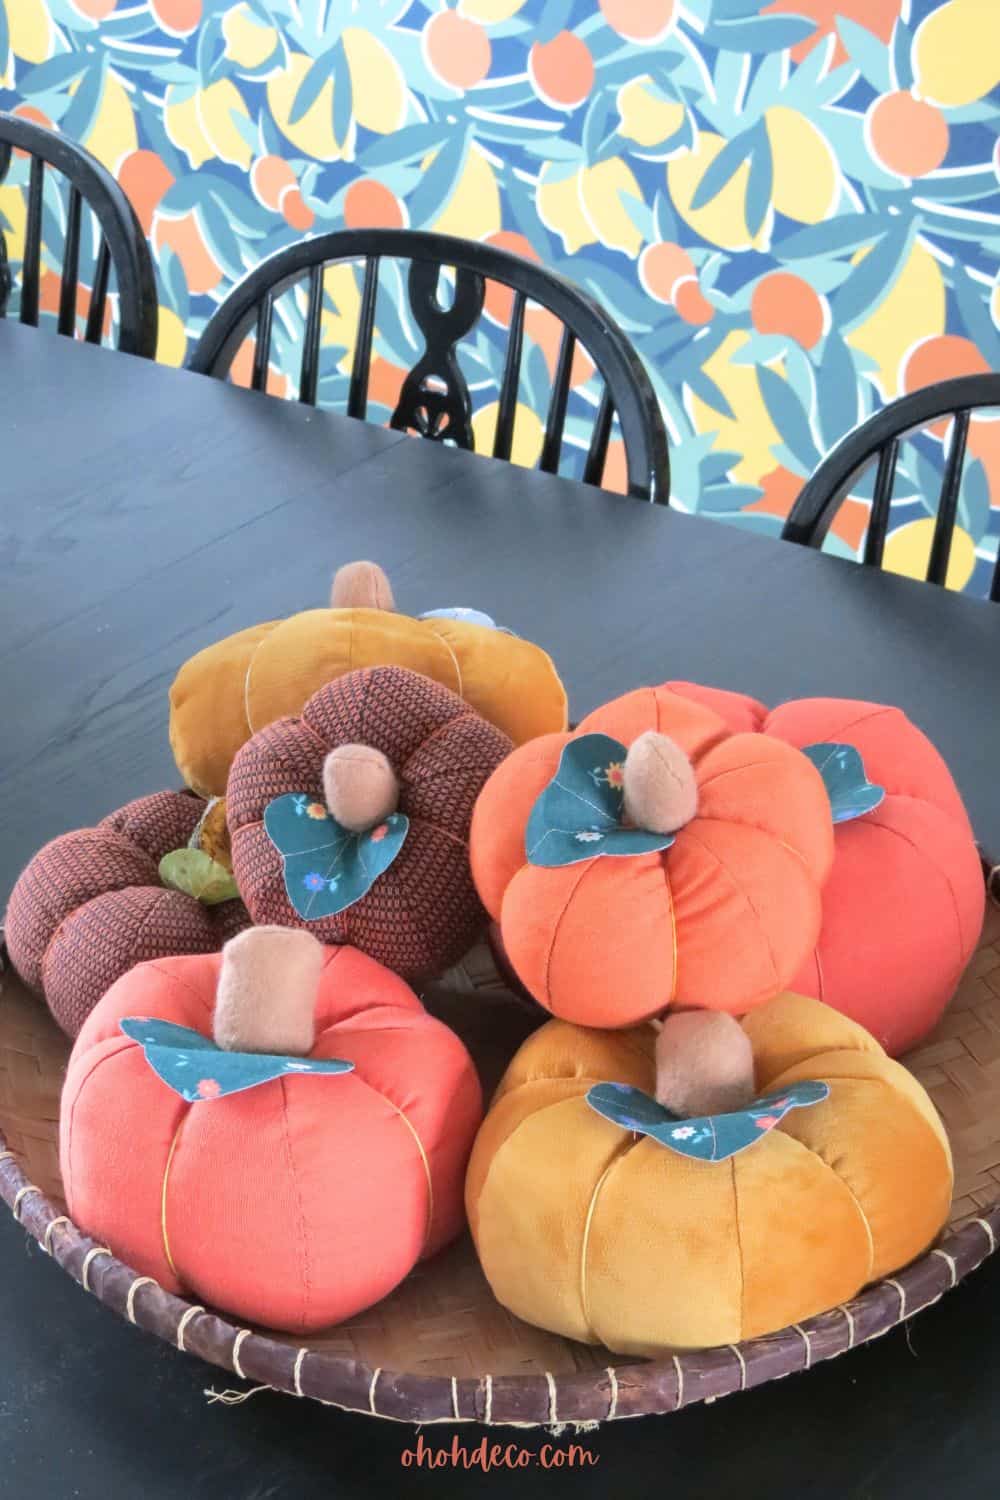
Have fun experimenting with making pumpkins of all shapes and sizes as you play around with various types of fabrics.
It’s a great way to unleash your creativity and see how different materials can transform your pumpkin designs into something unique and special. Happy sewing!
…
RELATED: Easy Pumpkin sewing pattern
RELATED: 80 Unique Fall Crafts for Adults That Will Spice Up Your Autumn
You can find all my sewing patterns in my shop.
Want to remember it? Save this Fabric Pumpkin Pattern on your favorite Pinterest board.
Amaryllis
