It was finally time to ditch the crib and welcome in a big girl bed! Here’s the transformation of a room for my sweet four-year-old girl.

Rory has always loved her crib. Even as a newborn, she preferred sleeping in her crib to a bassinet in our bedroom. (And as sleep-deprived parents, we welcomed that!)


Last summer, at the age of three, we converted her crib to a toddler bed by removing one of the crib walls. She loved this and the newfound independence she found from being able to get in and out of bed herself.


Then, she turned four, and suddenly she was asking for a “real big kid bed”. The mom in me was a little sad to see my little girl growing up, but the designer in me was incredibly eager to give her nursery a fresh look after four years.
The Nursery – Before


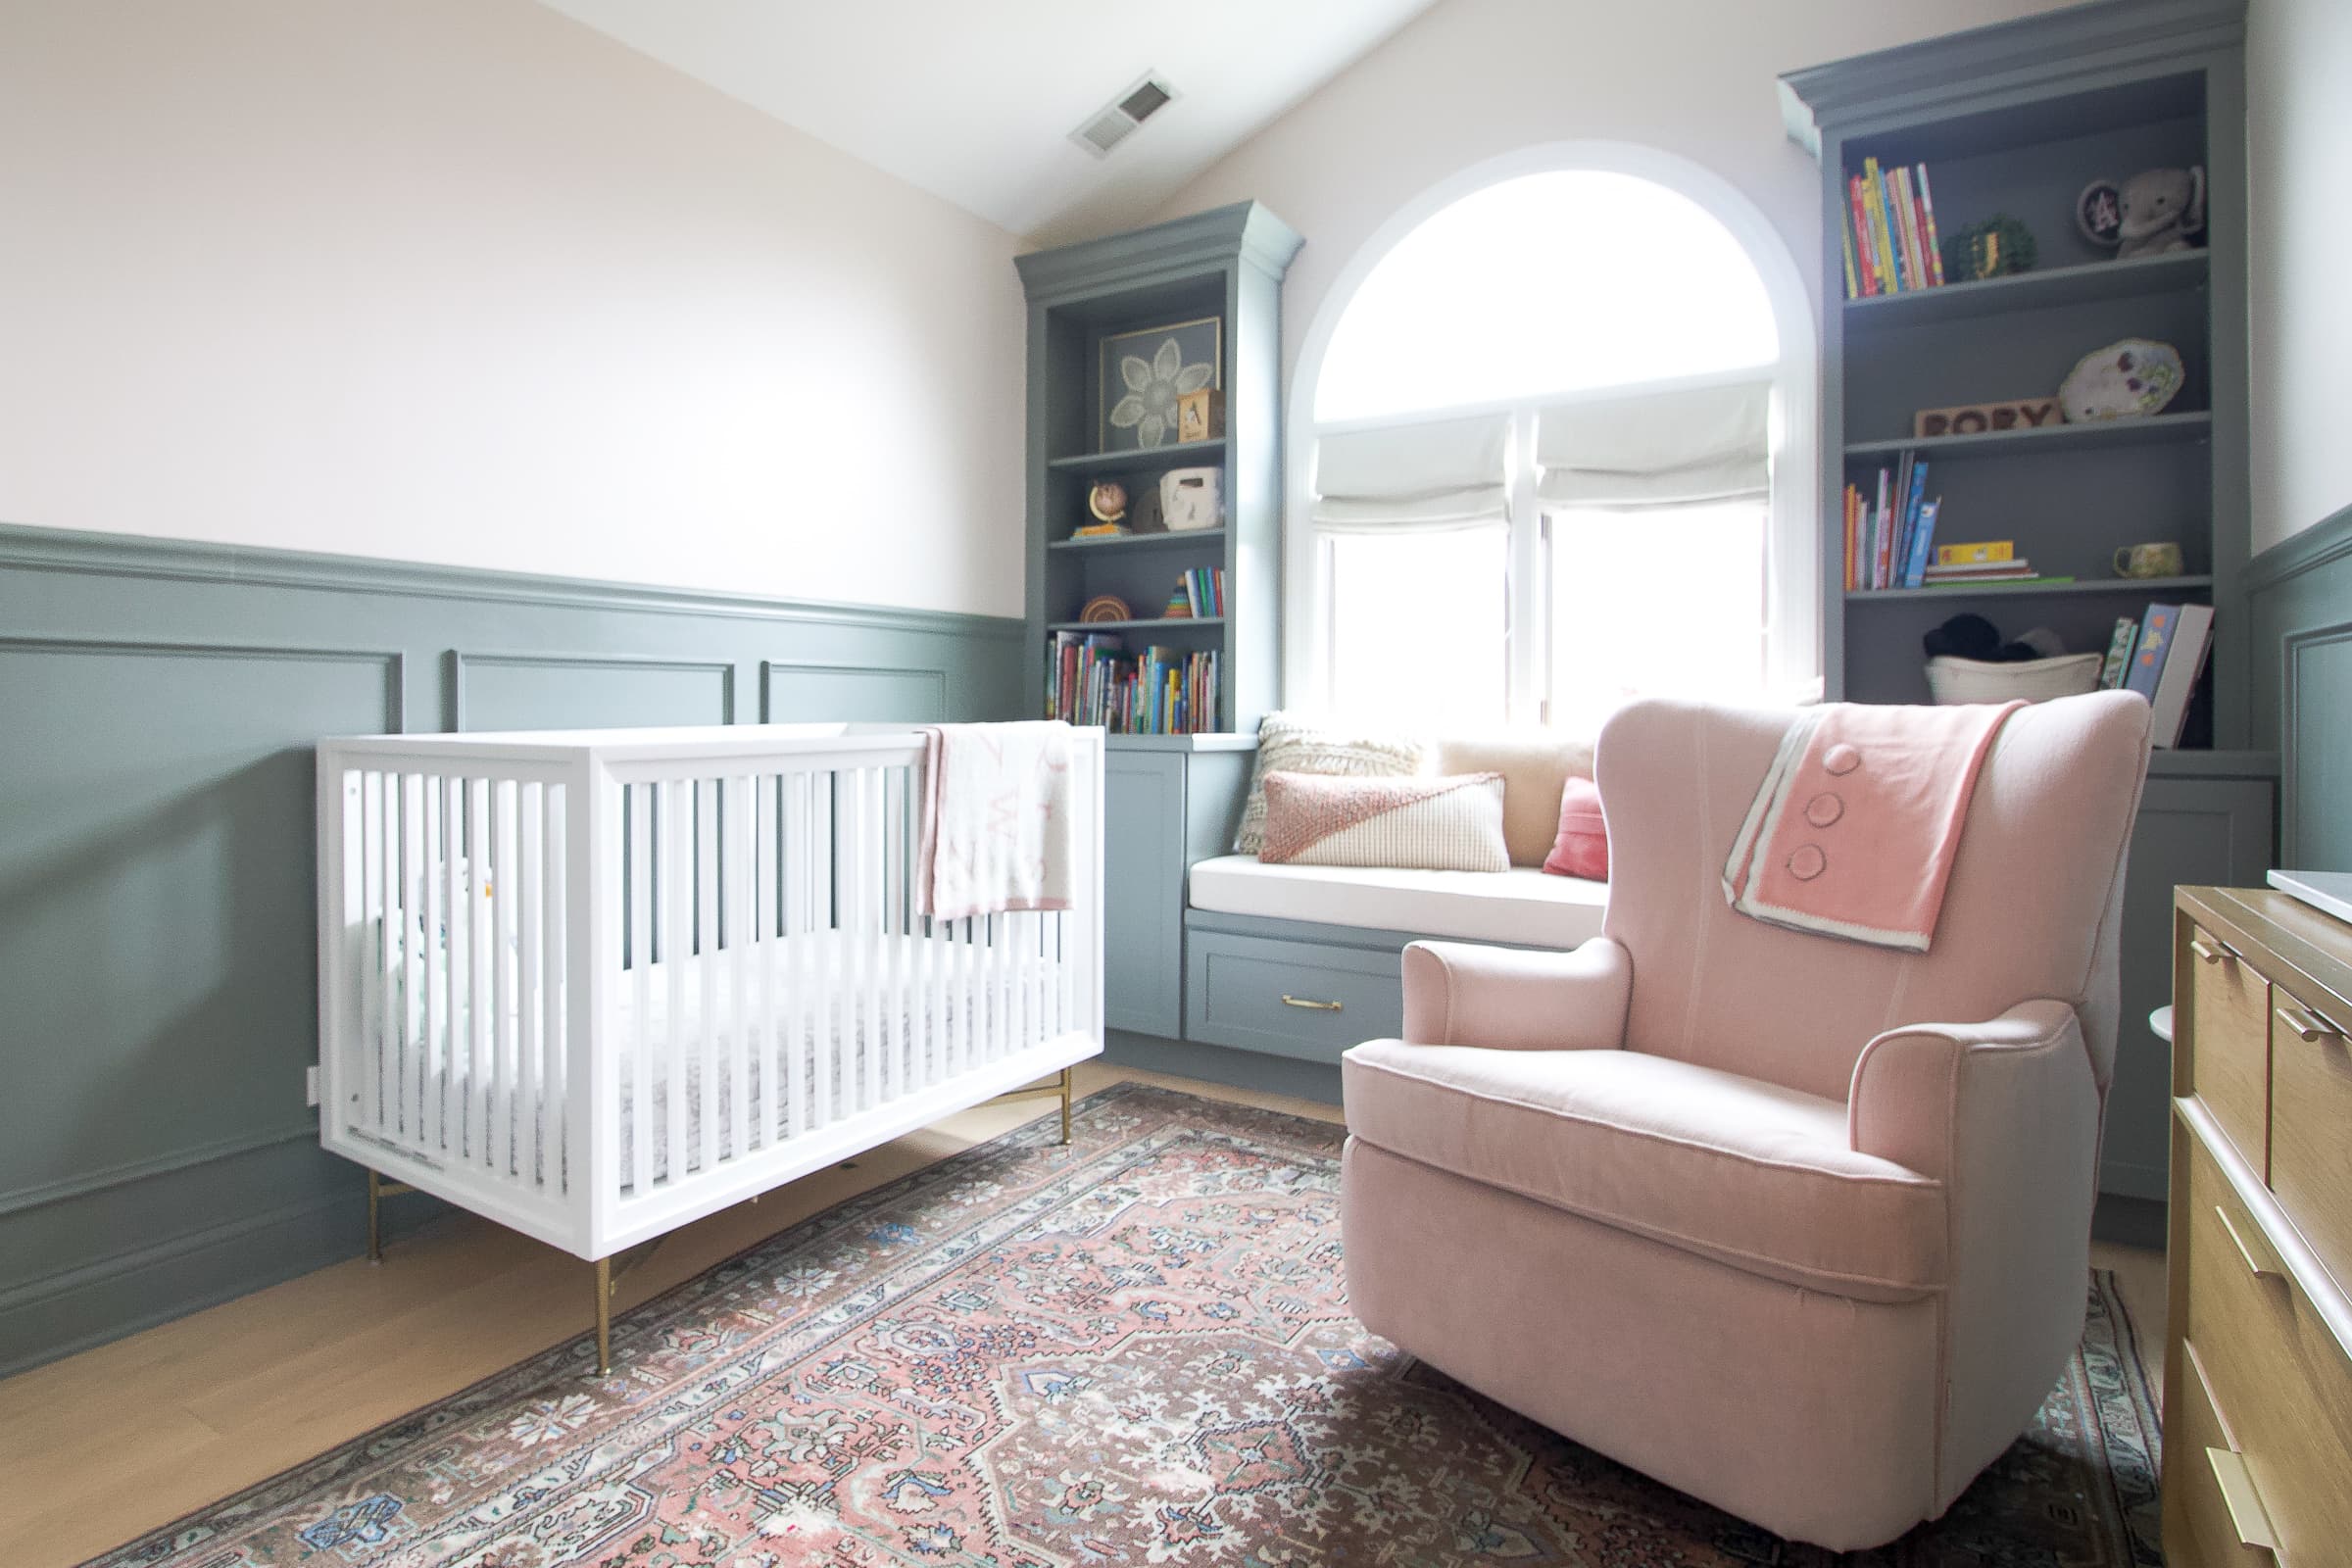
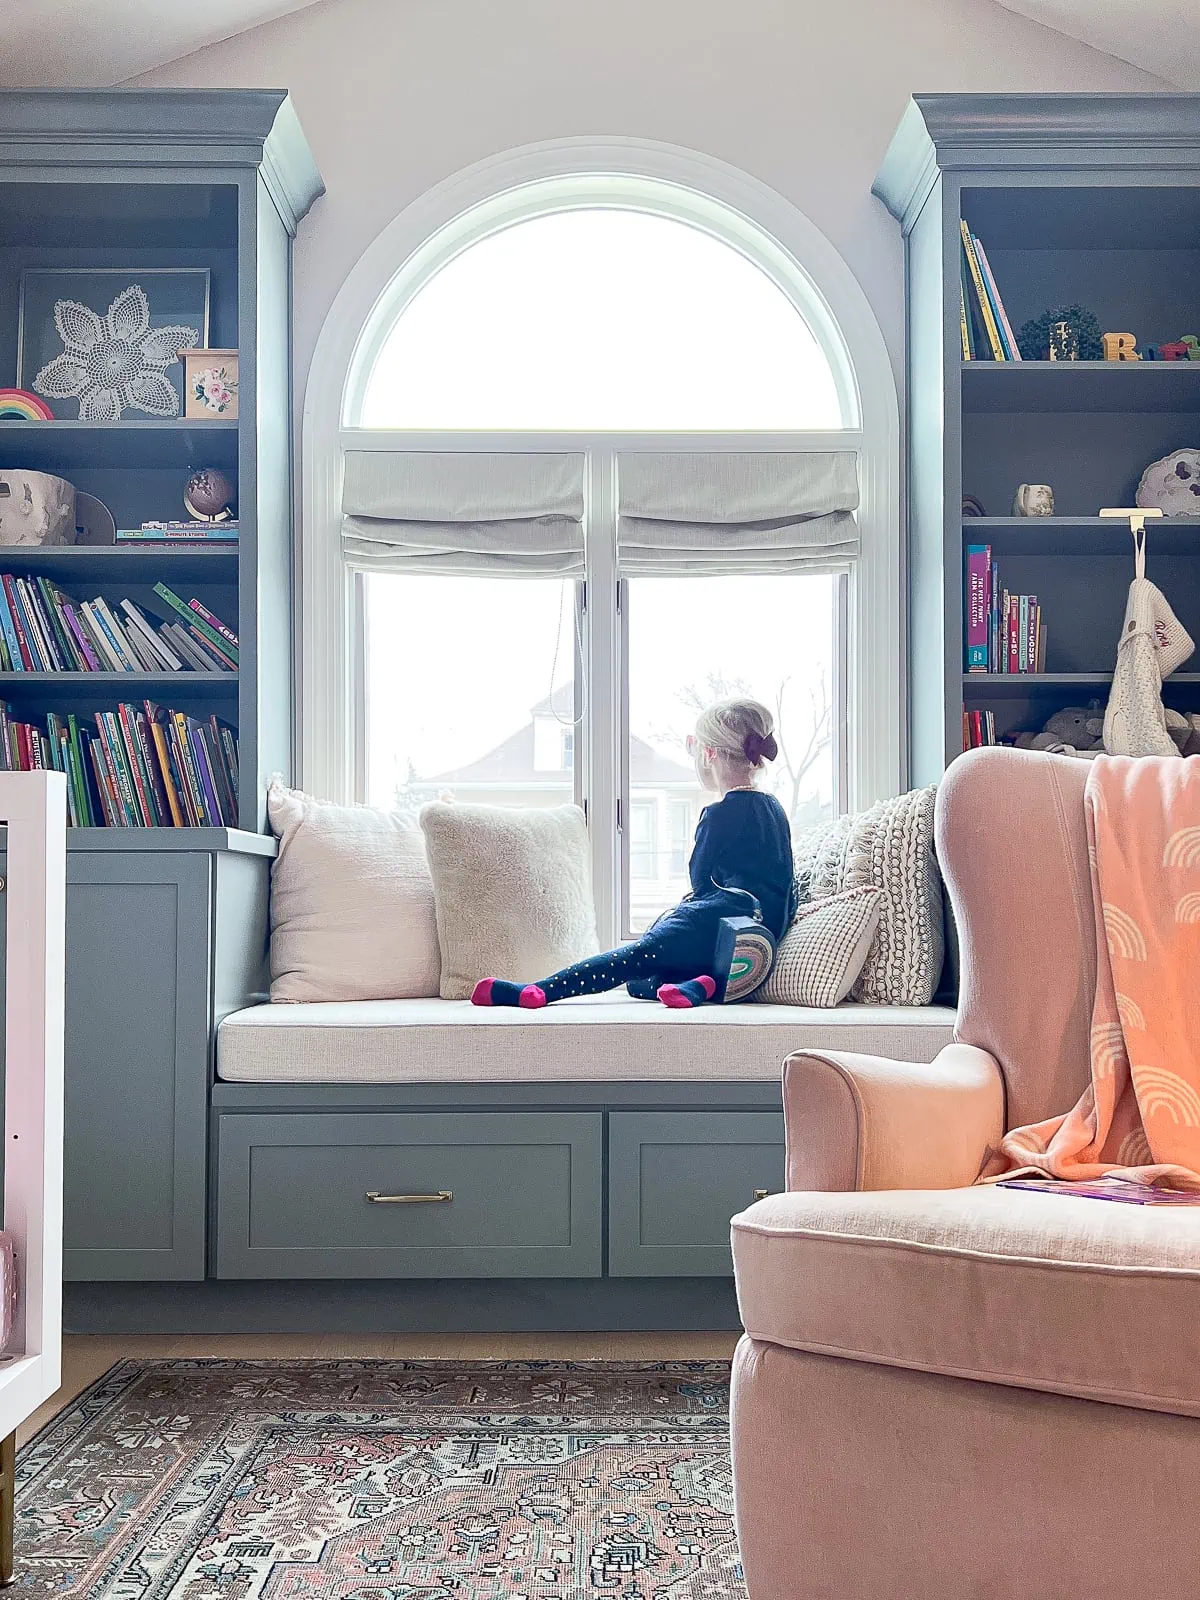
Here’s a peek at Rory’s room when I finished it four years ago. I’ve always adored her space. I worked on it when I was pregnant with her, in early 2020, and loved crafting every detail of this space. From the sage green built-ins to the picture frame molding, to the pale pink paint color on the top walls. Oh, and I can’t forget the sweet wallpaper in the closet with the custom closet system I built.


I dreamed of the little girl that would soon fill this room as I worked on the wonderful project. We purchased all of her furniture from Crate & Kids and everything is still in great shape, even after years of wear and tear.
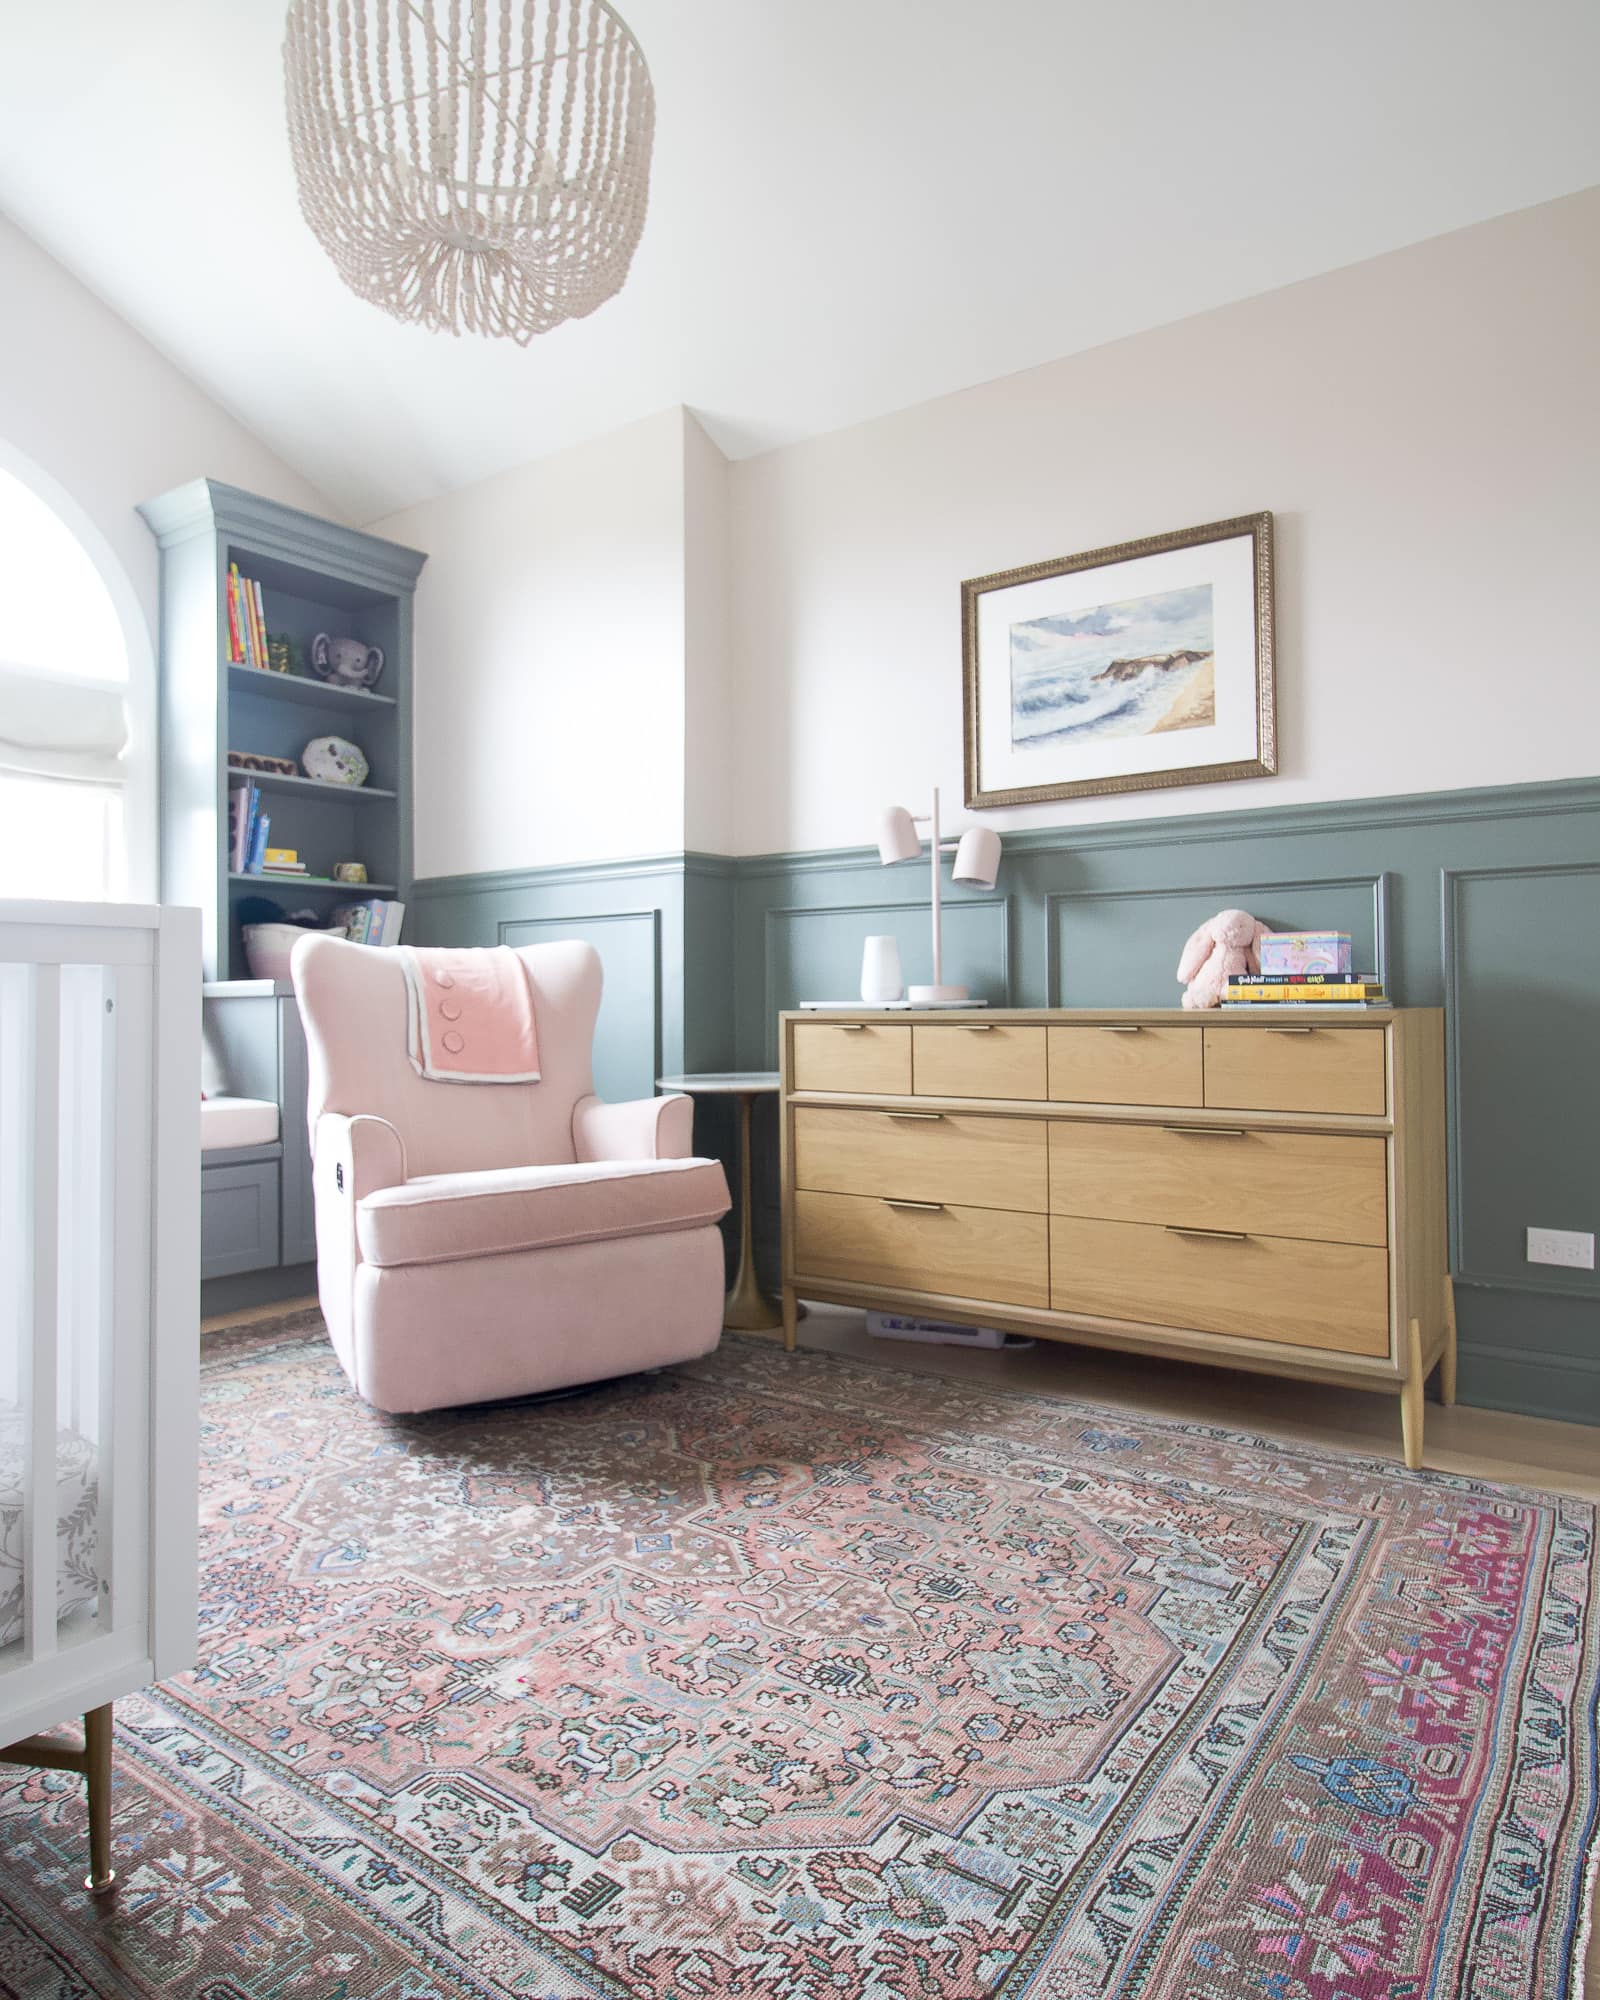
Her crib (the exact model no longer sold) worked out perfectly for us. I love that it was able to transition as she got bigger and bigger. The oak dresser will be with her forever. The quality is top notch and it has plenty of storage.
Choosing A Bed Size
To be honest, I didn’t think we would be living in this house much longer than three to five years, so I assumed we would have moved by the time we needed to put a large bed in this room. But here we are!
Rory’s room is moderate in size (9.5×11), but it has some challenges with the placement of the closet doors and the built-in bookshelves and cabinets. Because of this, there aren’t many options for the room layout.
I considered doing a twin bed, bunk beds, or a day bed with a trundle in this room. Those would eat up less space and provide more floor space for her to play. However, I realized that I wanted this bed to age along with Rory and I should probably opt for the largest possible size that would fit in the room. Plus, I thought it would come in handy when guests visit!
After measuring, I realized that a full-size bed would work in this space. I tried to make a queen bed fit, but I couldn’t quite squeeze it.
The New Layout
I played around with the floor plan for a long time and obsessed over how I could fit her dresser, a full-sized bed, and a nightstand in this room, while still leaving clearance for the closet doors and the cabinets of the built-ins.


I landed on this layout. The dresser remained on the same wall and the bigger bed and nightstand are opposite the dresser. I wish there was a bit more clearance between the dresser and the foot of the bed, but this was going to have to do!
Shopping Time
When I decide to take on a project, I usually dive in headfirst and try to work quickly. I’m not wishy-washy with my decisions. I decide once and then I go for it. I knew I wanted to get Rory’s big girl room ready to go before back-to-school time, so I got to work.
My mom and I were very eager to visit the first Wayfair store and we took a trip up to Wilmette to check it out. (It’s pretty awesome, btw.) While there, I ended up getting pretty much everything I needed for Rory’s new room, but this post is in no way sponsored by Wayfair. The prices were good; it was nice to be able to see each piece in person before purchasing; and it was convenient to get it all done at once.
We spent a few hours shopping and I ended up placing an order for the bed, mattress, bedding, and nightstand. If you’re a Wayfair fan, here’s a roundup of my top 7 home recommendations from their site.
Rory’s New Big Girl Bedroom
Okay, let’s see the finished room. My heart is bursting…


The Full Bed


Let’s start with the bed. I looked at a few beds from Wayfair and I was very close to adding this pink velvet bed to my cart. Ultimately, I decided on this cream platform bed with a rounded arch top. I figured the neutral color would have more longevity than the pink and I loved the curve of the bed frame next to the straight lines of the chair rail. Plus, the pink bed would have clashed with the pink wall.


I was a little nervous about the assembly (Our main bed took a lot of time to put together.), but my mom and I were able to knock this thing out in about 45 minutes. It was easy! The price is great and it doesn’t need a box spring. Overall, we were both incredibly impressed with this bed and I’m so happy I chose the largest size possible for the space.
The Bedding


The bedding was one of my favorite parts to pick out. Rory insisted on sleeping with a Minnie Mouse sleeping bag in her toddler bed and I’ll admit I was very eager to see that retire to our linen closet.
While shopping, my mom and I found this blush comforter set, and that kicked off the rest of the bedding purchases. It’s the prettiest color and has a nice texture.


With that chosen, I found some adorable sheet sets at Target. We alternate between this rose pattern (pictured) and this green vine pattern. Both are good quality, so sweet, and affordable!
Rory has a plethora of pillows on her window bench already, so I didn’t want to go too crazy with bed pillows. I alternate between this sage green lumbar and this floral throw pillow. And she always likes to let a stuffed animal have their turn sitting on her made bed for the day!
Painting The Nightstand


Because of the limited space in this small room, the nightstand needed to be pretty narrow to fit next to the bed. I found this one that I liked but I didn’t love the color choices. I decided to buy the gray nightstand, which was on sale, and I painted it!
I brought Rory’s duvet to Home Depot and they color-matched it for me in a chalk paint finish. I followed the exact same steps as this vanity makeover and ended up with a custom nightstand.


I also swapped the hardware for this inexpensive knob that matches her built-in cabinets. I added this cute little basket underneath and her touch lamp on top. In the end, it turned out even better than I expected.
Decorating The Dresser


I knew the dresser was staying, but I wanted to add some finishing touches. I found this large lamp at Target and it’s stunning. It’s dimmable, which really comes in handy during our bedtime routine. It’s the perfect soft lighting for winding down.


Next to it, I layered this large gold bulletin board. Rory is new to the concept of a bulletin board and is soooo into it. She will rush home with a new piece of art or a photo and want to run upstairs to tack it to her board. I even found these cute floral pushpins to take things to the next level!


The gold rabbit container holds the extra pushpins.


One of my fave budget-friendly finds of this project was this blue vase. While it looks like it’s from an antique store, it’s actually from Amazon. I added some faux alstroemeria (one of my favorite flowers) and it adds a great pop of color and vintage feel to the dresser.
Stayed The Same


Those were all of the new additions to the room, but mostly everything else stayed the same. I couldn’t part with the gorgeous vintage area rug. The colors tie the entire room together.


I moved the watercolor art from the dresser to above the bed. My great-grandmother painted the wall art and it’s a special touch in the room. I also kept her gallery wall the same too.


Her built-in bookshelves are constantly changing in terms of the books and decor that she likes to display. I’m so happy she has ample storage in here. That wall was the perfect place for built-ins! I do envision someday removing the built-in bench and adding a small desk underneath the window instead. We will keep pivoting so it functions well for our girl.


When designing her nursery four years ago, I consciously chose a color scheme and items that would last for a long time. I’m so happy that I did because I didn’t have to overhaul this entire space just because Rory is a bit older.
I would keep that in mind when designing a nursery or kid’s room. Make sure it can grow right along with them, so you don’t have to change the paint color every couple of years.
Rory’s Room – Before & After
Here’s a side-by-side comparison of how things have changed.
My Daughter’s Room – Sources


Rory’s Reaction
I must end this post with a note about Rory’s reaction. My mom and I transformed this beautiful room in a single day. Rory went to school and we knew that we only had a limited amount of time to get the crib out and the new bed in. We worked tirelessly to get it done and the paint on the nightstand was still a bit wet when we revealed it to her at the end of the school day.
Rory walked into the room, started jumping on the bed, and exclaimed how much she loved it! Success!


I thought she might have a hard time adjusting to her big kid room. Luckily, she took to it right from the start. Now, we love lounging in her comfy bed and reading books together. I’ll admit, I even fell asleep in it once. It’s a cozy little girl’s bedroom and the perfect place for Rory to grow up.
