Our walnut stained front door is the new star of the show. Sharing what I used and more updates too!
Hello wonderful friends!!
How have you been? I’ve been a little MIA around here lately. Or well, just not around as much, right?!
We went on a little trip to the mountains of NC where my husband went to college for an anniversary event. (his fraternity) That was the second week of August. And as I’ve mentioned several times, we are doing stuff around this house again!! Haha!
Twenty years living here and it’s just what we do!!
But no, really, there were a few things we’d wanted to do for YEARS. However, when you have an entire 1970s house to update you do the main things and not the “fluff” or extra things. So that’s what we did.
Fast forward 20 years, well, around year 16 or so, we started looking for a new home. We always knew this was not our “forever” home but dang it might end up that way! lol No, I really do want to move but I’m super picky about where, etc. Maybe we’ll build?? But land is equally hard to find around here unless we want to go farther out…which I don’t really want to do. (we, we don’t really want to do 😉 )
Anyway, with that, we decided to do two of the things on the “long” wish list.
- Close in the screened porch and make more living space downstairs for us. (hubby’s wish list since we moved here)
- Add a wood/glass new front door. (my wish list for years)
That is what I’m sharing about today.
Now, these are not things that we needed to do to have our house ready to sell. But the next things I’m going to talk about are.
We are repainting our home. We painted it ourselves a year or so after we moved here so the paint job is almost 20 years old at this point and in major need of a refresh or repaint. So we are having it painted. (I think…we are gathering quotes…if they are crazy we will probably DIY part of it and sub out the upper levels because we are too old for that mess these days, haha!)
Next, we are knocking one off of my husband’s wish list again, the front sidewalk. We are removing it and adding a curved stone one with a larger flower bed instead.
And lastly, a professional landscaping plan to really freshen things up around here!
We have two humongous trees in our front yard that are so pretty but they really make a mess. (leaves and just stuff that falls all year long) They also make it impossible to grow grass and even though we have them thinned and loose limbs removed periodically we still have had at least 6 or more limbs on cars (damage, some worse than others) over the years. That has nothing to do with anything except I’m hoping that the landscapers have better luck with growing grass than we have over these years because the trees are staying. (I’d like to remove one but my husband loves them more than I do, so they will stay haha) And by the way, yes, we’ve tried just about everything to grow grass well over the years. Unfortunately, nothing works long-term.
So once all of that is finished we will have a like-new home with a gorgeous yard to live in. AND one that shows very well for that day we put the “for sale” sign in the yard finally!!
Okay, let me show you what we’ve done so far. I’ll update you with new posts as we go so you can follow along!
FRONT DOOR
“Before”…
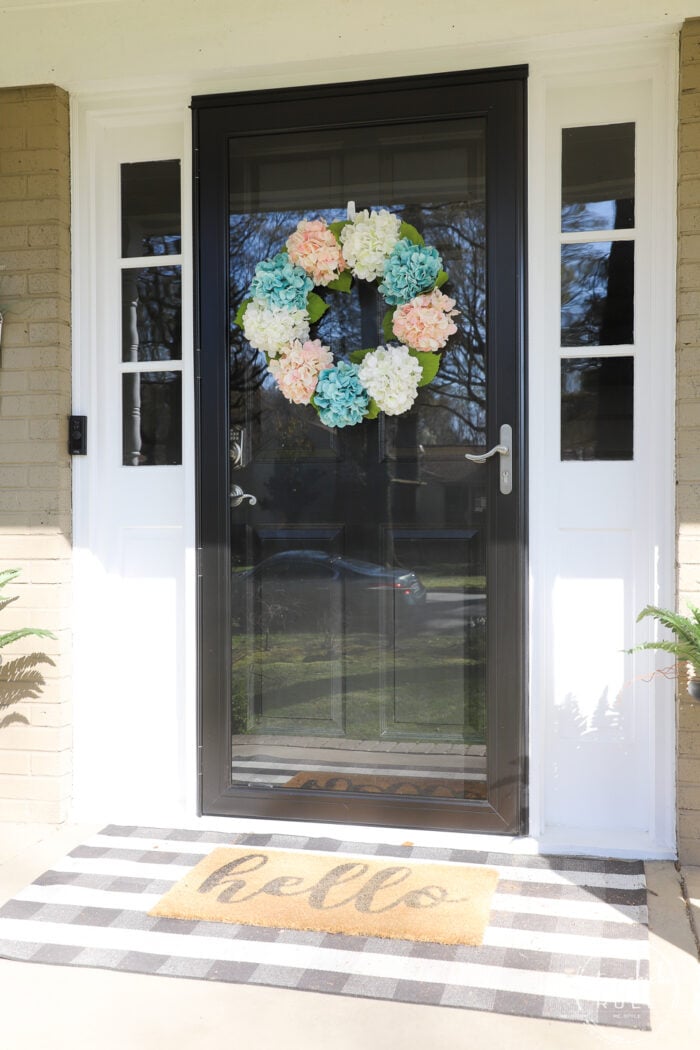
It’s pretty and classic, yes, but I’ve always loved (and wanted) the new door we put in!
Here is the new one.
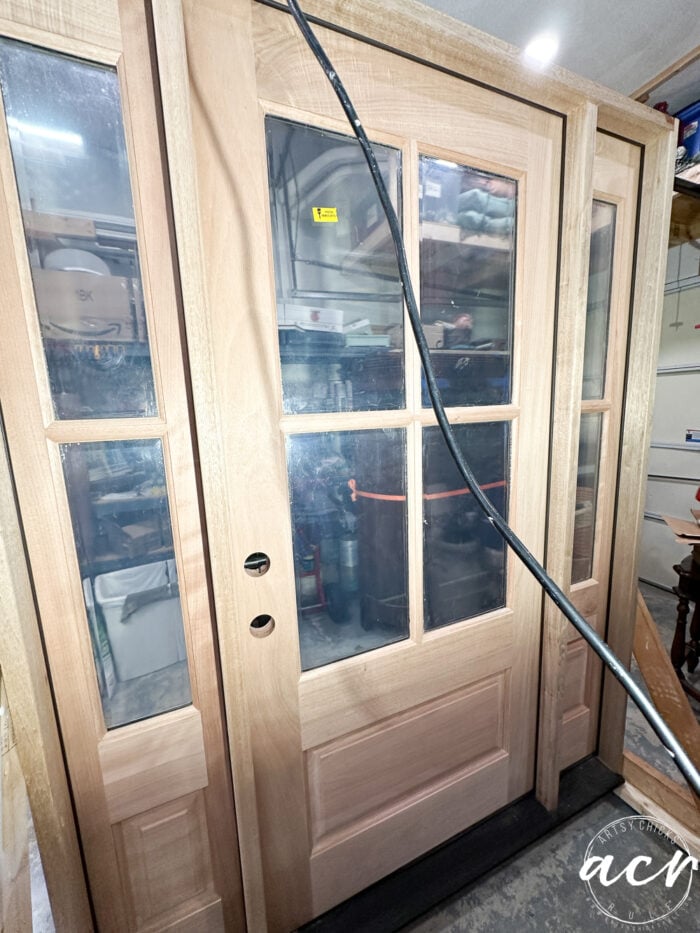
Before I stained it, that is!
I used our brand-new Walnut Stain and Finishing Oil for this.
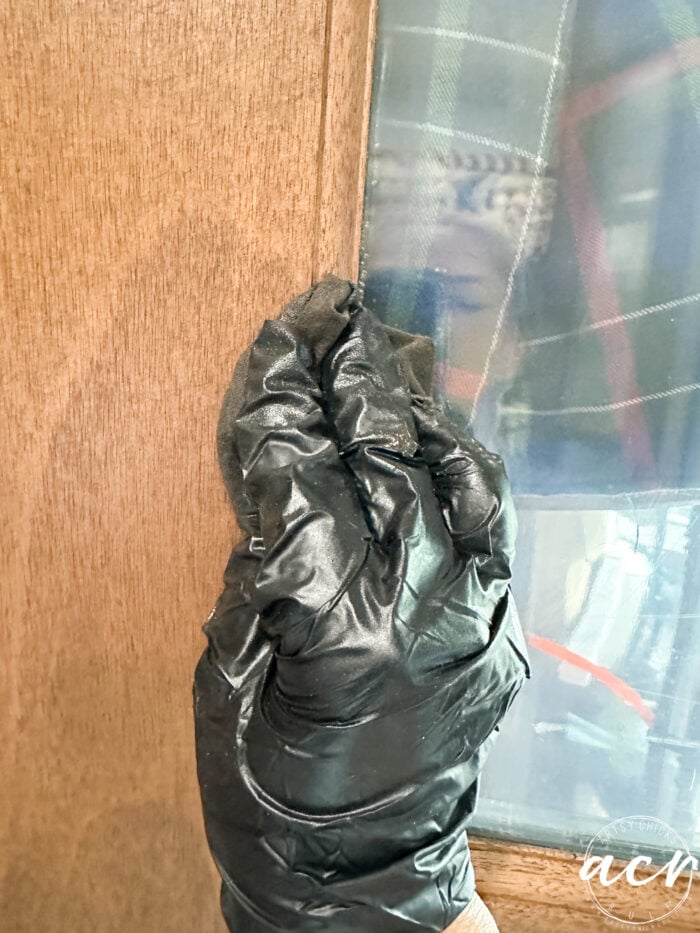
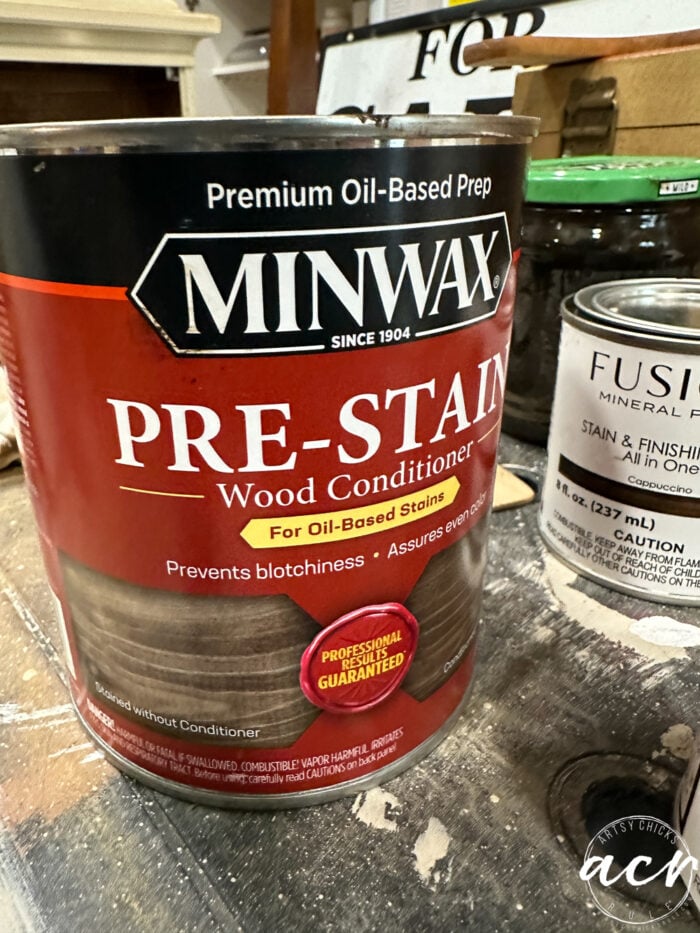
Even though it is not necessary I did use pre-stain conditioner beforehand…just to be safe.

I love this new color! Walnut stain in general is one of my favorites.
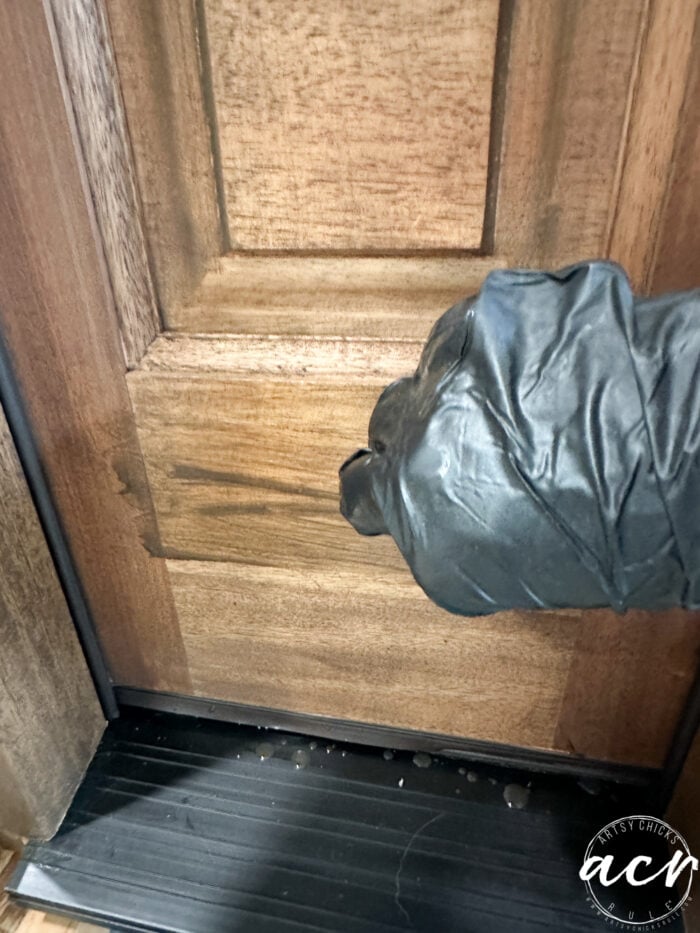

I just love our Stain and Finishing Oil. It’s so easy to work with and the results are fabulous. Plus it’s a stain with a finish coat built into one.
Unlike products like PolyShades I’ve used in the past that mostly sit on top of the wood, this stain sinks in and actually stains the wood but includes a finish coat too. So easy! And beautiful.
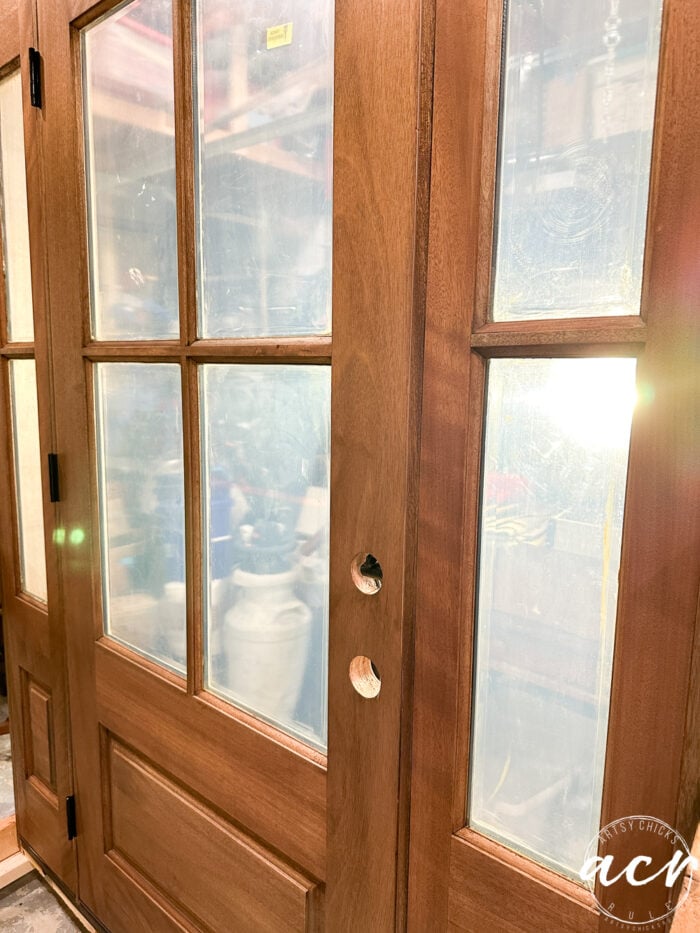

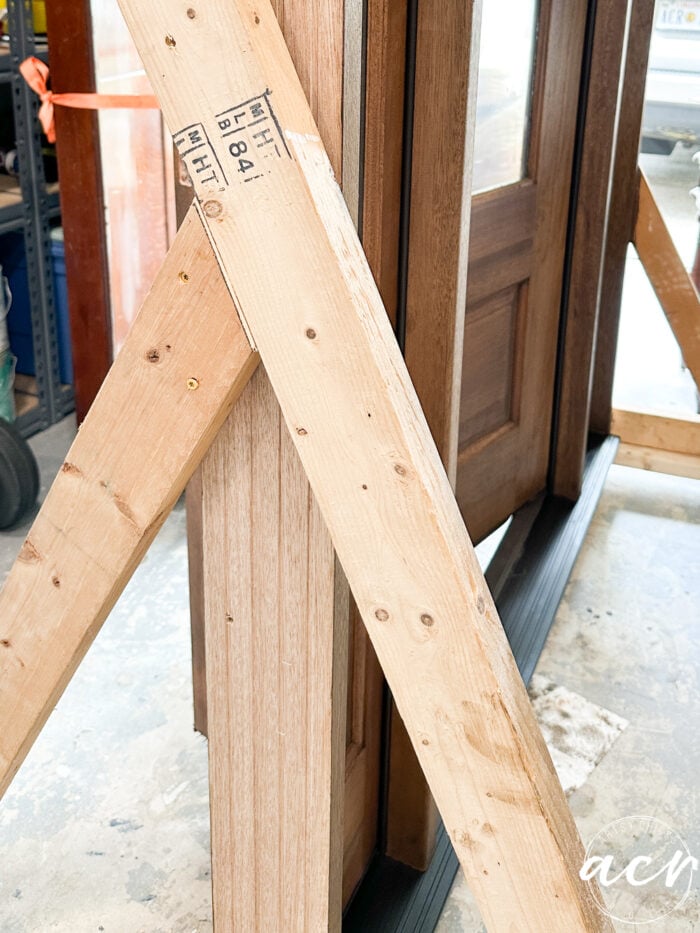
My husband built this stand to put it on once it was delivered to make it easy to move around and for me to stain/finish. (he’s pretty handy, huh?) Ignore the garage mess, please! It’s a work in progress too…can you believe I painted that garage floor with gray garage floor paint when we moved in?? You’d never know it now! Boo. But we have plans for the garage too. One step at a time though!! lol
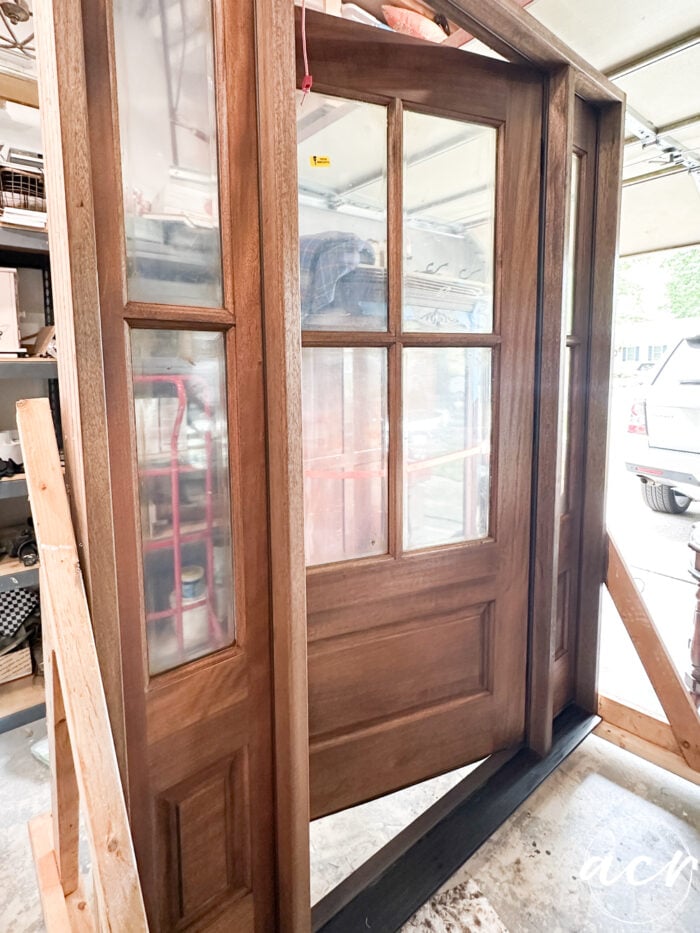

I did 3 coats of stain for added color and protection.

My husband and son moving it (it was so HEAVY).
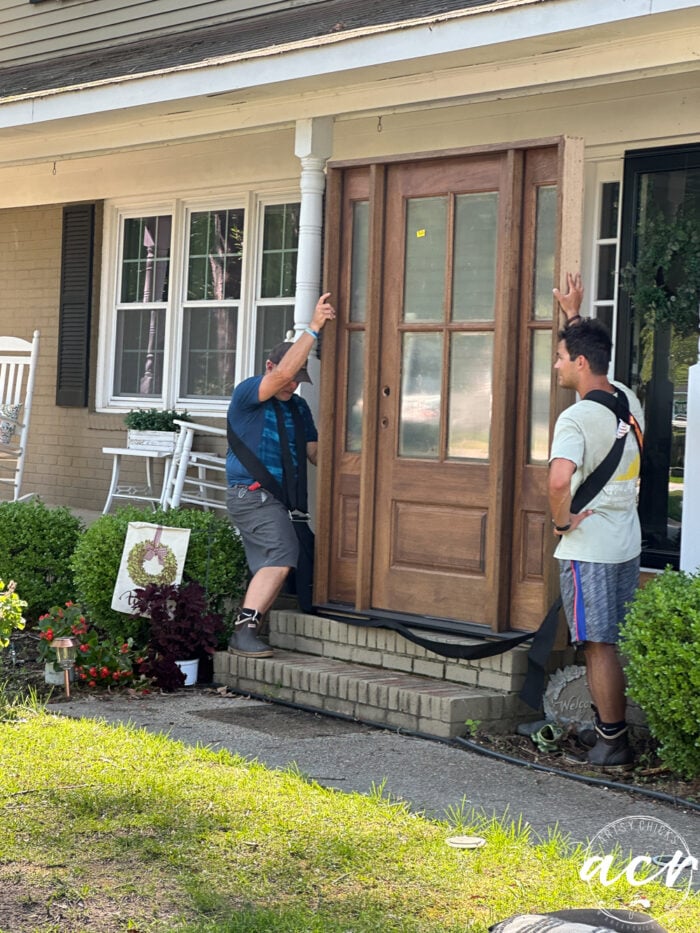

Now you see it…
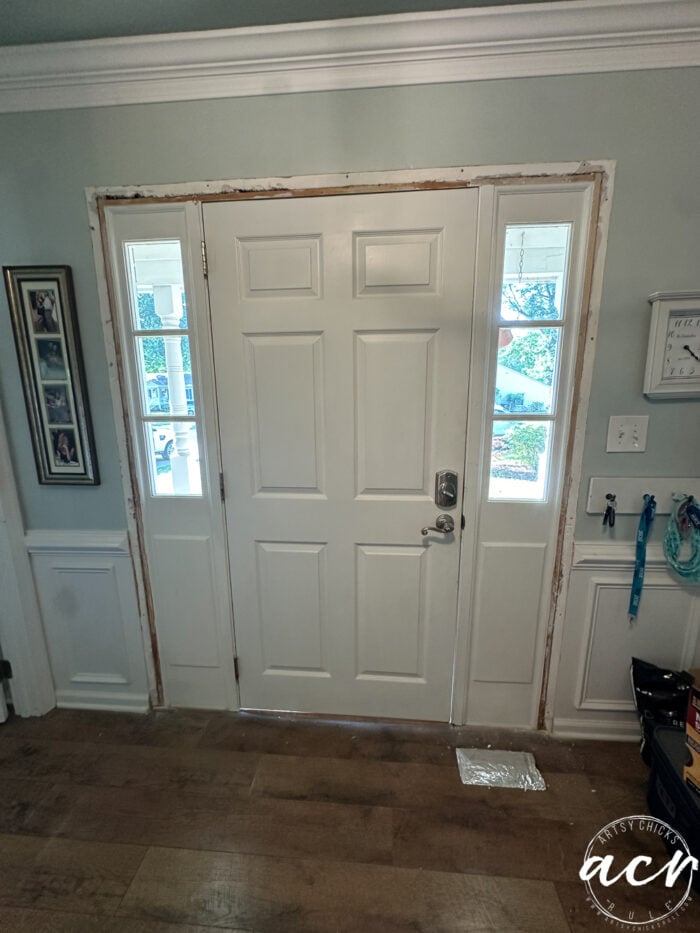

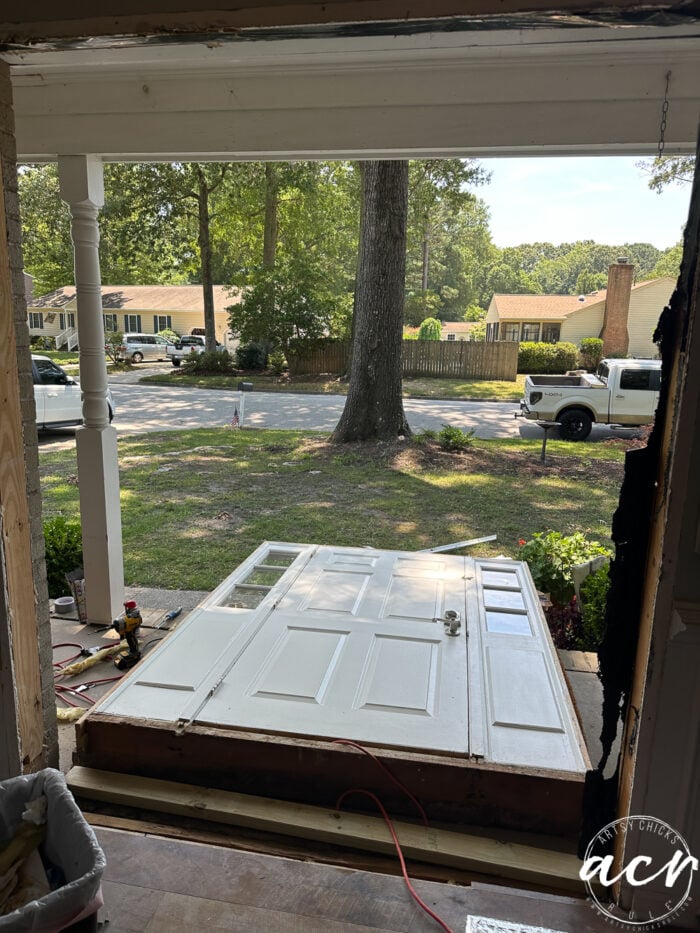
Now you don’t!! (and no, it didn’t fall, they laid it down like that…does look like it just went “splat” though, doesn’t it?? lol)

Ta-da!
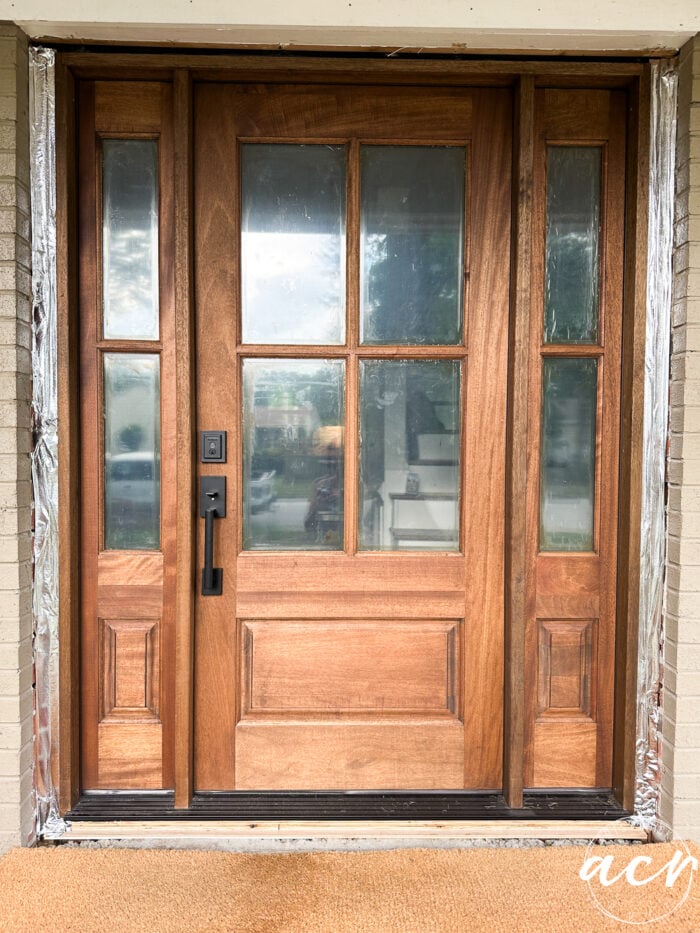

My dream door.
That does not match the rest of the house now. Well, I don’t think it does anyway. But I’ll get to that in a few.
I did add this film though because the glass was clear and we wanted more privacy than that.
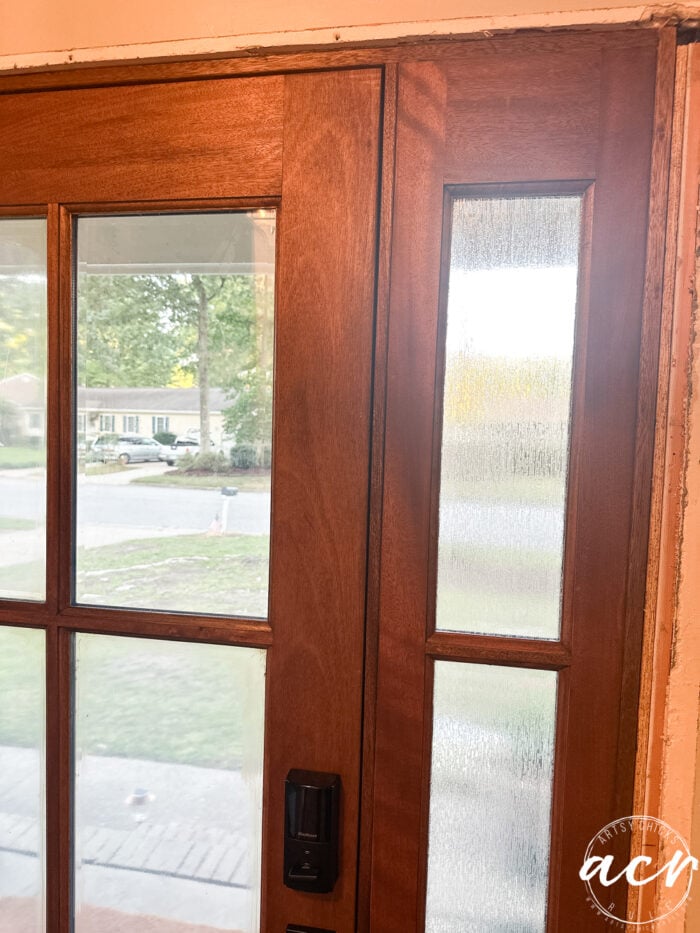

You can see above where I’ve added it and the one there that I haven’t.
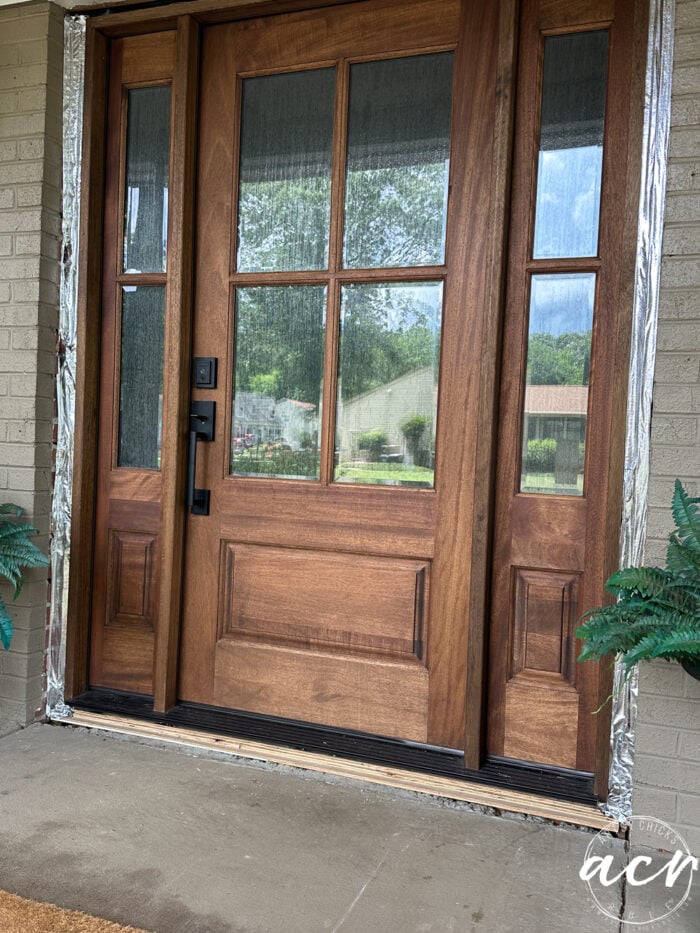

Isn’t that stain color so pretty and rich looking??
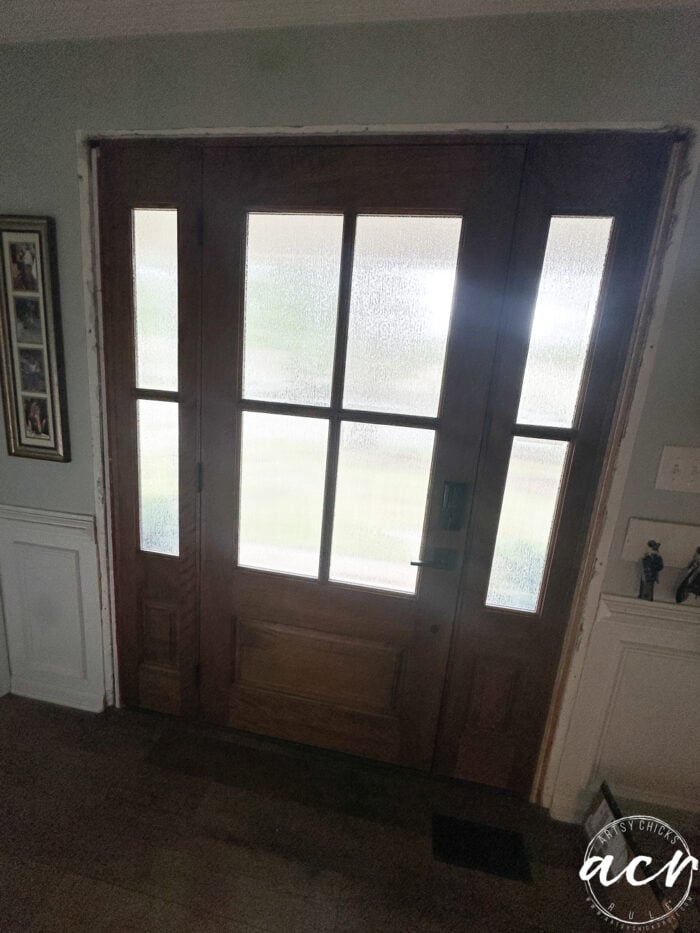

Looks dark in this photo but this door lets in so much more light! I love it!
Oh also, this is the door handle we bought for the door.
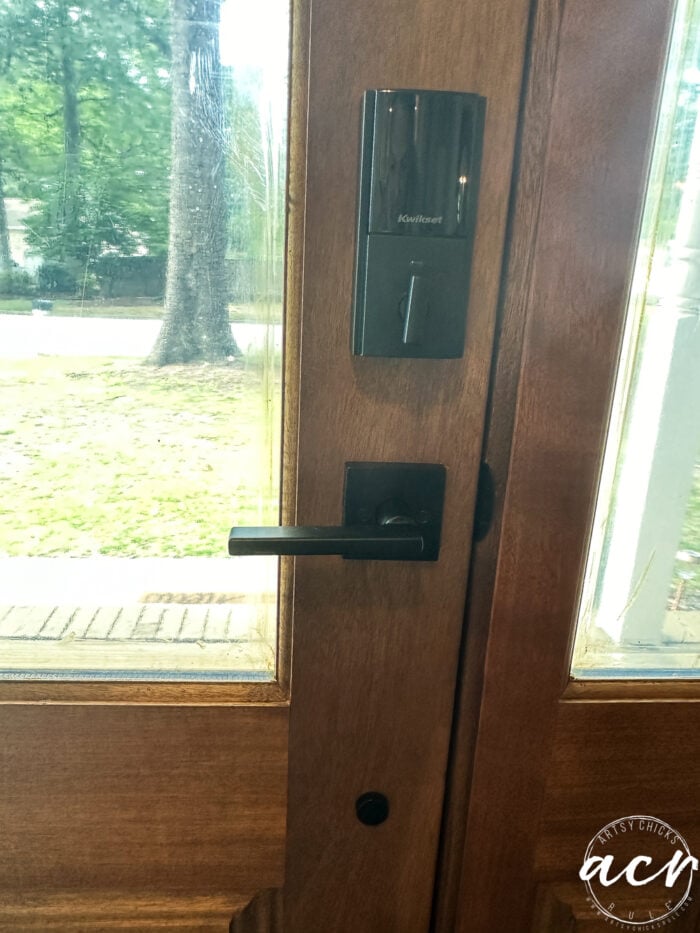

And this is the lock.
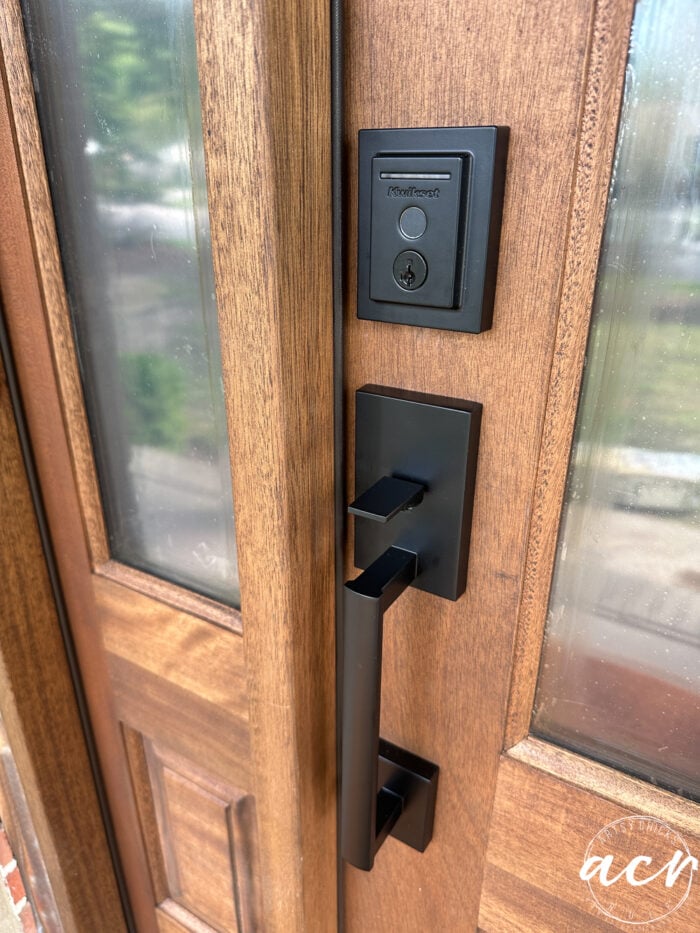

It’s a fingerprint type instead of code and we love it so far! So quick and easy.
HOUSE PAINT PLANS
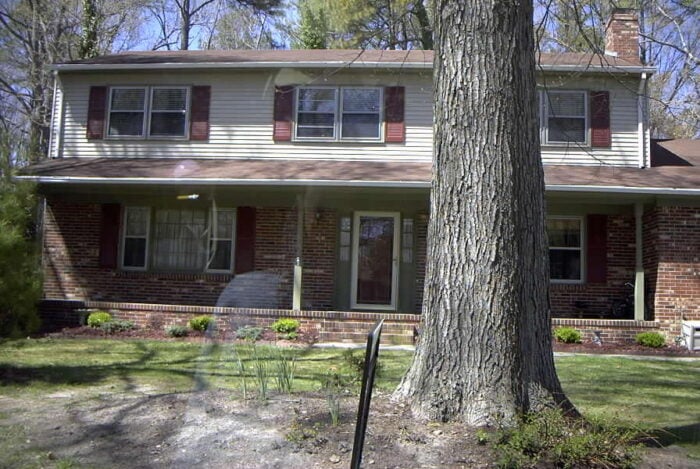
Just as a reminder, here is the house the day we came to look at it in 2004. (see the for sale sign in the bottom of the photo?)

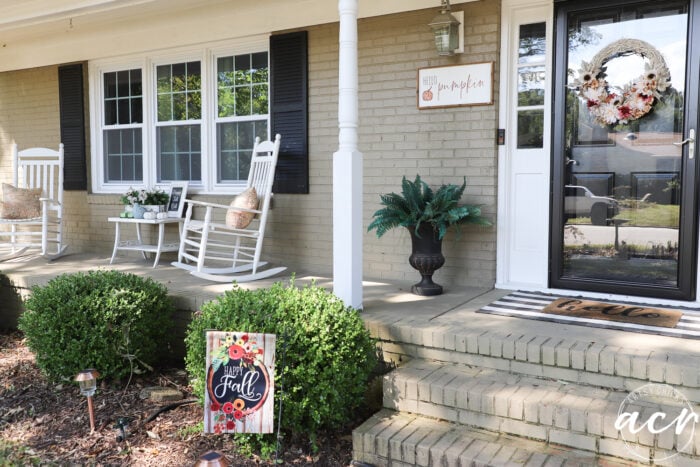
Here is it now…

And here is a quick mockup of what the plans are…
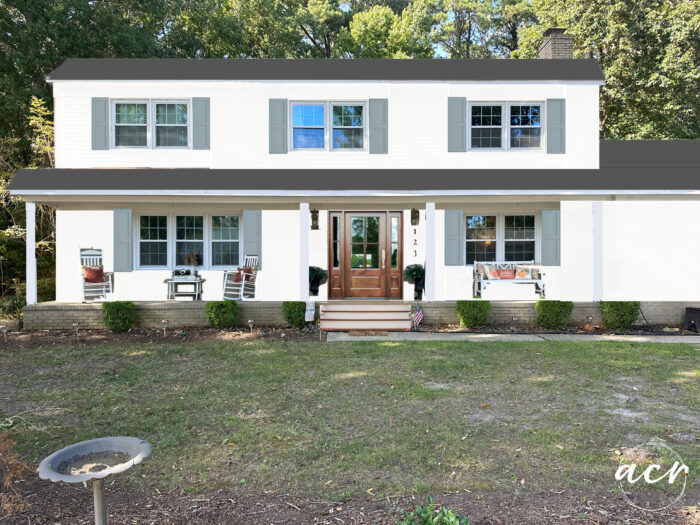

This design and the exterior colors will better match the interior design, decor, and colors. (not to mention the coastal town we live in)
Not sure if you can tell in that photo above but we are also planning to put straight, square columns replacing the traditional ones we have currently.
Here are the paint colors we’ve chosen:
The top portion of the shutter has Acacia Haze. Which is several colors up on the Sea Salt paint chip. We have Sea Salt and Oyster Bay in the interior of our home in various places. The bottom is a color I mixed by Fusion, French Eggshell, and Coal Black. I don’t think I’ve arrived at a solid choice on the shutter yet but somewhere in that general area anyway.
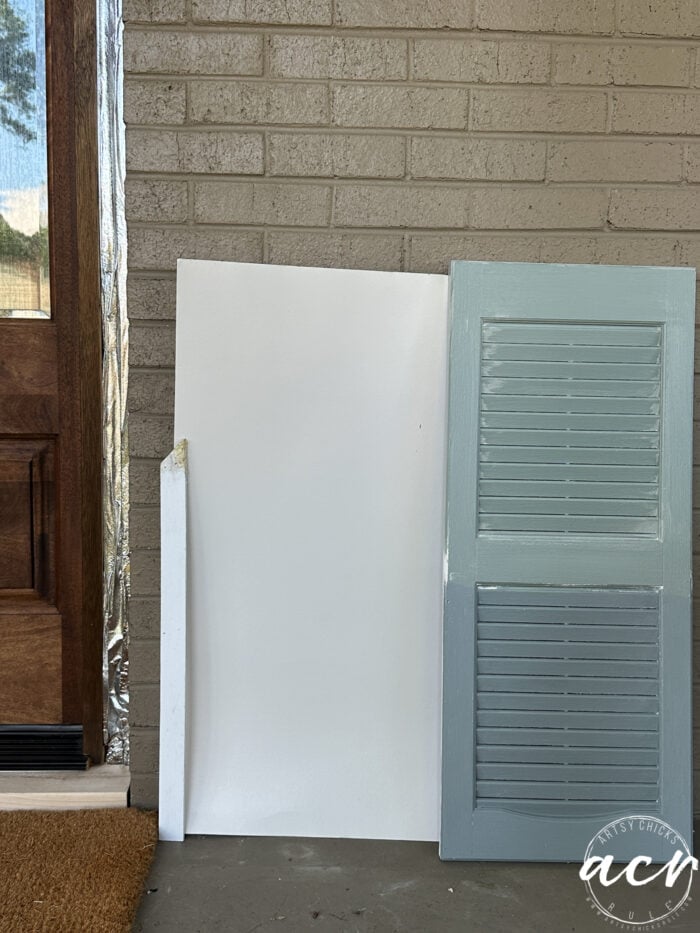

We don’t want a stark white for the house, more of a soft white is what we like.
Looking for a nice, gray, blue/green hue for the shutters. I like the shade of Acacia Haze…but needs to be a bit darker, I think. Maybe somewhere in between those two. I like what I did on the house mock-up photo but I have no idea what color that is!! haha!! Just something I came up with for the photo. Hmm…maybe I can print it and get them to scan and make a sample for me? What do you think?? I think I’ll try it! Stay tuned.
PORCH to LIVABLE SPACE
This is slow going as we are doing it ourselves. But we are getting there! Almost ready for windows to go in.
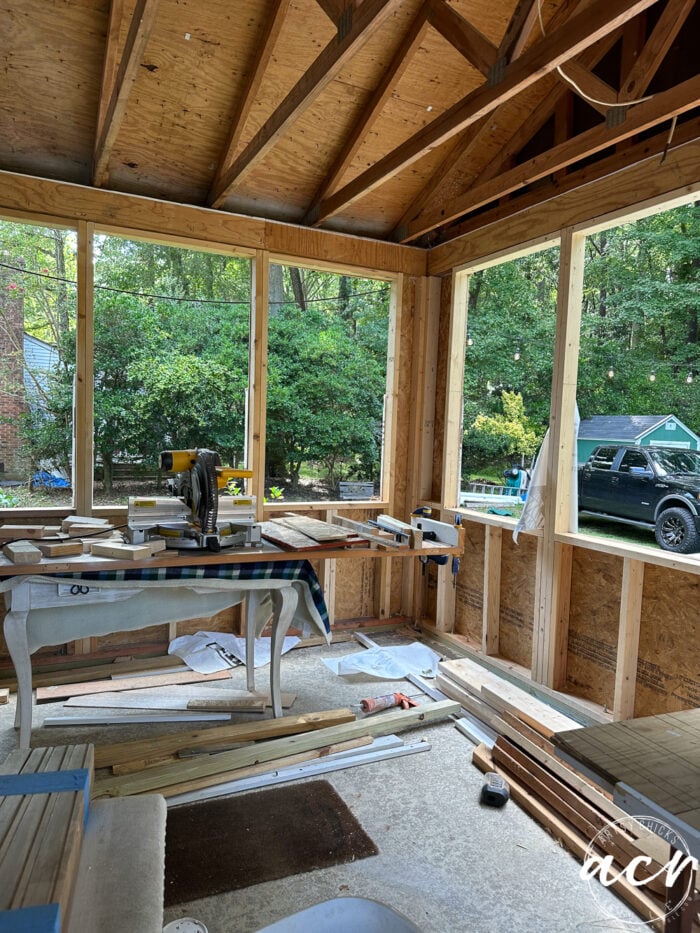

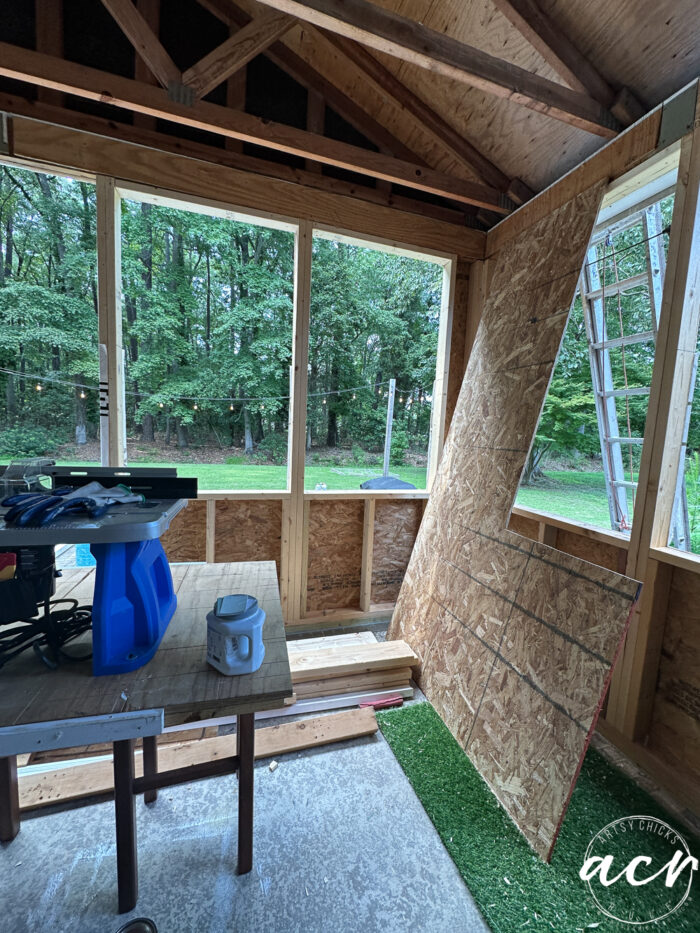

Follow along as we get these things done. And the landscaping too!
I’ll share where we are starting and the plans they draw up for our yard. And of course the “after” once it is all done! I am SO looking forward to a pretty new yard.
I’ll be back next week with some new projects. And hopefully, I can get started on the two big cabinets I have in my garage right now. Both of them are for our house here. One was bought for a specific purpose/use and the other was my grandmother’s china cabinet that was passed down to my mom and dad and since both of my parents have now passed away, it has been passed down to me. I can’t wait to work on that one. It will be a true labor of love.
Have a blessed weekend friends! The weather here is feeling cool in the mornings and evenings now and I love it! I am not quite ready for fall but I sure don’t miss the majorly hot heat wave of a summer we’ve had!
xo

